Printronix: Connecting to Wi-Fi
If you purchased a Printronix printer with Wi-Fi capabilities, follow these instructions to connect the printer to your network.
This article assumes that your Wi-Fi network is protected by WPA Personal with an ASCII passphrase, which covers most cases. If your network is set up differently, contact your network administrator for the correct settings.
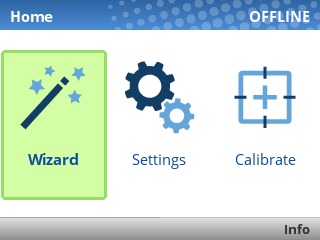
Press the Pause button, then use the Left Arrow Key to navigate to Wizard. Press Enter.
Press Enter again to select Wizards.
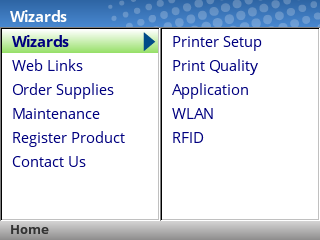
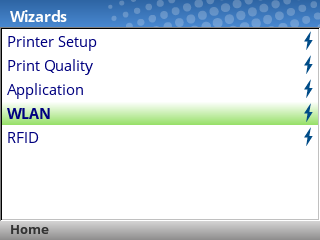
Use the Down Arrow Key to navigate to WLAN, then press Enter.
If you see the ENTER SWITCH LOCKED message, just press the Up and Down arrow keys at the same time, then wait up to 5 seconds and you should then see ENTER SWITCH UNLOCKED.
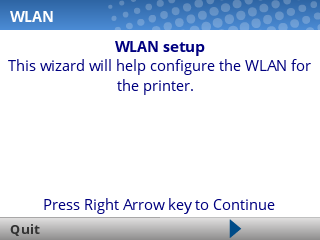
You'll now be guided through the setup steps to connect to your Wi-Fi network. Press the Right Arrow Key to advance to the next screen.
First, you 'll be asked for the SSID of your network. This is also known as the name of your Wi-Fi network.
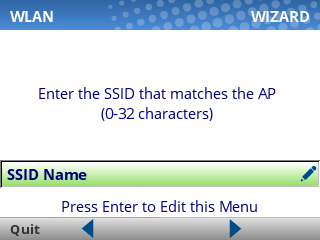
Press Enter to edit the SSID Name field, then use the provided keyboard to type the SSID. (Enter your own Wi-Fi name, not Simple RFiD 5G.)
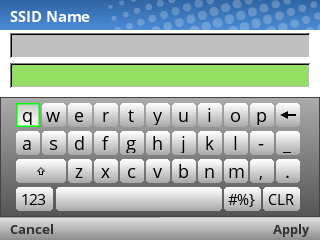
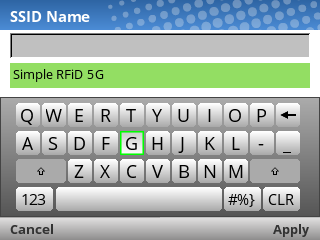
The SSID name is case-sensitive, and must be an EXACT match in order to connect. Take care to capitalize the correct letters, and use spaces where needed.
Finally, press the Right Soft Key under "Apply" to move to the next setting.
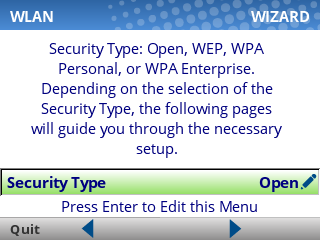
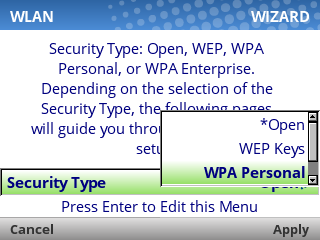
Next, you'll be asked for the Security Type. In most cases, this should be set to WPA Personal. Press Enter to edit the field, then choose the correct option and press Enter again.
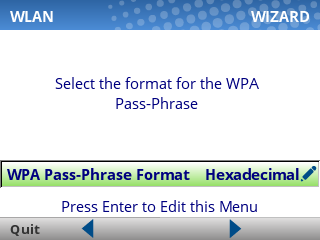
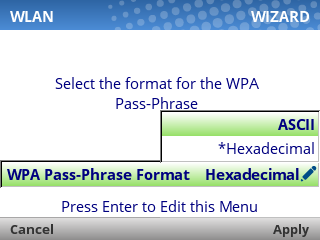
Next, you'll be asked for the WPA Pass-Phrase Format. In most cases, this should be set to ASCII. Press Enter to edit the field, then choose the correct option and press Enter again.
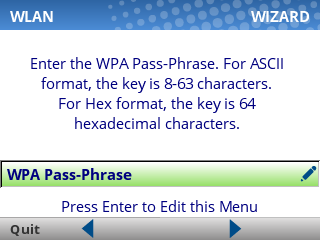
Next, you'll be asked for the WPA Pass-Phrase. This is your Wi-Fi password. Press Enter to edit the field, then use the provided keyboard to type the password (case-sensitive!).
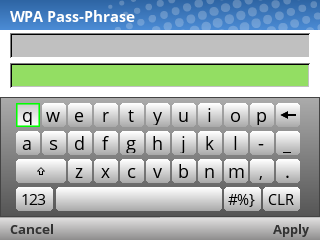
Finally, press the Right Soft Key under "Apply" to move to the next setting.
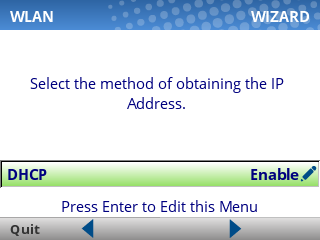
Next, you'll be asked whether you'd like to enable DHCP. In most cases, this should be set to Enable.
Press the Right Arrow Key to move to the next screen. you'll see a confirmation that you've completed the wizard.
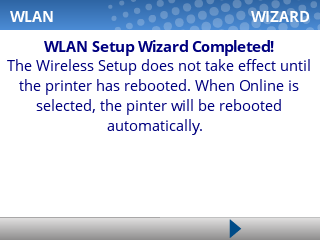
Press the Right Arrow Key to exit the wizard.
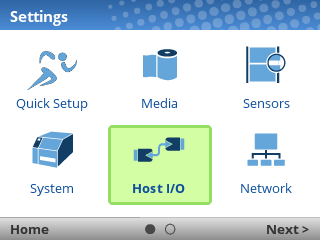
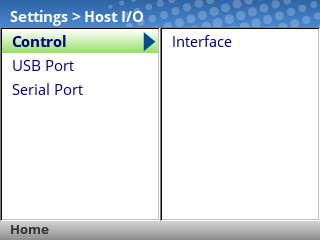
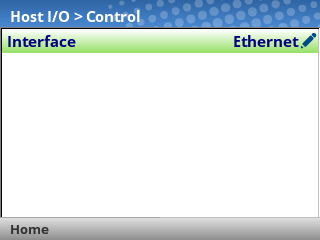
Next, we'll change the Host I/O settings to ensure that the printer is listening for print jobs over the network.
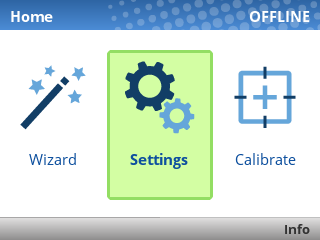
Press the Left Arrow Key until you're back to the Home screen, then select Settings:
Last, unpause the printer, and select Save Permanently in Active Config.
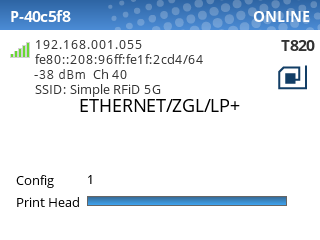
The printer will automatically reboot at this point, and when it finishes starting up you should see that your Wi-Fi connection is active: