This article assumes that your Wi-Fi network is protected by **WPA Personal** with an **ASCII** passphrase, which covers most cases. If your network is set up differently, contact your network administrator for the correct settings.
Press the **Pause** button, then use the **Left Arrow Key** to navigate to **Wizard**. Press **Enter**. 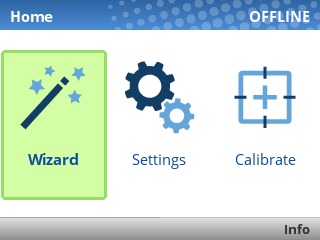 Press **Enter** again to select **Wizards**. 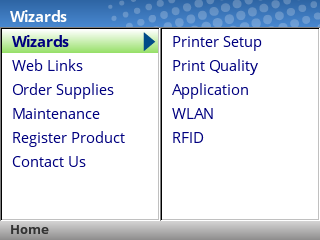 Use the **Down Arrow Key** to navigate to **WLAN**, then press **Enter**. 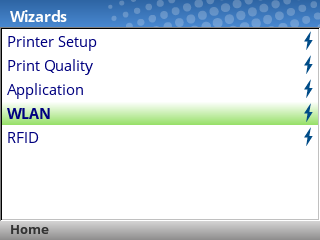If you see the **ENTER SWITCH LOCKED** message, just press the **Up** and **Down** arrow keys at the same time, then wait up to 5 seconds and you should then see **ENTER SWITCH UNLOCKED**.
You'll now be guided through the setup steps to connect to your Wi-Fi network. Press the **Right Arrow Key** to advance to the next screen. 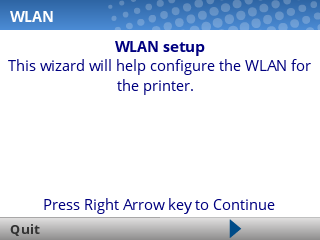 First, you 'll be asked for the **SSID** of your network. This is also known as the **name of your Wi-Fi network**. 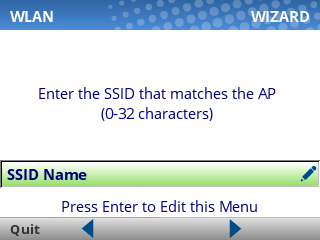 Press **Enter** to edit the **SSID Name** field, then use the provided keyboard to type the SSID. (Enter your own Wi-Fi name, **not** Simple RFiD 5G.) 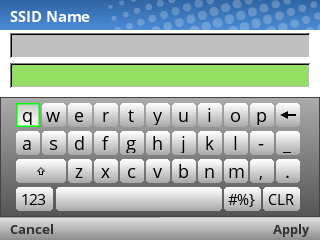 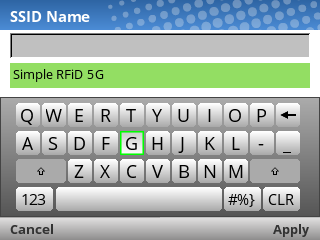The SSID name is case-sensitive, and must be an EXACT match in order to connect. Take care to capitalize the correct letters, and use spaces where needed.
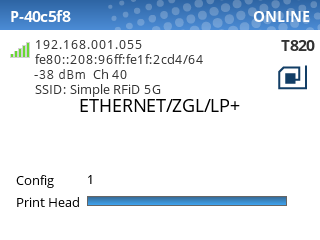
Finally, press the **Right Soft Key** under "Apply" to move to the next setting. Next, you'll be asked for the **Security Type**. In most cases, this should be set to **WPA Personal**. Press **Enter** to edit the field, then choose the correct option and press **Enter** again. 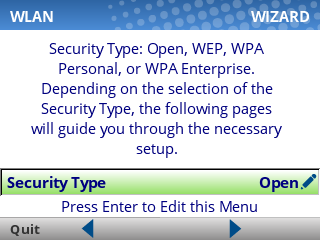 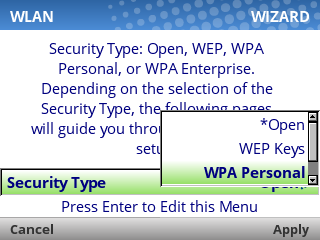 Next, you'll be asked for the **WPA Pass-Phrase Format.** In most cases, this should be set to **ASCII**. Press **Enter** to edit the field, then choose the correct option and press **Enter** again. 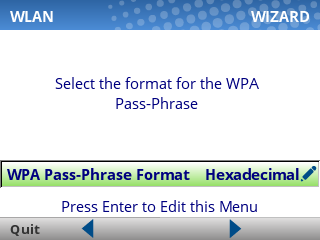 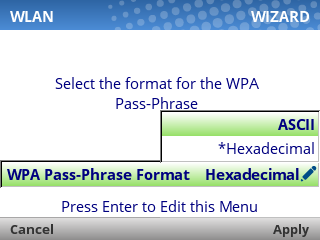 Next, you'll be asked for the **WPA Pass-Phrase.** This is your Wi-Fi password. Press **Enter** to edit the field, then use the provided keyboard to type the password (case-sensitive!). 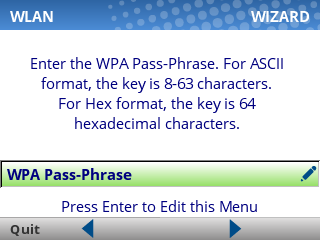 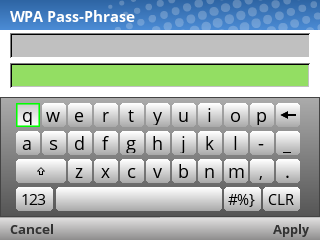 Finally, press the **Right Soft Key** under "Apply" to move to the next setting. Next, you'll be asked whether you'd like to enable **DHCP**. In most cases, this should be set to **Enable**. 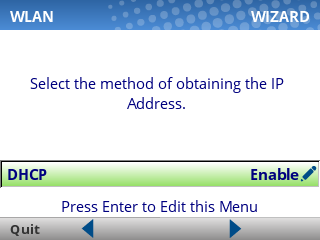 Press the **Right Arrow Key** to move to the next screen. you'll see a confirmation that you've completed the wizard. 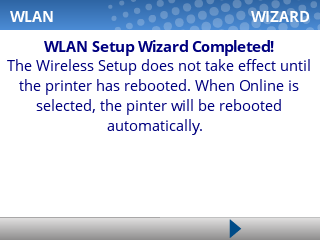 Press the **Right Arrow Key** to exit the wizard. Next, we'll change the Host I/O settings to ensure that the printer is listening for print jobs over the network. Press the **Left Arrow Key** until you're back to the Home screen, then select **Settings**: [](https://kb.simplerfid.com/uploads/images/gallery/2025-06/20250618-090959-251740.png) Navigate to **Host I/O > Interface**, and set this option to **Ethernet**. 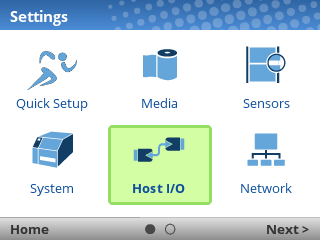 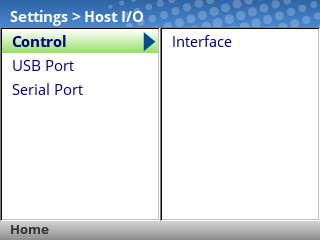 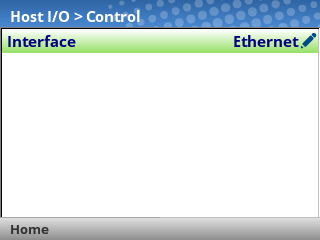 Last, **unpause the printer**, and select **Save Permanently in Active Config**. The printer will automatically reboot at this point, and when it finishes starting up you should see that your Wi-Fi connection is active: