
Using the Point of Sale Interface
Access the Point of Sale interface here: beta.pos.simplerfid.com
The Point of Sale interface is in beta. Currently, the only function of this interface is to archive tags which are read by a connected scanner in HID mode, such as a Keonn AdvanPay.
Further integration with third-party point of sale software, such as Shopify and Square, is planned but not implemented yet.
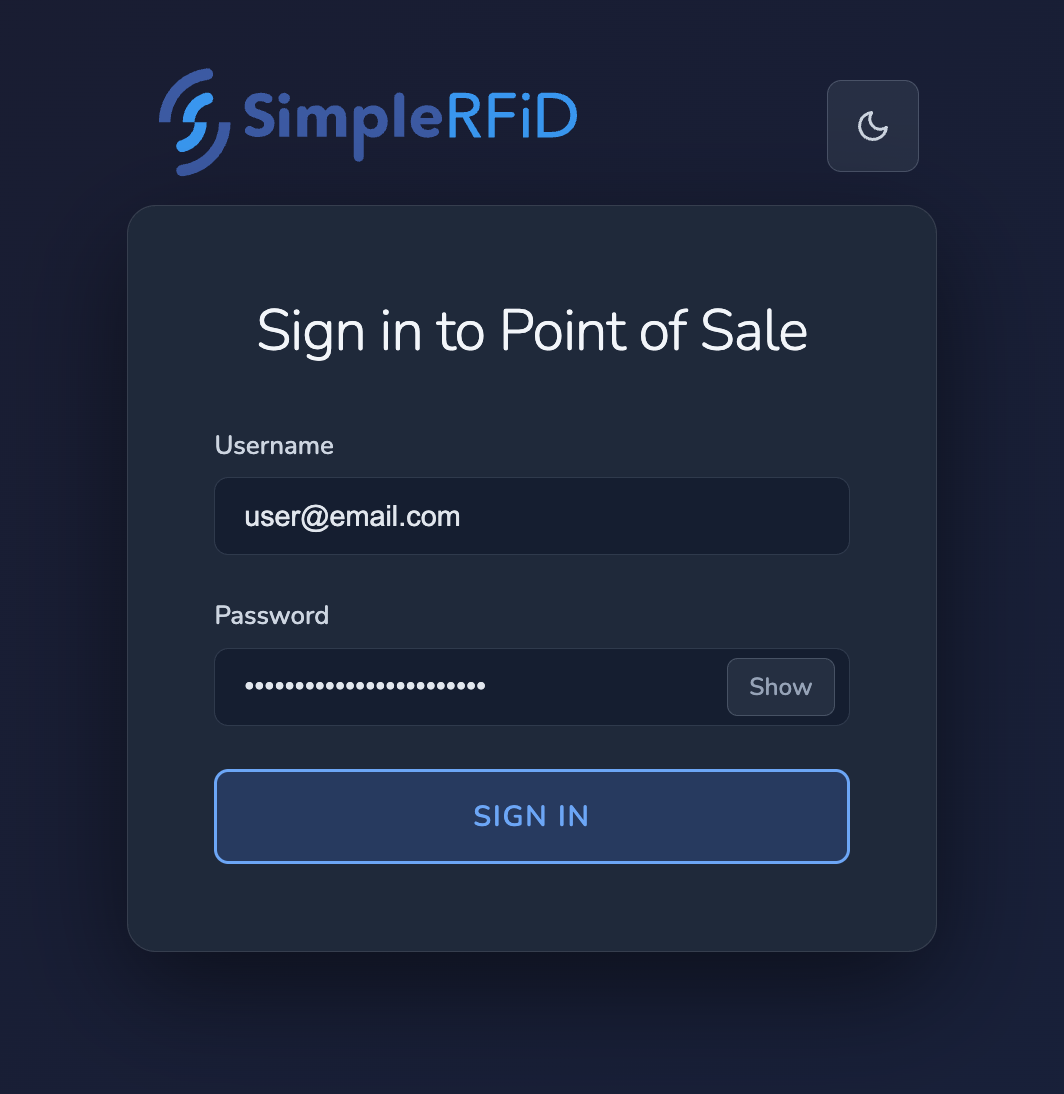
Logging in
Log in using the same credentials you use for the Simple RFID web portal and mobile app.
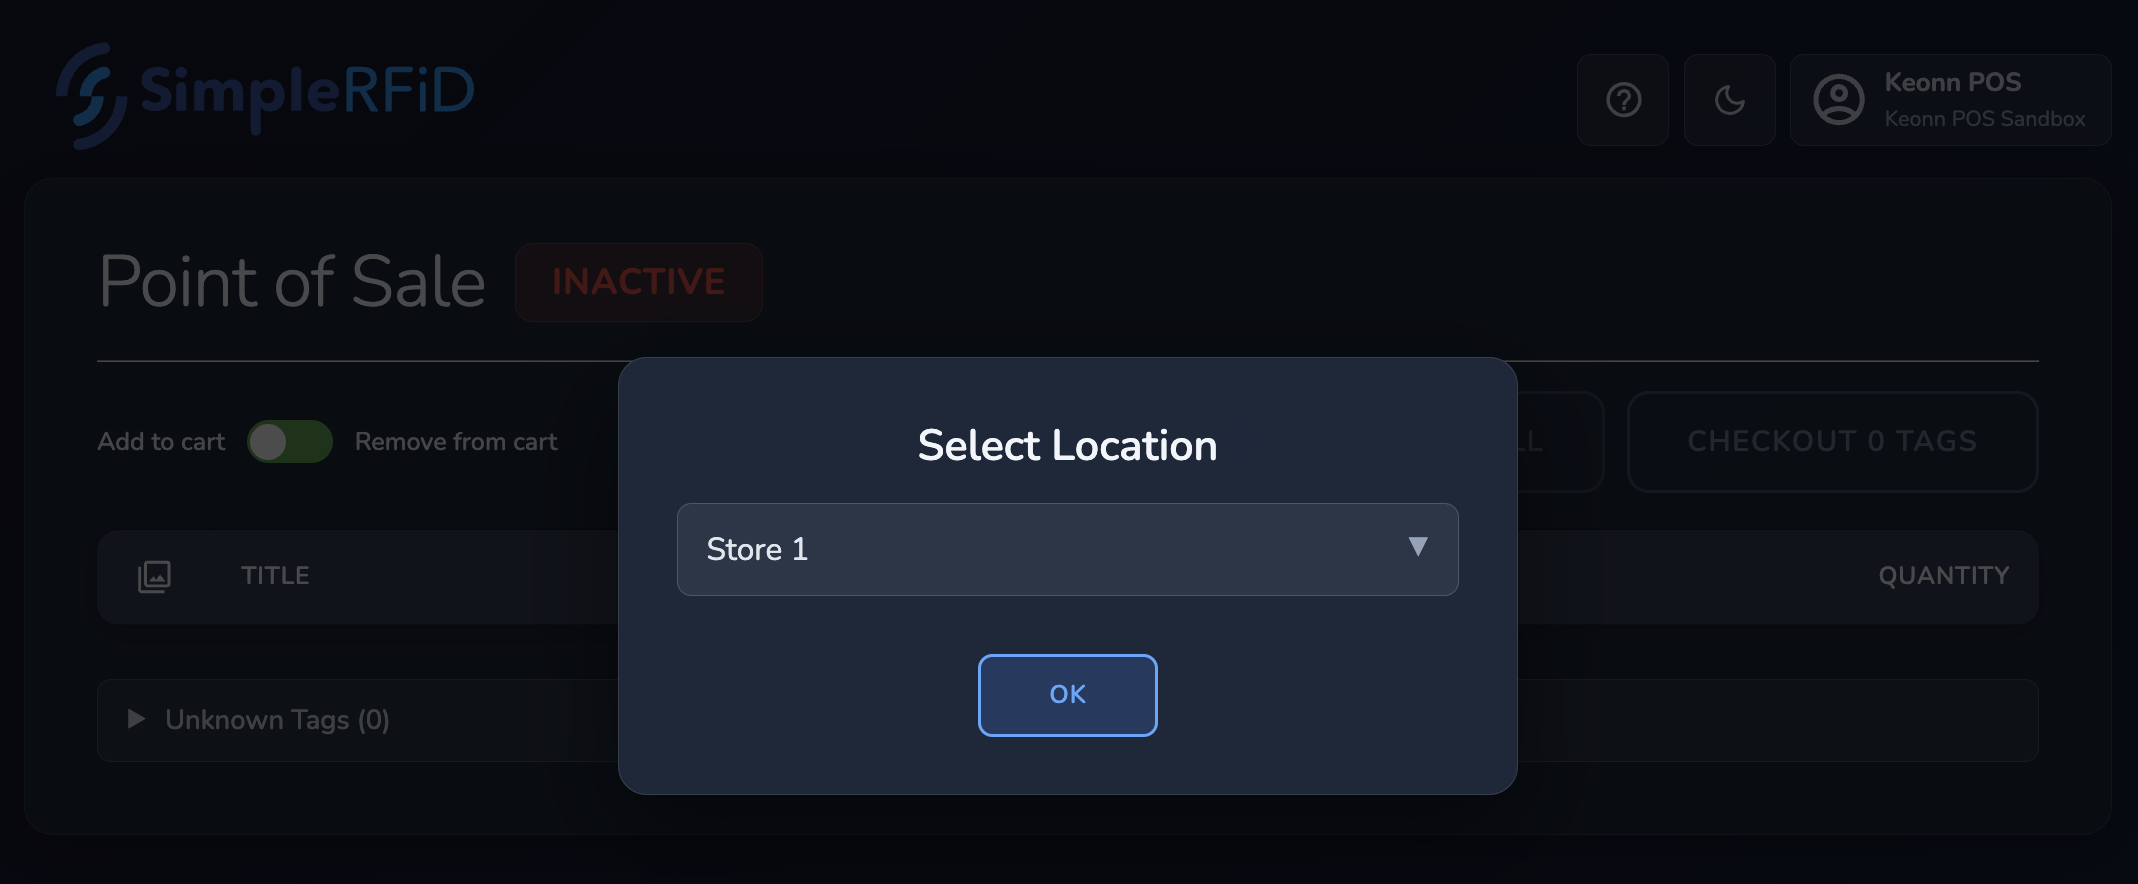
When you first log in, you'll be asked to select a location. Select the location where the scanner should be removing tags from.
Using the app
- Scan Items
- Make sure the app is open and active (the scanner works like a keyboard).
- Use the Add to cart / Remove from cart switch:
- Add to cart: scan items to add them.
- Remove from cart: scan items to remove them if you scanned something by mistake.
- Always switch back to Add to cart when done removing.
- Scanned items will appear in the Scanned Items list.
- Check Out
- Press the Checkout x tags button to submit the scan session, which will archive (remove) the items from your inventory.
- You can add an optional comment, which will appear in the Scan Sessions history.
- Clear All
- Press Clear All to remove all scanned items from the cart.
- Warning: this cannot be undone. You will need to scan items again if cleared accidentally.
- View History
- Press the History button to see all scans for the current location, including POS and mobile scans.
- You can download reports from this page.
- Change Location
- Use the Admin Menu → Change Location to switch locations if moving the scanner between inventory areas.
- The current location is also shown in the Location Indicator at the top.
- Optional / Helpful Features
- Help Button: opens this guide in the knowledge base.
- Theme Switcher: toggle between Dark and Light mode.
- Receiving Data Indicator: shows when the scanner is sending data. Keyboard input may also trigger it, but only valid RFID tags will be recorded.
- Unknown Tags: shows any scanned tags that don’t match your product library—useful for troubleshooting.
Detailed overview
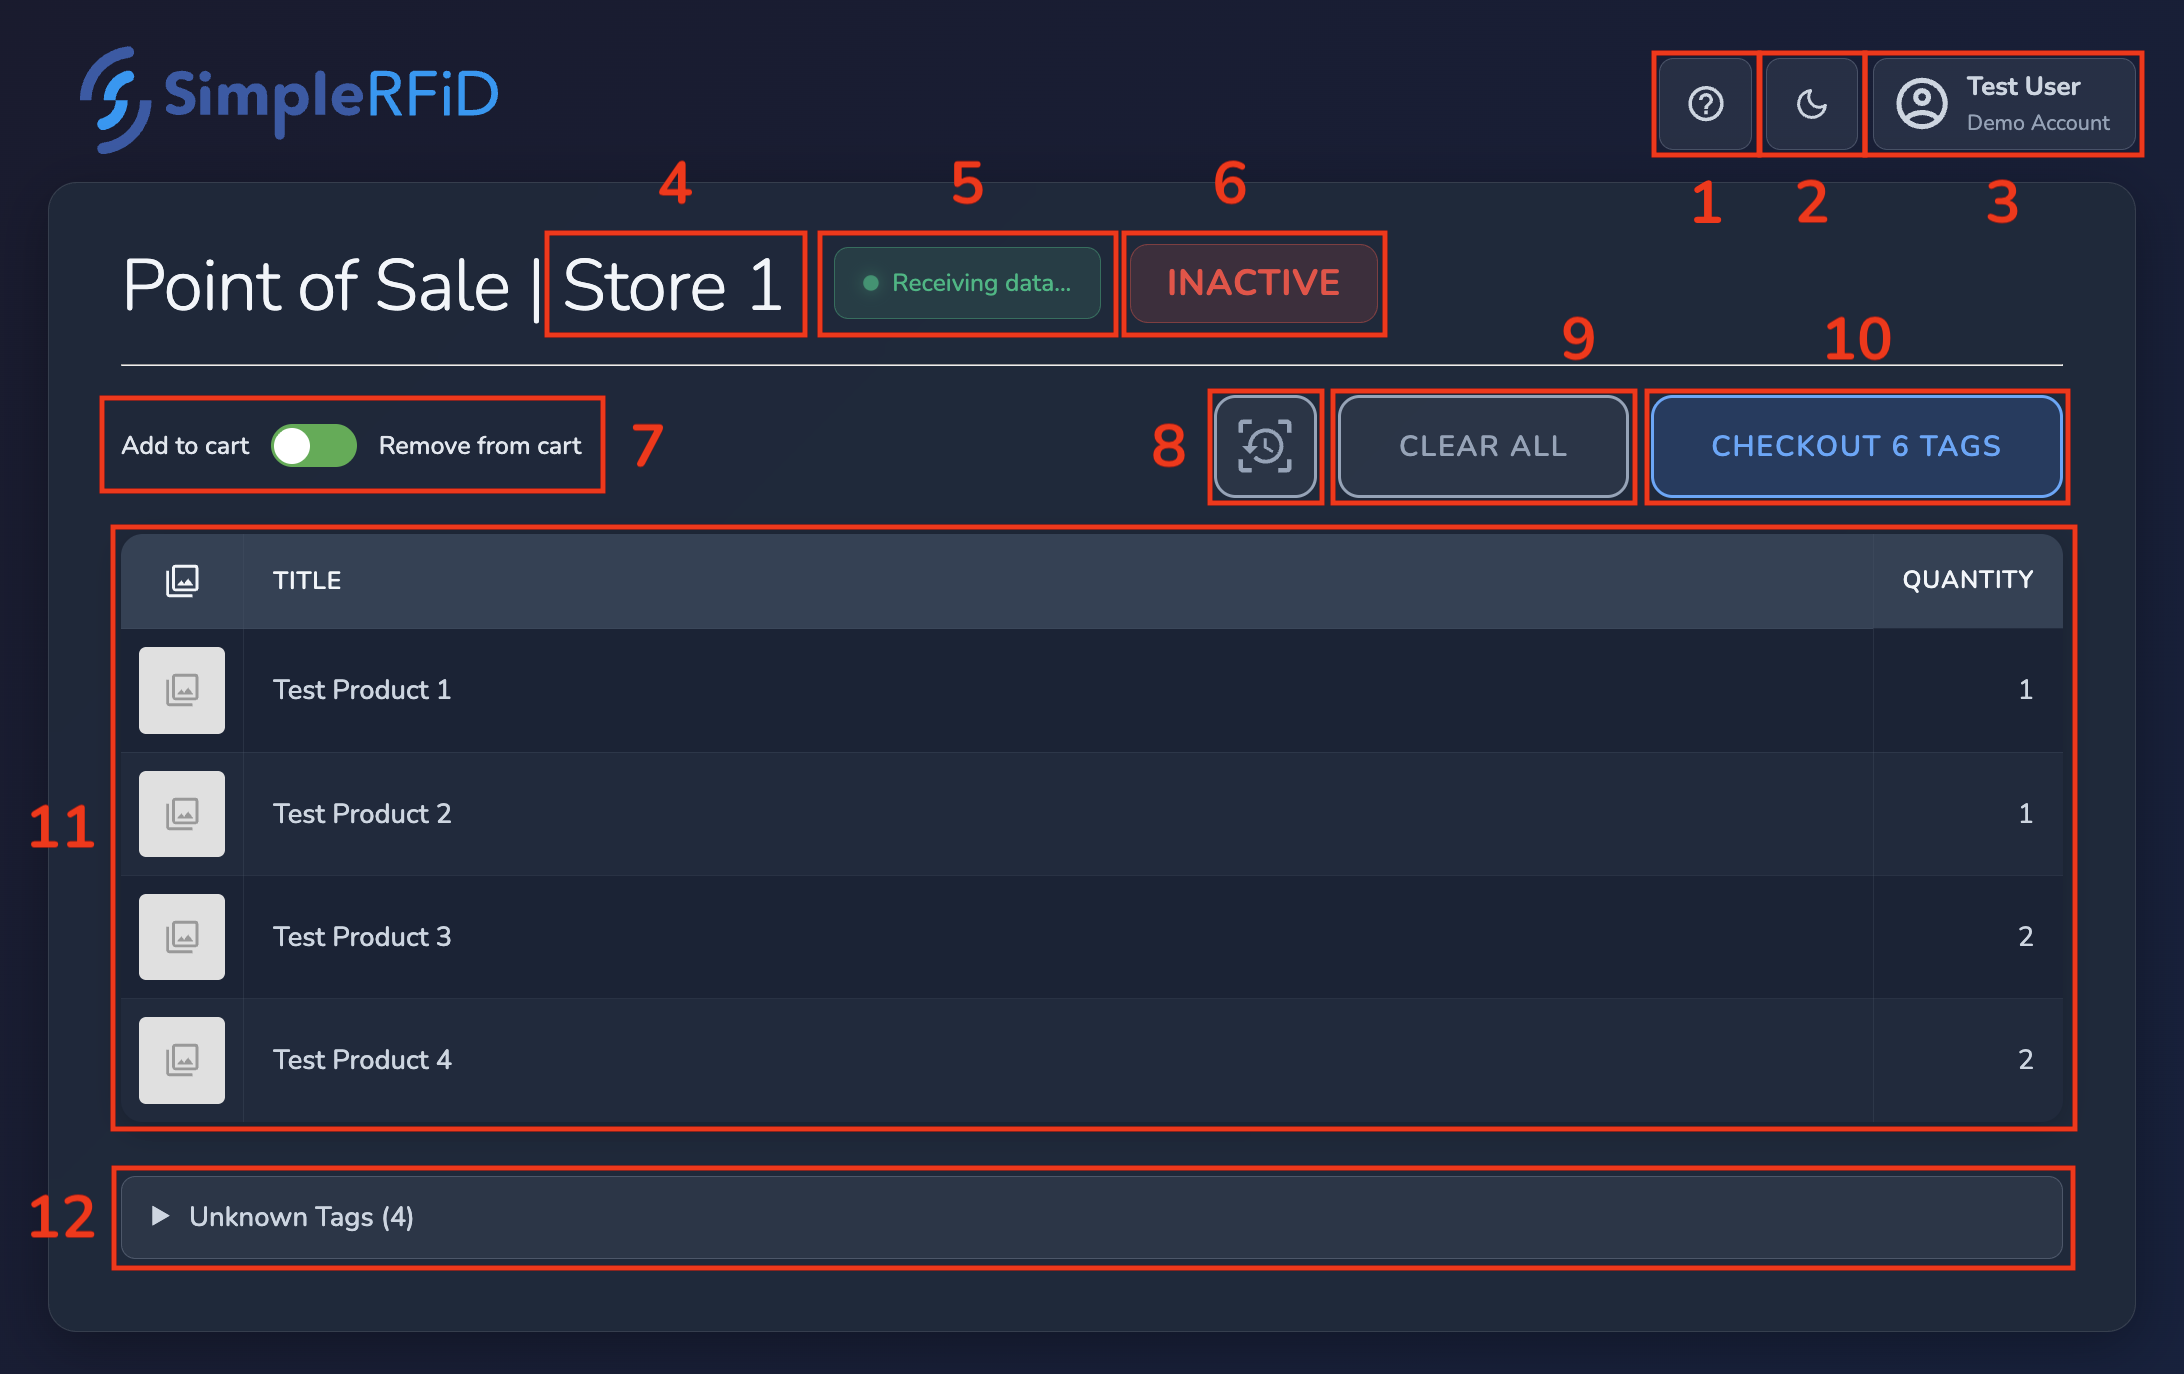
1. Help button 
2. Theme switcher
3. Admin menu
- Change location: switch between locations. If you move the scanner between inventory locations, use this option. Otherwise, the location should remain the same.
- Log out: log out of your Simple RFID account. Note: you may choose to use a dedicated user account for the point of sale.
4. Location indicator
Appearing as part of the title, this simply indicates which location is currently selected, and where the tags will be archived in Simple RFID.
5. Receiving Data indicator
This indicator will appear when the app is receiving keystrokes from a Human Interface Device (HID). Most of the time, this will be the RFID scanner, but because your keyboard is also a HID, you'll also see this indicator if you press any keys.
Any data that is not recognized as a valid EPC from an RFID tag will be discarded, so accidental key presses are usually not an issue. However, if you press any key(s) on your keyboard at the same time as scanning an RFID tag, you may need to re-scan the tag in order for it to register correctly.
6. Inactive indicator
This shows when the app isn’t focused (meaning the app isn't the one you’re currently using). The scanner sends keystrokes like a keyboard, so the app must be open and active to get the input. Otherwise, the keystrokes will go wherever you’re currently working.
7. Add/Remove switch
This switch is labeled Add to cart / Remove from cart and lets you switch between adding items and removing them.
For example, if you accidentally scan an extra item, switch to Remove from cart, then scan that item again to remove it. Items need to be scanned again to remove them because we use the serial number from the EPC to make sure the correct items are checked out.
Be sure to switch back to Add to cart before continuing to scan items!
8. History button
9. Clear All button
10. Checkout button
11. Scanned items
This is a list of all known tags that have been scanned into the cart. The table displays the image (if one exists), the Title (Category | Name | Color | Size), and the Quantity that have been scanned.
12. Unknown tags
This is an expandable list of tags that were scanned, that were unable to be matched with a product from your library. You'll see the EPC of the tag, as well as the Company Prefix, Item Reference, and Serial Number decoded from the tag. This is mostly useful for troubleshooting purposes; these tags will not be included in the submitted scan session.