Calibrate from the web portal
Make sure the printer is unpaused before calibrating: Unpause your printer
You can calibrate your printer from the web portal. This can be done from three places:
Option 1: From the Menu Bar

- Access the Available Printers icon at the top-right of the page.

Locate the desired print station and click the Calibrate icon to the right.

Finally, click Calibrate to start the calibration process.

- Accepting this prompt will then send both the media and ribbon and RFID calibrations to the printer, which will proceed automatically with the following steps:
- Media and Ribbon.
- Then a pause for roughly 10 seconds.
- And then the RF calibration, which will take longer; the labels will periodically inch out of the printer for approximately one minute. At the end of the process it will feed out 2 or 3 labels before stopping completely.
- After the calibration has completed:
- Open the printer and roll back the labels so the blank tags may be used—precision is not necessary
- Un-pause the printer
- Now you are ready to print.
If the printer continues to VOID labels, repeat the process. If the issue persists, perform a calibration directly from the printer itself.
Option 2: From the printer's Printer Profile page
The printer profile page contains details for each connected printer. Users can navigate to this page from the Available Printers pop-out menu, or the Station Settings
Printer Profile Details
- Location the printer is connected to
- 'Station' (Host PC) the printer is connected to
- Serial Number of the Printer
- Firmware Version of the Printer
- Date the printer was setup
- Printer DPI: 203, 300, or 600
- Connection Method: USB or Ethernet
- Print Station connectivity indicator
- Printer connectivity indicator
- Notes section
- Calibrate Printer button
- Save button to save changes
- Close button to exit the page
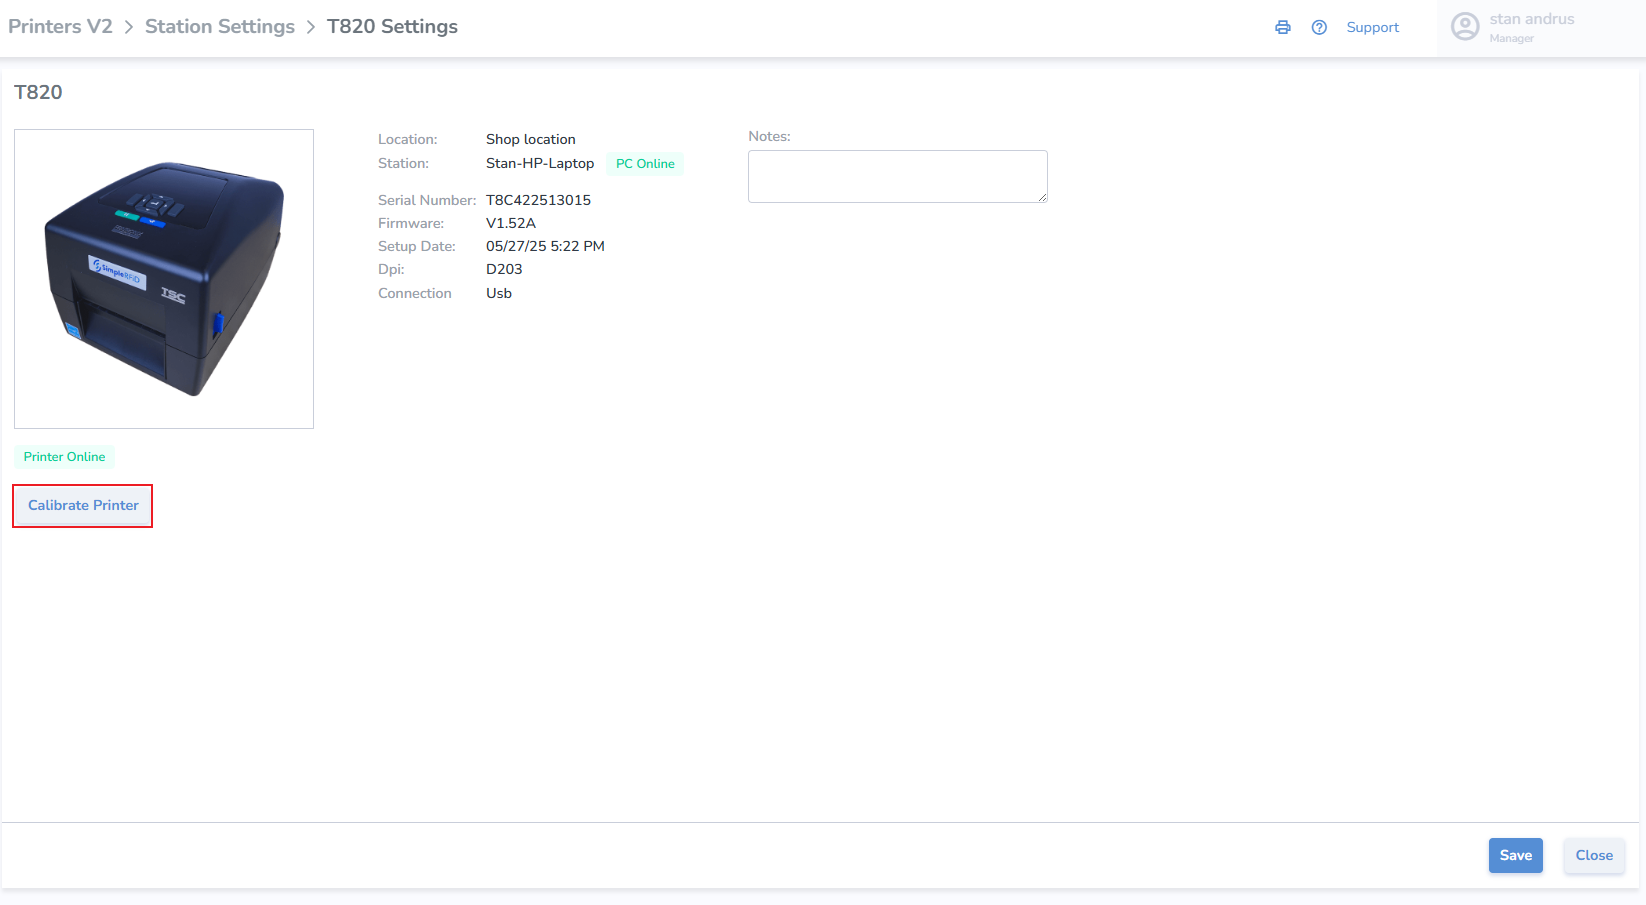
Calibrate Printer from Printer Profile
- Calibrate click the button
- Click 'Calibrate' on pop-up
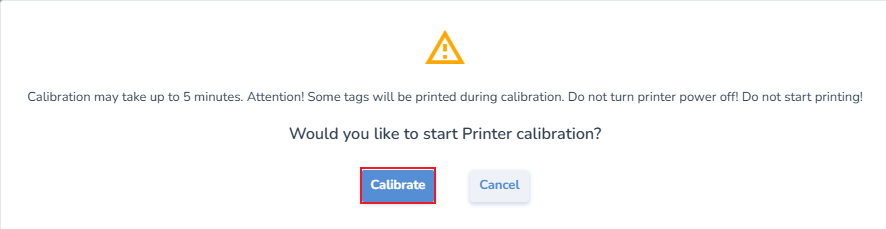
- Accepting this prompt will then send both the media and ribbon and RFID calibrations to the printer, which will proceed automatically with the following steps:
- Media and Ribbon.
- Then a pause for roughly 10 seconds.
- And then the RF calibration, which will take longer; the labels will periodically inch out of the printer for approximately one minute. At the end of the process it will feed out 2 or 3 labels before stopping completely.
- After the calibration has completed:
- Open the printer and roll back the labels so the blank tags may be used—precision is not necessary
- Un-pause the printer
- Now you are ready to print.
If the printer continues to VOID labels, repeat the process. If the issue persists, perform a calibration directly from the printer itself.
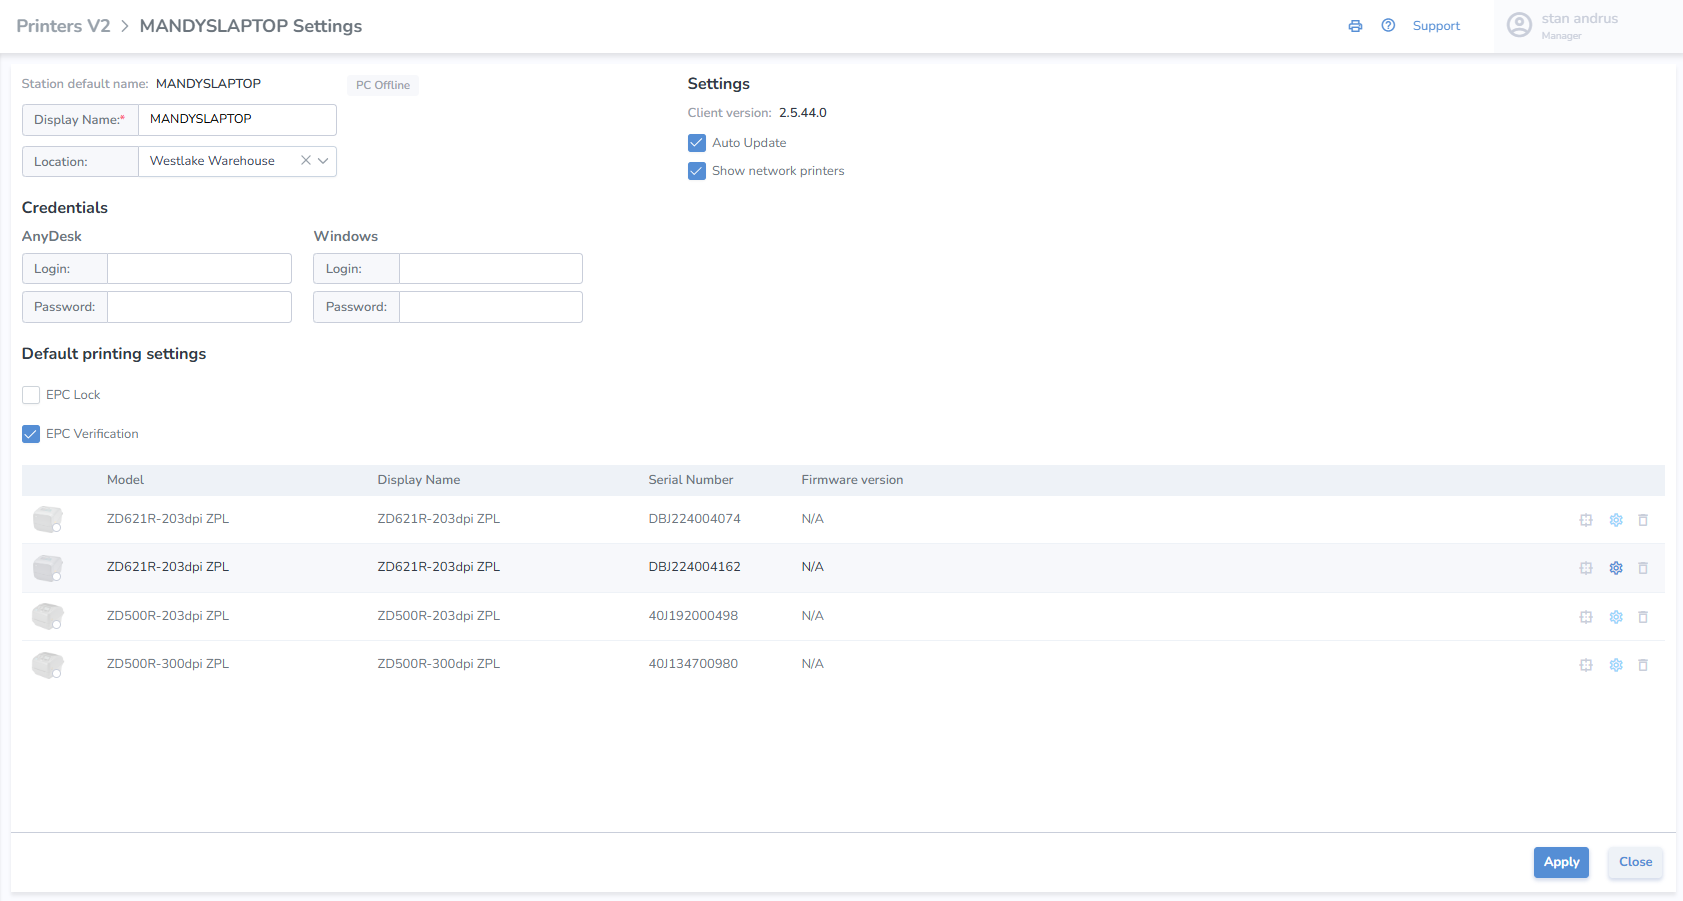
Option 3: From the Printer Station Settings
This page allows for the assignment and view of all printers including settings.