
Configuring your Printronix Printer after a reset
When you update the firmware on your Printronix printer, or if you have to reset its settings during troubleshooting, you'll need to configure a few settings for the printer to work with Simple RFID.
- First, navigate to the Home screen of the printer by pressing the Pause button. You should see this screen:
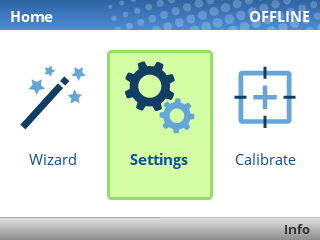
- Click the Settings button
- Within the Settings menu, set the following values:
If you see an ENTER SWITCH LOCKED error, press the Up and Down keys at the same time, once. You should then see ENTER SWITCH UNLOCKED, and then you can perform the calibration.
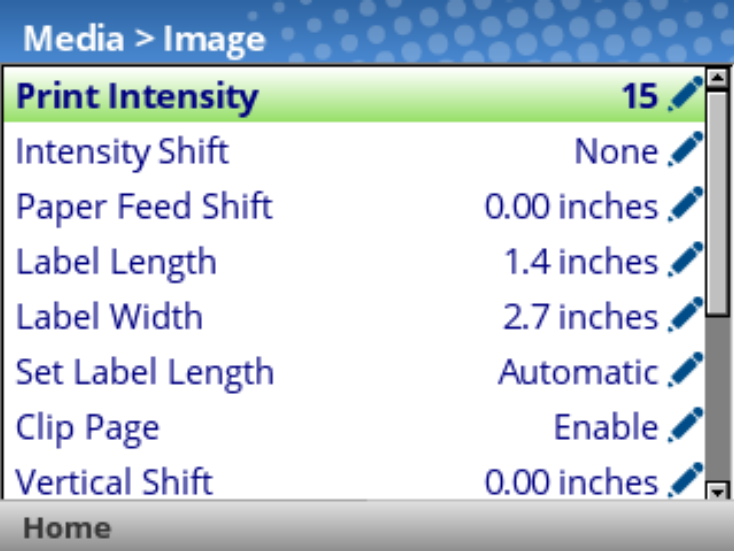
- Media > Image
- Print Intensity: 15
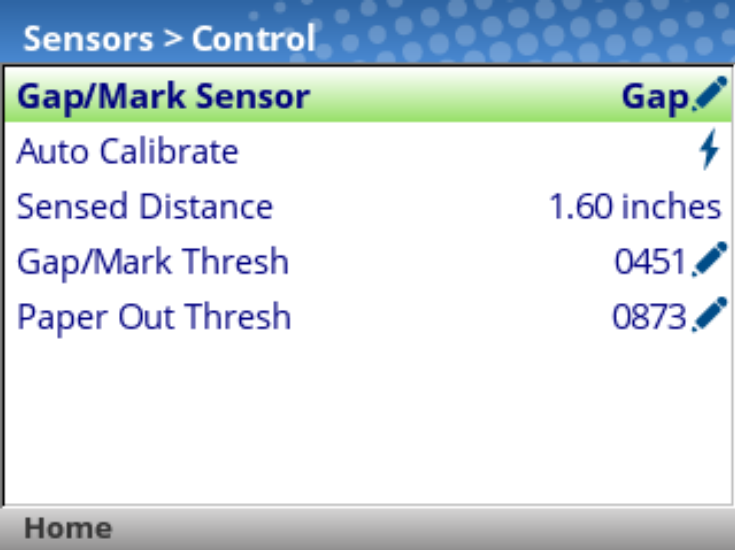
- Sensors > Control
- Gap/Mark Sensor: Gap
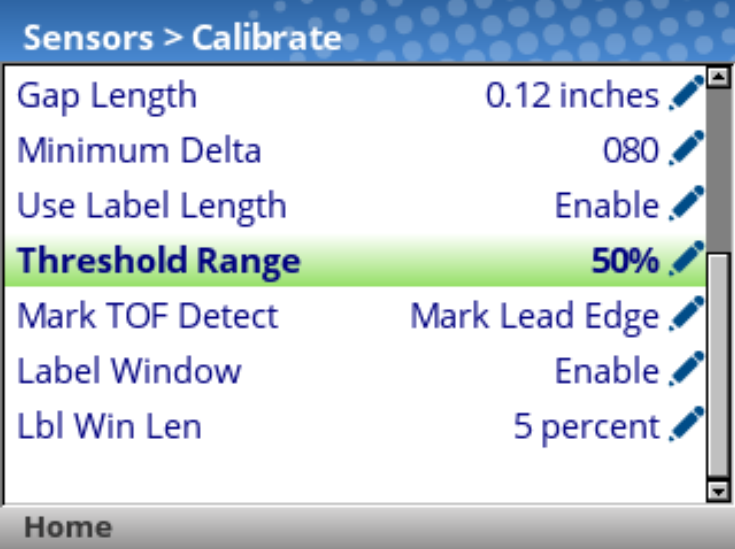
- Sensors > Calibrate
- Power-Up Action: Disable
- Head Close Action: Seek TOF
- Threshold Range: 50%
- Label Window: Enable
- Host I/O > Control
- Interface: USB or Ethernet depending on how the printer is connected

- Application
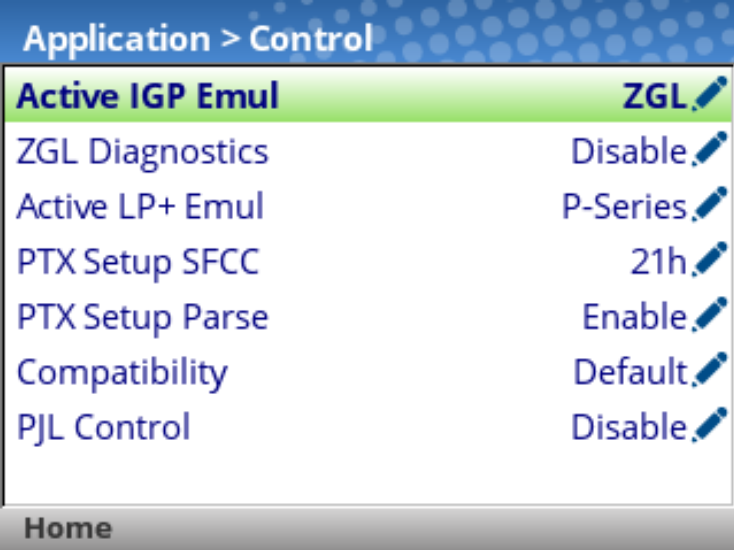
- Control
- Active IGP Emul: ZGL
- Control
-
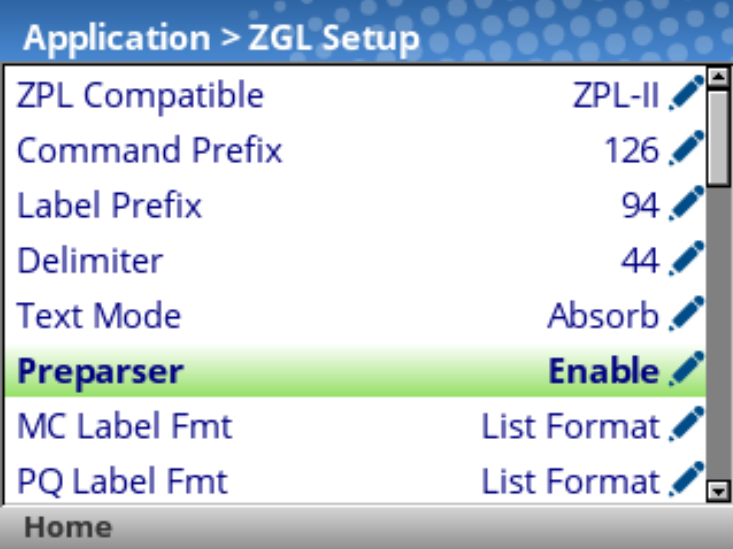
- ZGL Setup
- Preparser: Enable
- ZGL Setup
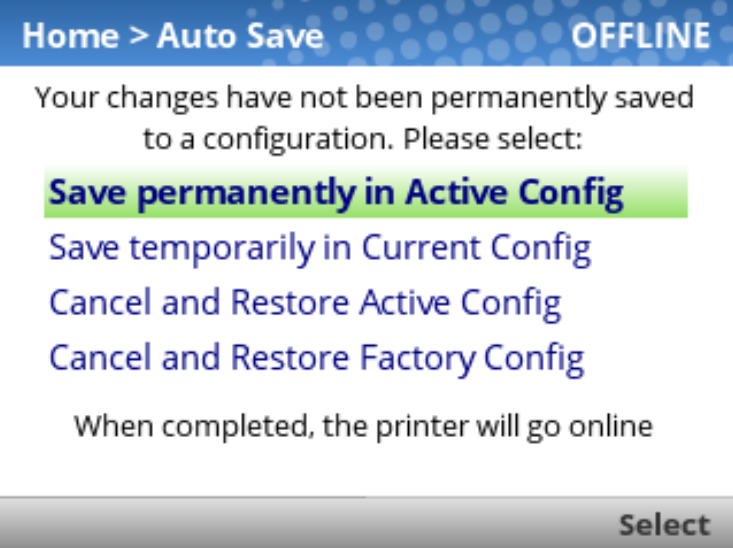
After changing these settings, press the green Pause button to unpause the printer, then select "Save permanently in Active Config".
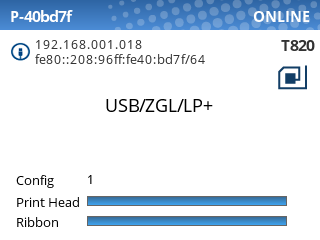
When all the steps have been completed, the printer should show "ONLINE" in the top-right corner of the screen:
You should now be ready to calibrate the printer with either Auto or Manual calibration.