
Mobile App: Verify Receipt of Purchase Orders
Purchase Orders can be scanned to verify the physical items match the ordered items. This verification process is called QC or Quality Control
Purchase Orders must first be created in the web portal, and moved to Receiving status, to appear on the mobile app
To verify a Purchase Order click the Receive icon from the Home screen

If you have access to more than one physical location, confirm the Selected Location is correct. It will appear below 'Receive'
Locate & Open Order
From the Receive tab you will see the Purchase Orders. Locate the order you are receiving
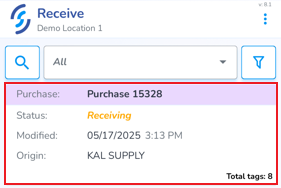
- Click on it to open it
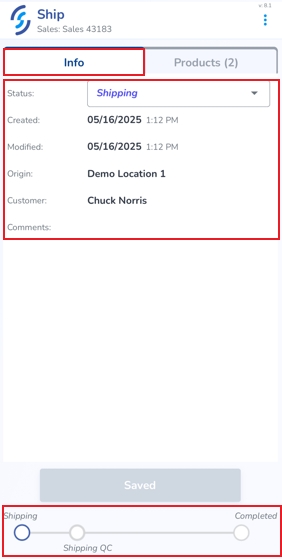
Purchase Orders contain two tabs: Info & Products
The Info tab provides order details including status, origin, customer name, created & modified date, and a progress indicator at the bottom of the screen
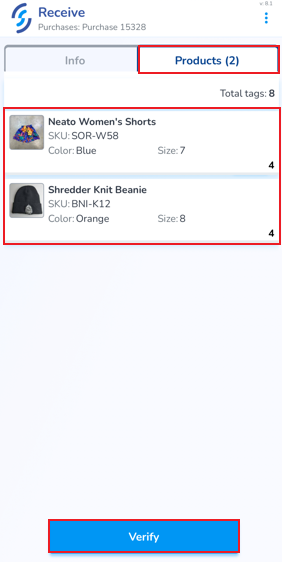
The second tab, Products displays the ordered item(s)
TSL Readers: Pair Bluetooth
- To begin the verification process, click Verify
Scan Labels
Correctly scanned items appear in green. The quantity scanned appears on the left, and the ordered quantity appears on the right. A blue progress bar indicates if any items are missing. Items are filtered for uniqueness by serial number, and therefore items already received cannot be added again.
In the event of a purchase order arriving short, the system will add the received quantities and keep the order open.
To begin scanning either:
- Pull the trigger or press the Auto-scan button reader controls Scan Settings and Auto-Scan at the bottom of the screen .
- If you haven't enabled the setting "Ignore Non Order Products", you may need to Remove items. The switcher allows you to toggle between adding and removing items from the order
- Finish terminates the session
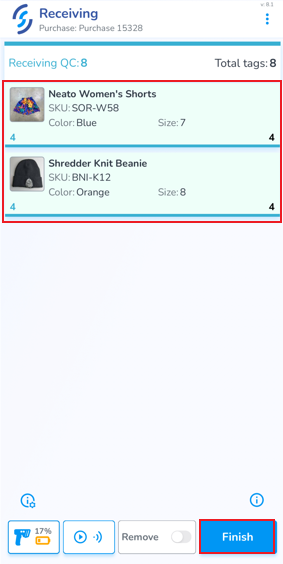
- Once items are scanned click Finish
- Click 'Ok' to the pop-up prompt
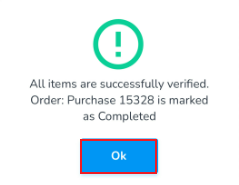
You will be returned back to the Receive orders list, and a toast pop-up will confirm the order as accurate
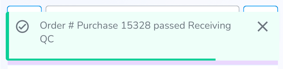
We recommend enabling the setting "Ignore Non Order Products" located in the Application Settings. Enabling this setting only displays related products with new serial numbers which have not yet been received. If the setting is enabled, the scanner will never capture products which aren't related to the order, and therefor the Remove function becomes less important.
Remove Incorrect Items
If an incorrect item is scanned, the word 'remove' appears at the top with the quantity to be removed, and the item to be removed appear in red. Incorrect items must be removed before the scan session can be completed
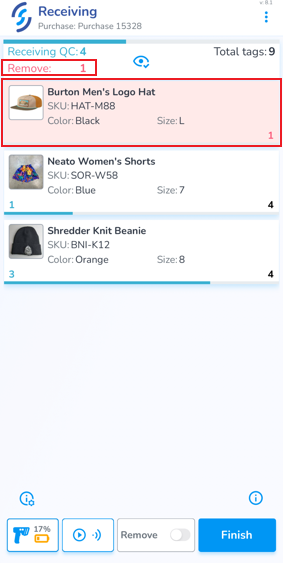
To remove incorrect items you can either:
- Slide the incorrect item to the left, then click on the trash can icon
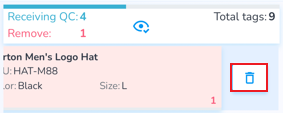
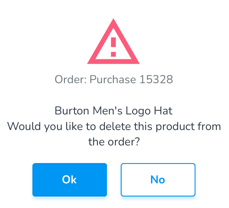
- Click 'Ok' to the pop-up prompt
OR
- Enable the Remove scan option
- Scan the incorrect item(s)

Remove Extra Items
If more items are scanned than are ordered, the 'remove' message appears, and the item with extra items will appear in red, and the number of extra items is displayed on the left
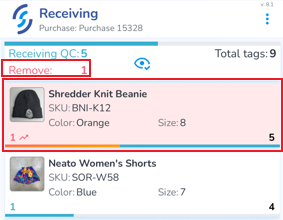
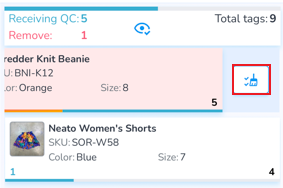
- Slide the item to the left, then tap the broom icon to clear all scans for the item
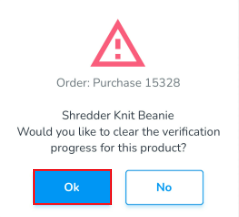
- Click 'Ok' to the pop-up prompt
OR
- Enable the Remove scan option
- Scan only the items being removed