
Creating, Printing, Verifying, and Receiving Purchase Orders in Shopify
Attn: If you receive product directly into Shopify from another source you'll want to keep this setting disabled. Enabling it and verifying orders will add the scanned quantity to Shopify again.
Inside your Settings panel you'll find "Shopify Settings." Here you must enable the setting to "Receive purchase orders in Shopify on verify."
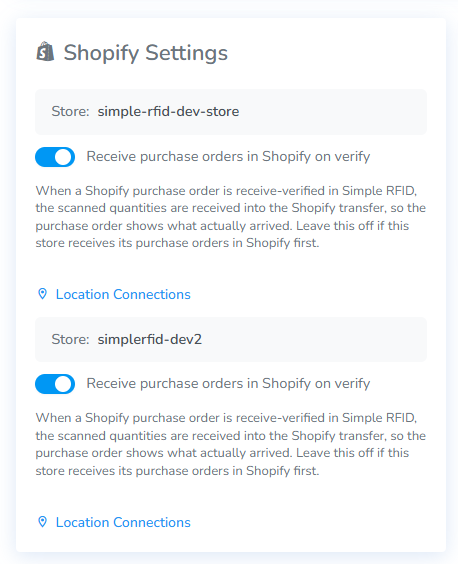
Steps:
Creating
The first step takes care of itself. Simply create the PO in Shopify and it will automatically copy over to Simple RFID.
Printing
Now with the PO appearing in Simple RFID Orders > Purchases section:
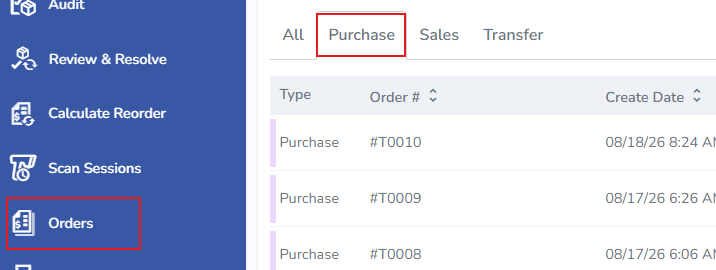
- Click on the desired order to open it
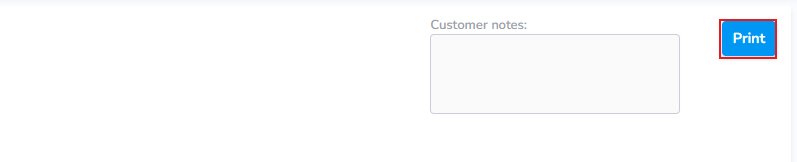
- Click the Print button in the right corner
This opens the print window with the PO contents loaded
- Select the desired printer & label layout
- Click "Print" to initiate the job immediately, or "Postpone" to send the job to the printer in Paused status
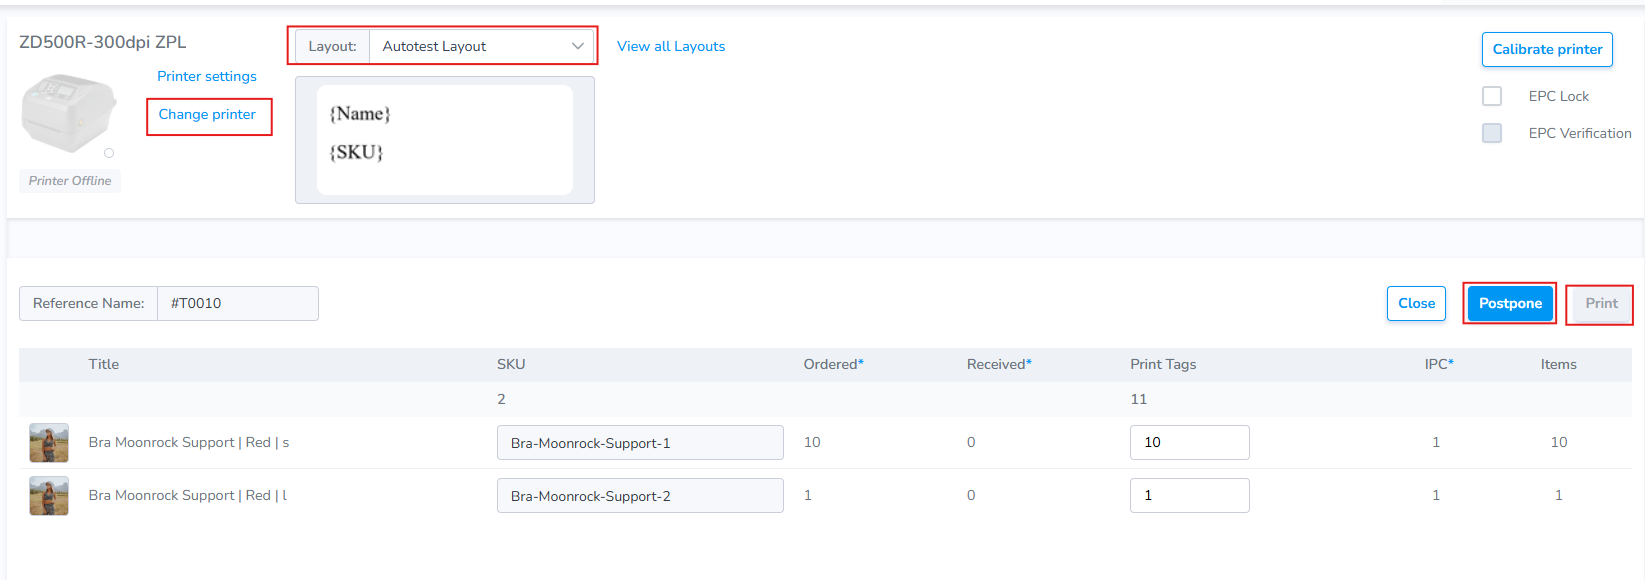
Print & Apply Labels
- Print the job completely.
- Reprint any failed tags as necessary. This can be done after scanning labels with the receiving scan which identifies the
- Next, affix the labels to the corresponding products
Verify Order
- Next, open the mobile app and go to the location you are receiving the new product to.
- Click on the Receiving tab.
- Click on the Products tab
- Click Verify Order
- Scan Tags
- Upload
You can reference the complete flow using this article found in the Mobile Software section.
Your Shopify order status will be updated and will reflect the items scanned.