Shopify Inventory Page
The new Shopify Inventory page provides the user with the ability to compare their RFID counts against their expected, print, start audits, and sync to Shopify.
Configure the Inventory Page: Type, Tags, Collections & Categories
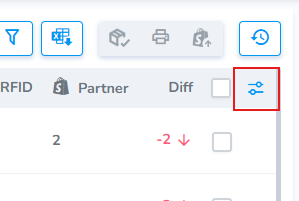
When you first access this page you'll want to customize the columns and order to ensure that the page contains the most important properties. For example, do you flag your products with Type, Tags, Collections, or Categories in Shopify? If so, you can use these filters to capture only the variants you wish. To do this click on the settings icon in the far right corner:
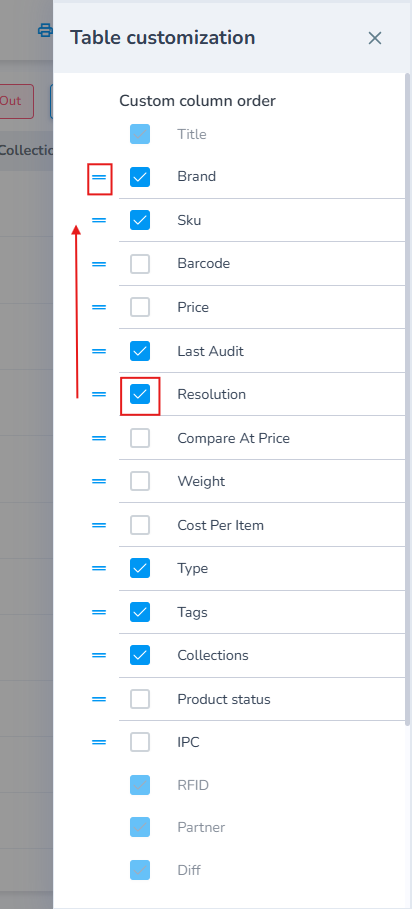
This will expand a pop-out menu which will allow you to choose the properties that you wish to be visible, then drag them to the position you wish to have them:
Inventory Page
This page provides visibility to the current RFID verified count, and the current Shopify on hand qty.
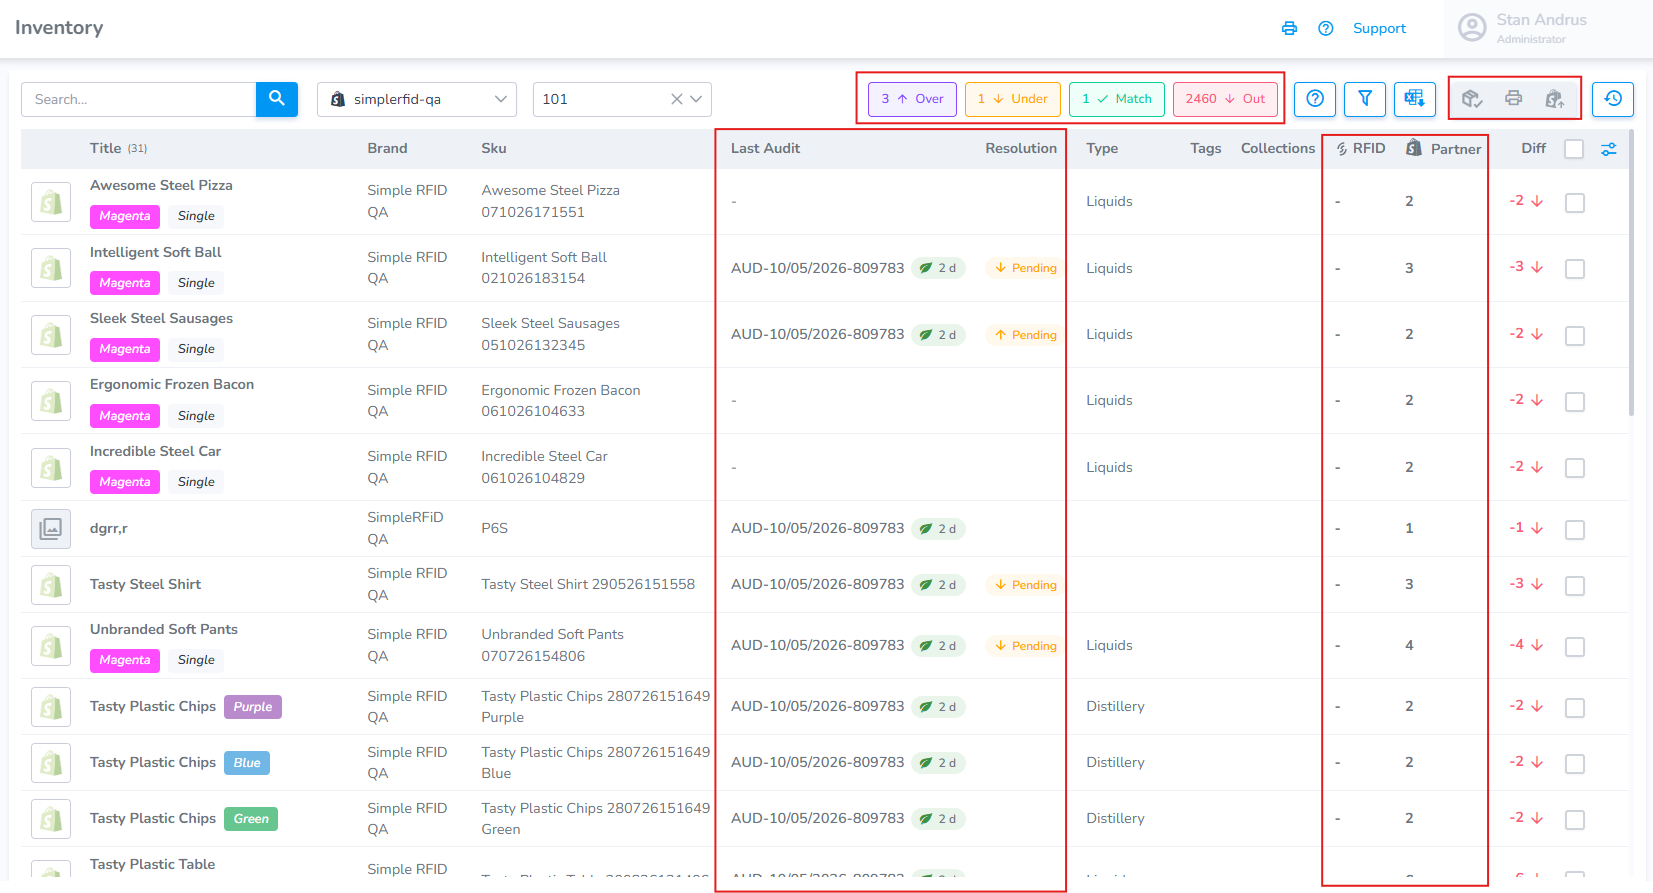
When an audit is created and opened it will appear in the Last Audit column and will display the current audit count. When the audit is closed it will show a freshness marker, and if there is a resolution in progress it will appear under the Resolution column.
Start Audit from this page
1. Click the variant(s) you wish to include in the audit
2. Click the Audit icon at the top
3. The selected variants will be added to a Draft audit
Print from this page
1. Click the variant(s) you wish to include in the print job
2. Click on the Printing icon
3. The selected variants will be added to the print job creation screen.
Sync from this page
1. Click the variant(s) you wish to include in the inventory adjustment.
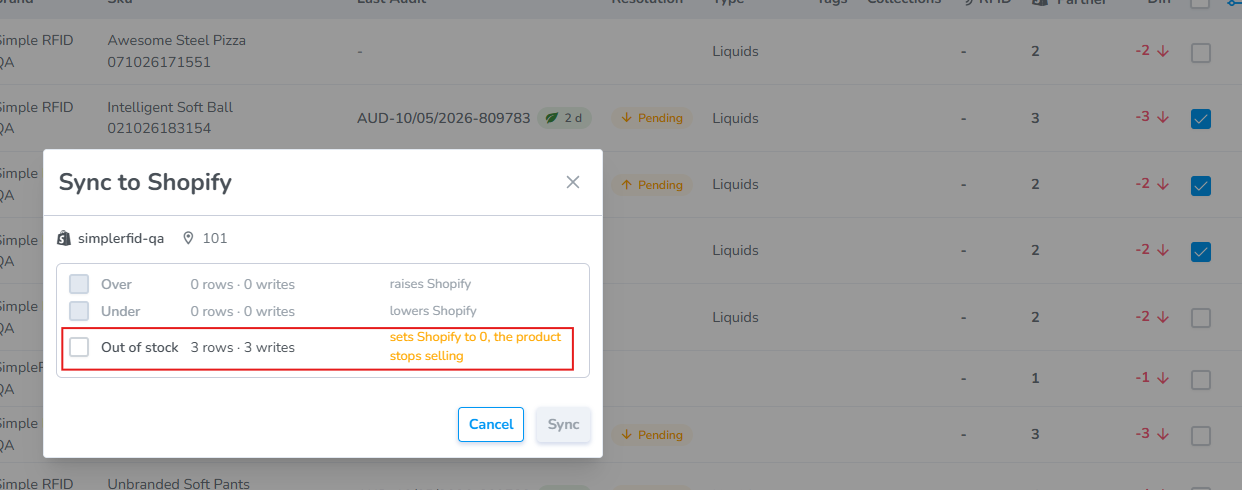
2. Click on the Sync icon
3. From the pop-up choose the items to sync