
Reset Inventory & View Absent Items
This article provides instruction for users who do not have an external inventory source to compare inventory against, but who still wish to identify what items are in inventory, and what items are no longer present.
If you wish to compare scans against custom source, such as a spreadsheet, or data from an integration such as Shopify, please refer to the following articles: Custom Source Audits and Audit against Integration
Open the Simple RFID app on your scanner or phone that is paired with a scanner.
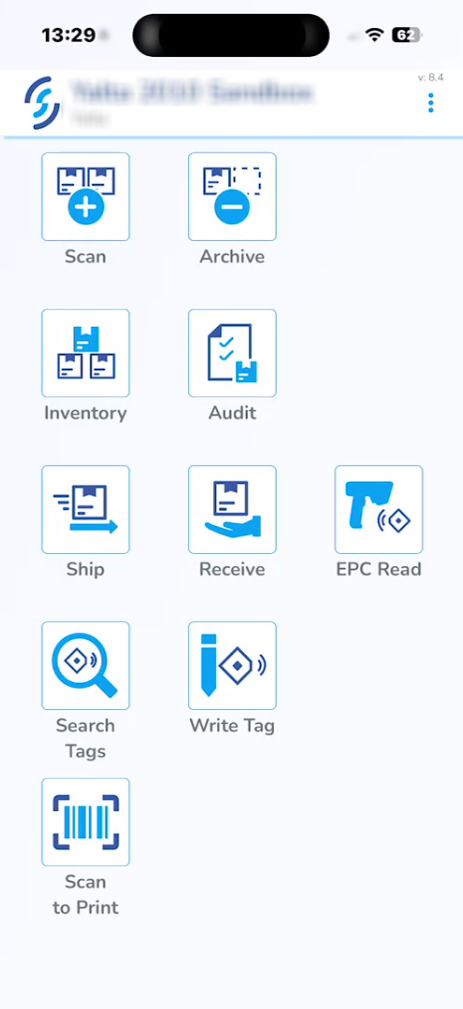
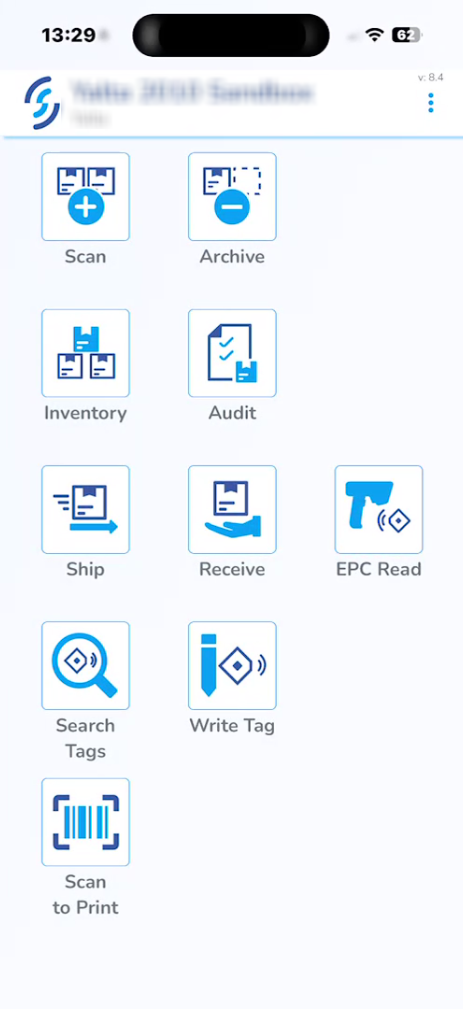
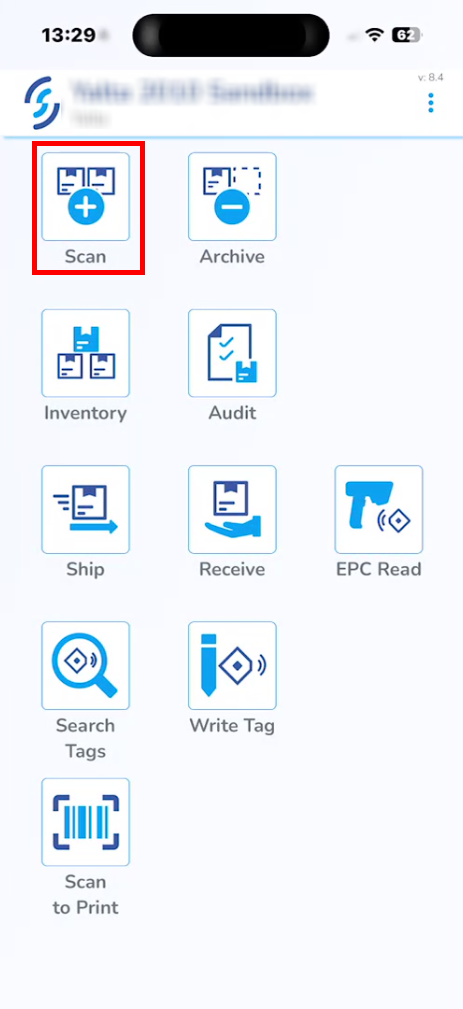
On the homepage, click Scan.
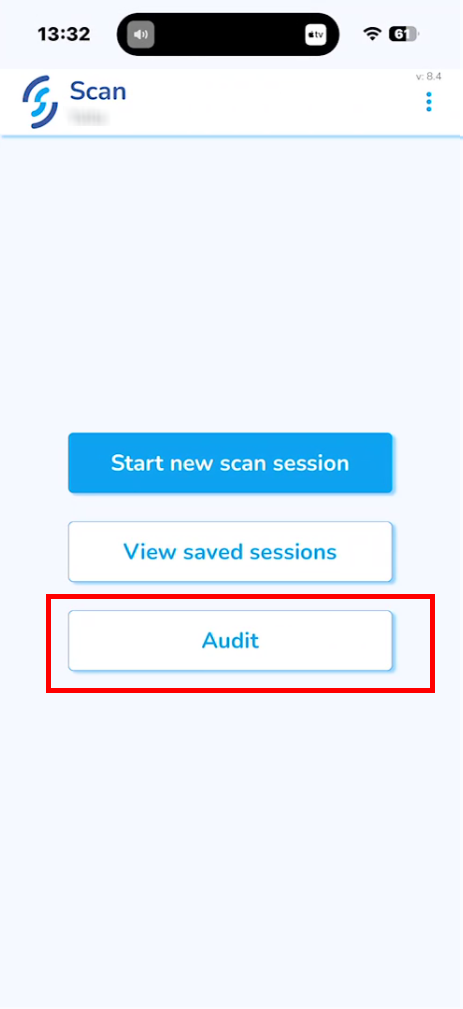
Select Audit.
Click Yes when prompted: "Your Inventory will be cleared!"
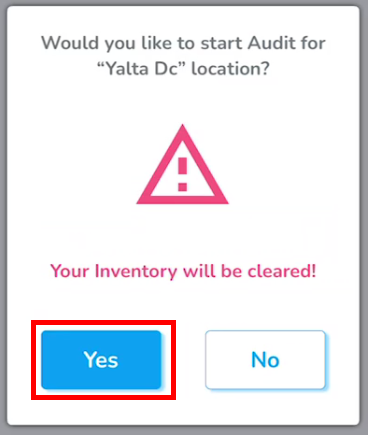
After accepting the prompt, you will be taken back to the Scan menu.
Select Start new scan session.
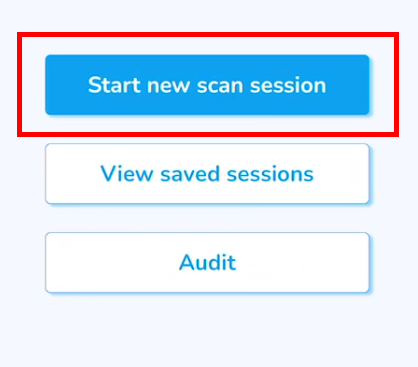
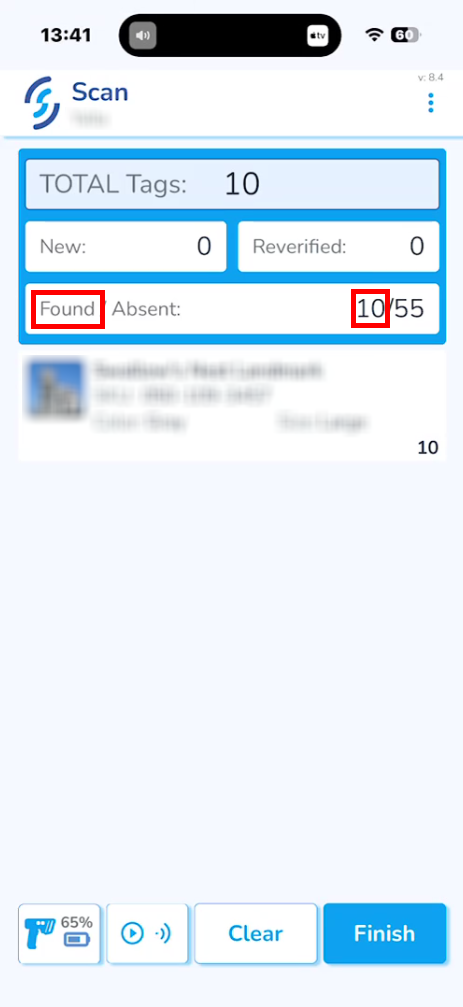
This step is similar to the regular scan.
Items that existed in the inventory before it was cleared will be marked as Found.
Items that are already in the active inventory and are scanned during this session will be marked as Reverified and will not be counted towards the main quantity during upload to avoid double-counting.
Click Upload to inventory and Ok.
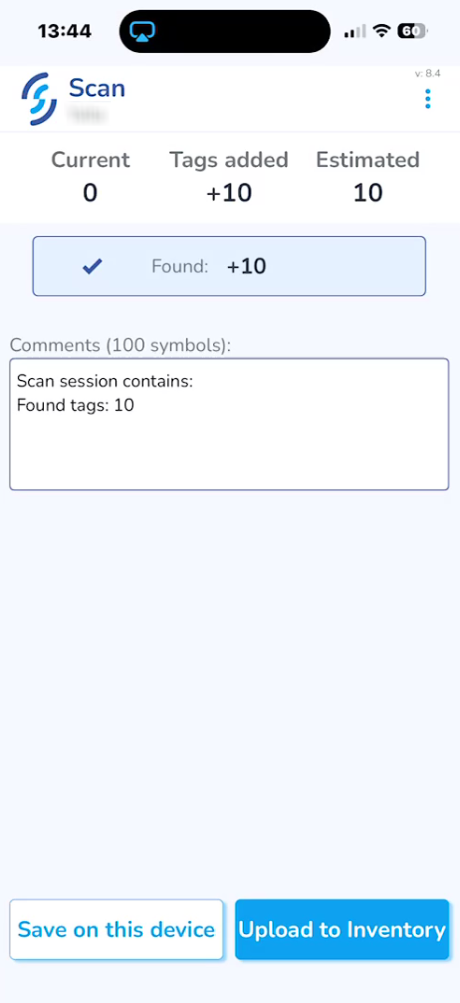
After the scan session is uploaded, go to the SimpleRFID web portal and click Inventory.
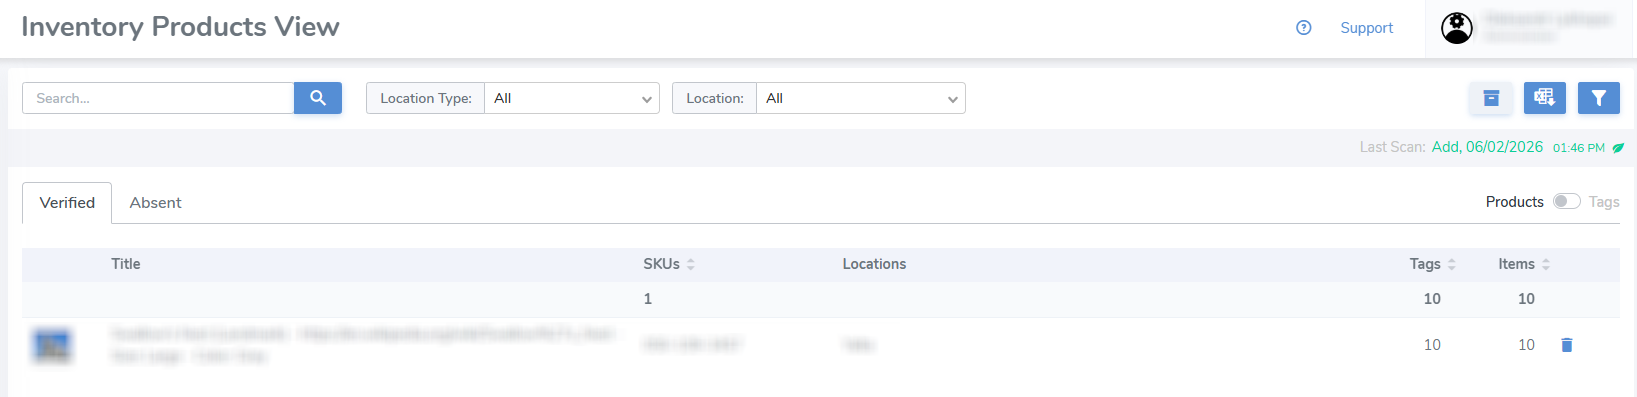
All the Found products will be under the Verified tab.
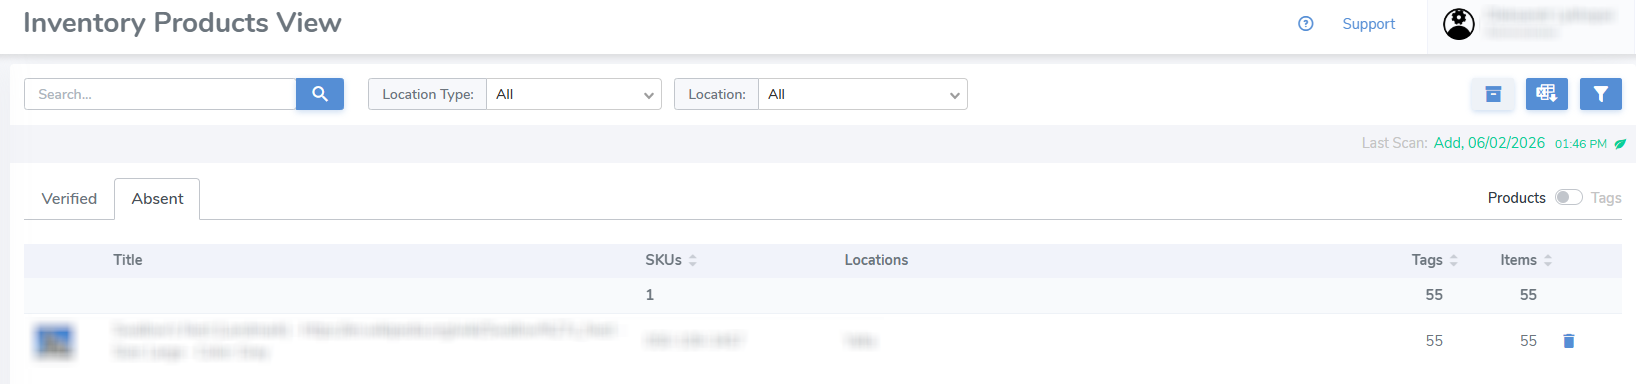
The products that were not found during the audit scan will be under the Absent tab.
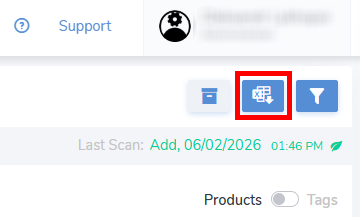
The report of the current inventory can be downloaded by clicking the second button in the top-right corner.
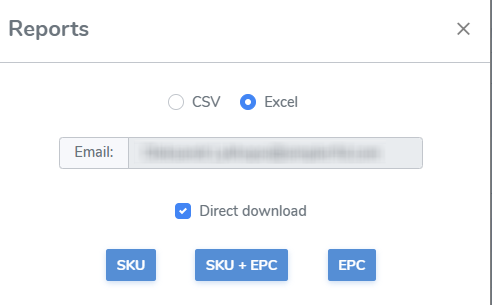
It's possible to download 2 different reports, one for Verified and another for Absent items, which depends on which Inventory tab is currently open.
Each report is meant to represent specific information, but all of them can be downloaded.
The audit scan session can also be viewed and its report obtained via the Scan Sessions tab in the navigation menu.