
Printronix: Updating Firmware via Flash Drive
This upgrade method will replace your printer's configuration with default values from Simple RFID, so you may need to adjust some settings after the upgrade to restore ideal print performance. If you'd like to preserve your current settings, update the firmware via the webpage.
Requirements:
- Flash Drive formatted with FAT32 and MBR partitioning
- Printer set up with Power
Step 1: Download the CCM Zip File
Download the ZIP file from the link below which corresponds with your printer model:
- T800 (T820, T830): T800 CCM 1.52E.zip
- T6000e (T6204e, T6304e, T6604e): T6000e CCM 1.42E.zip
Step 2: Extract the file onto your Flash Drive
After downloading, open up file explorer to the file and Extract All from the zip file onto the Flash Drive. At this point the Flash Drive is ready. (Video instructions of this process can be found at the top of this article).
Step 3: Turn off the Printer
With the power cord still plugged in, switch the power off.
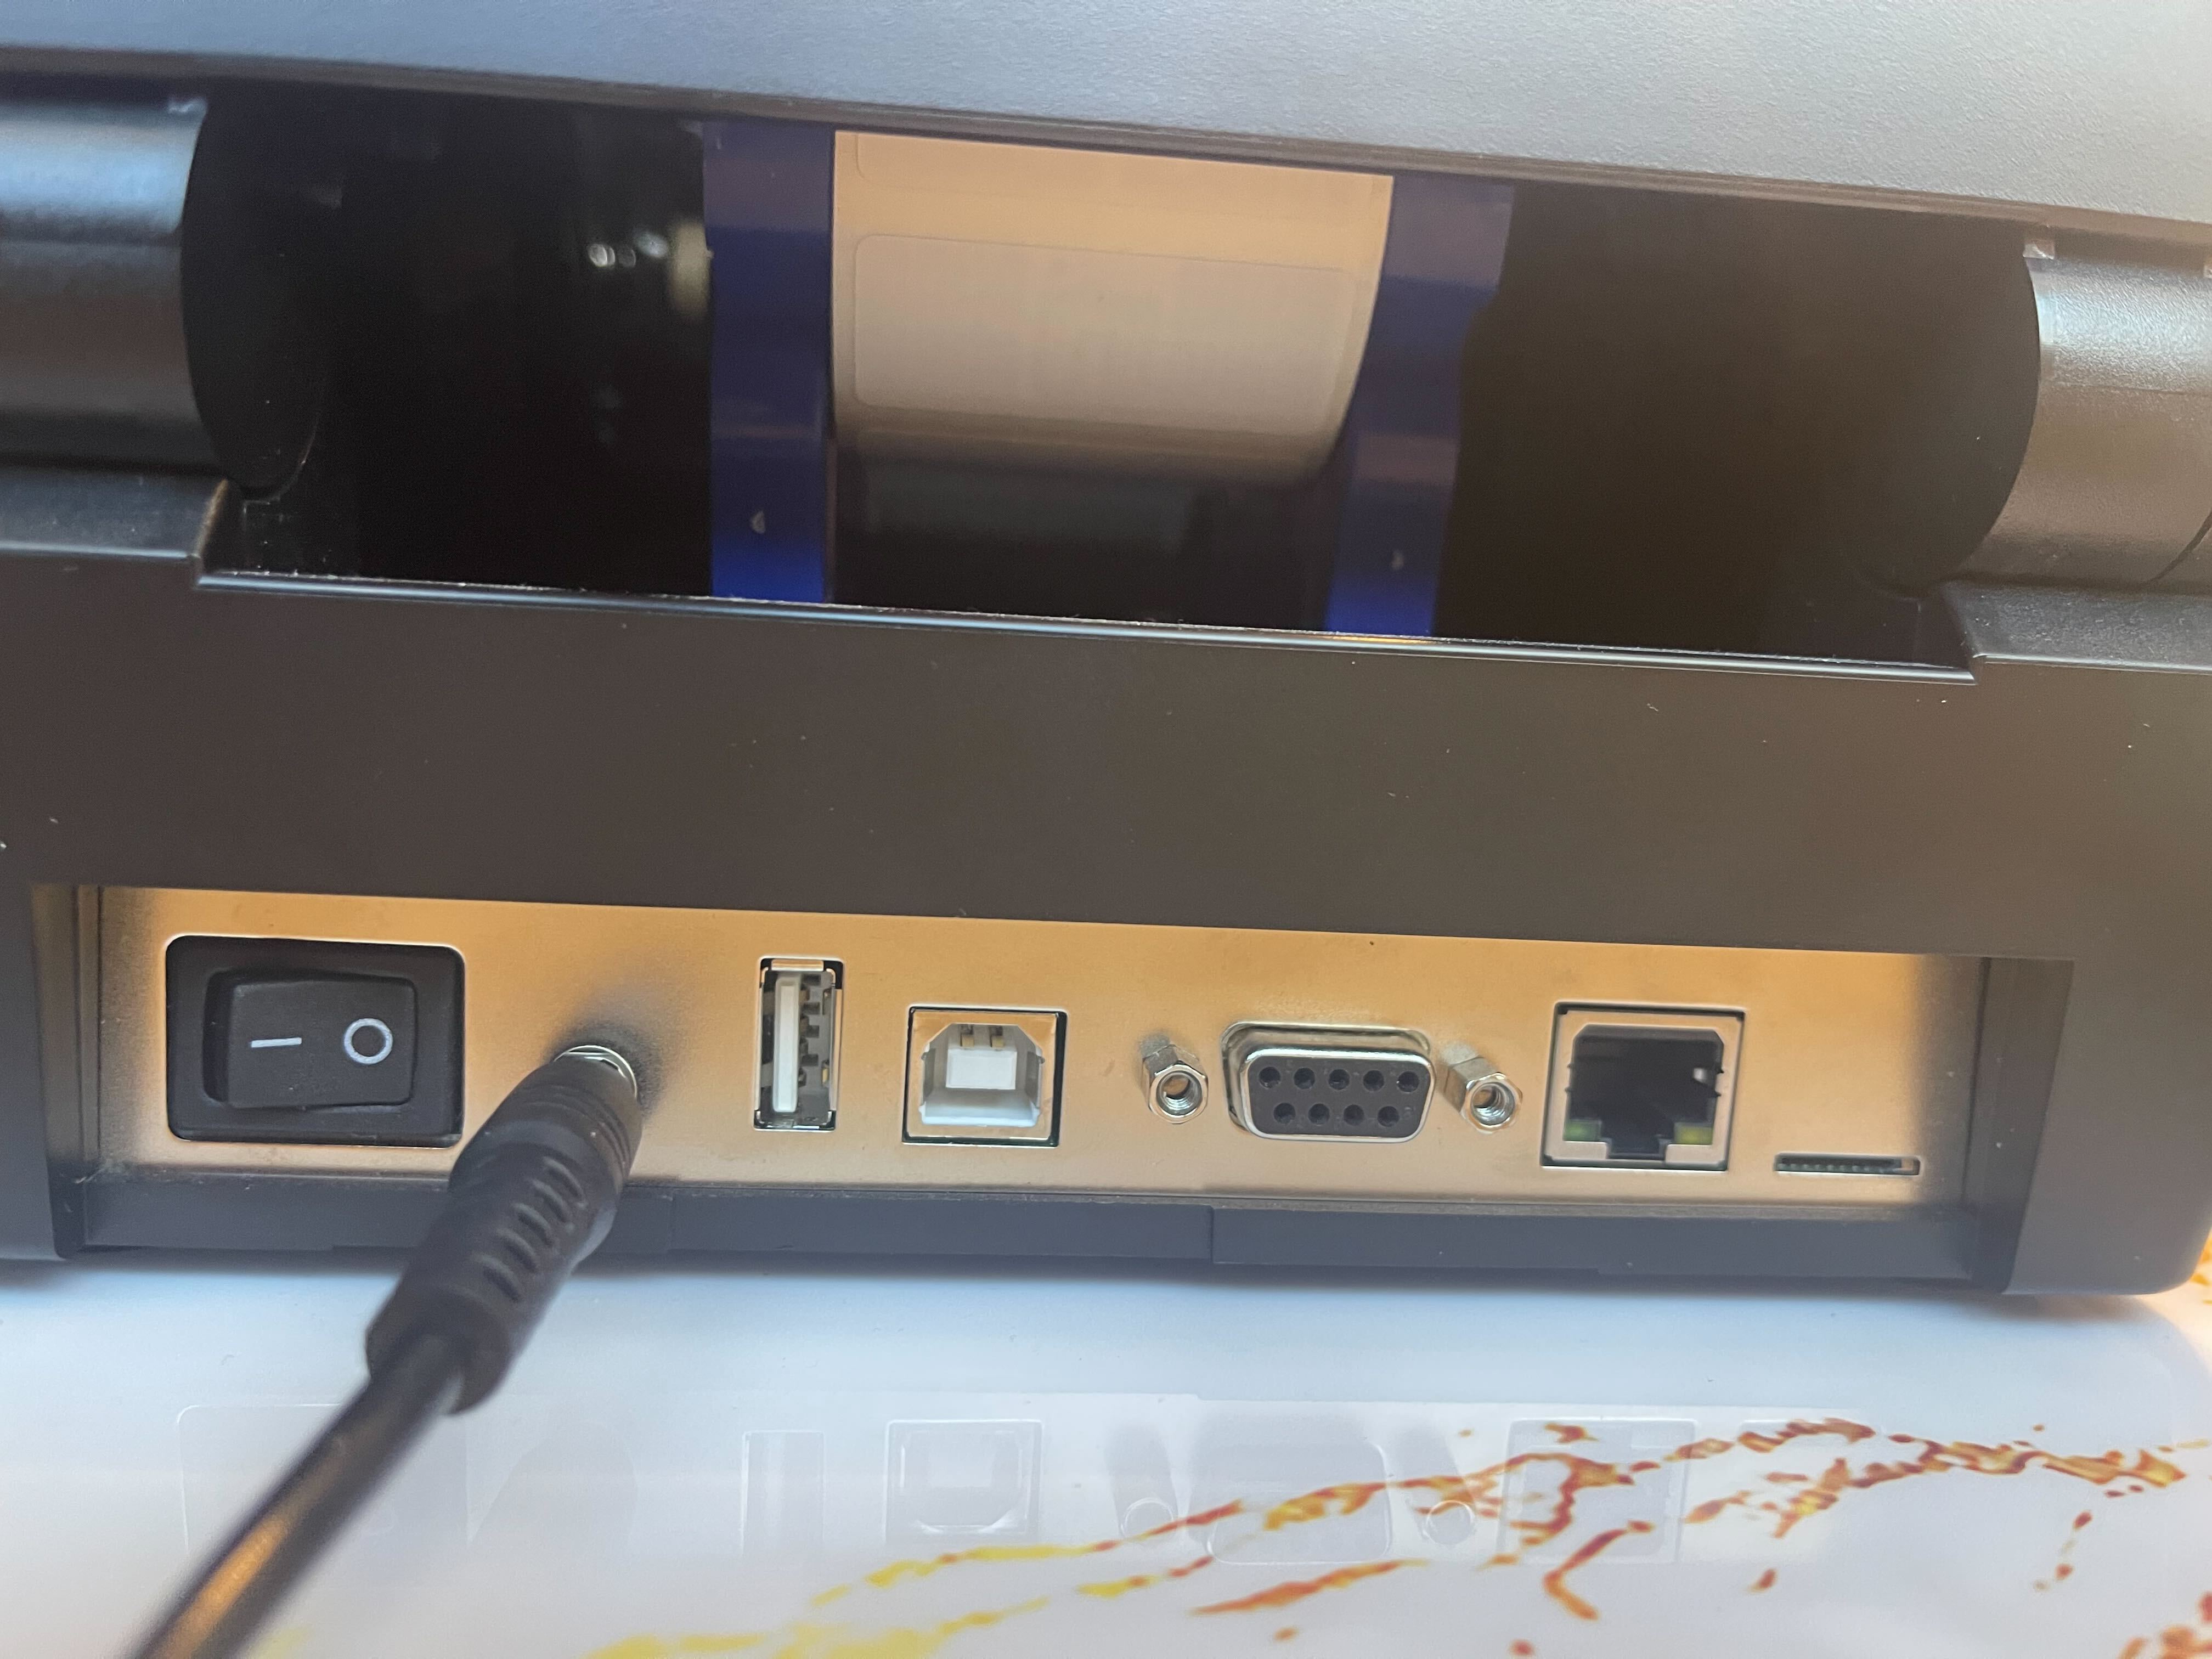
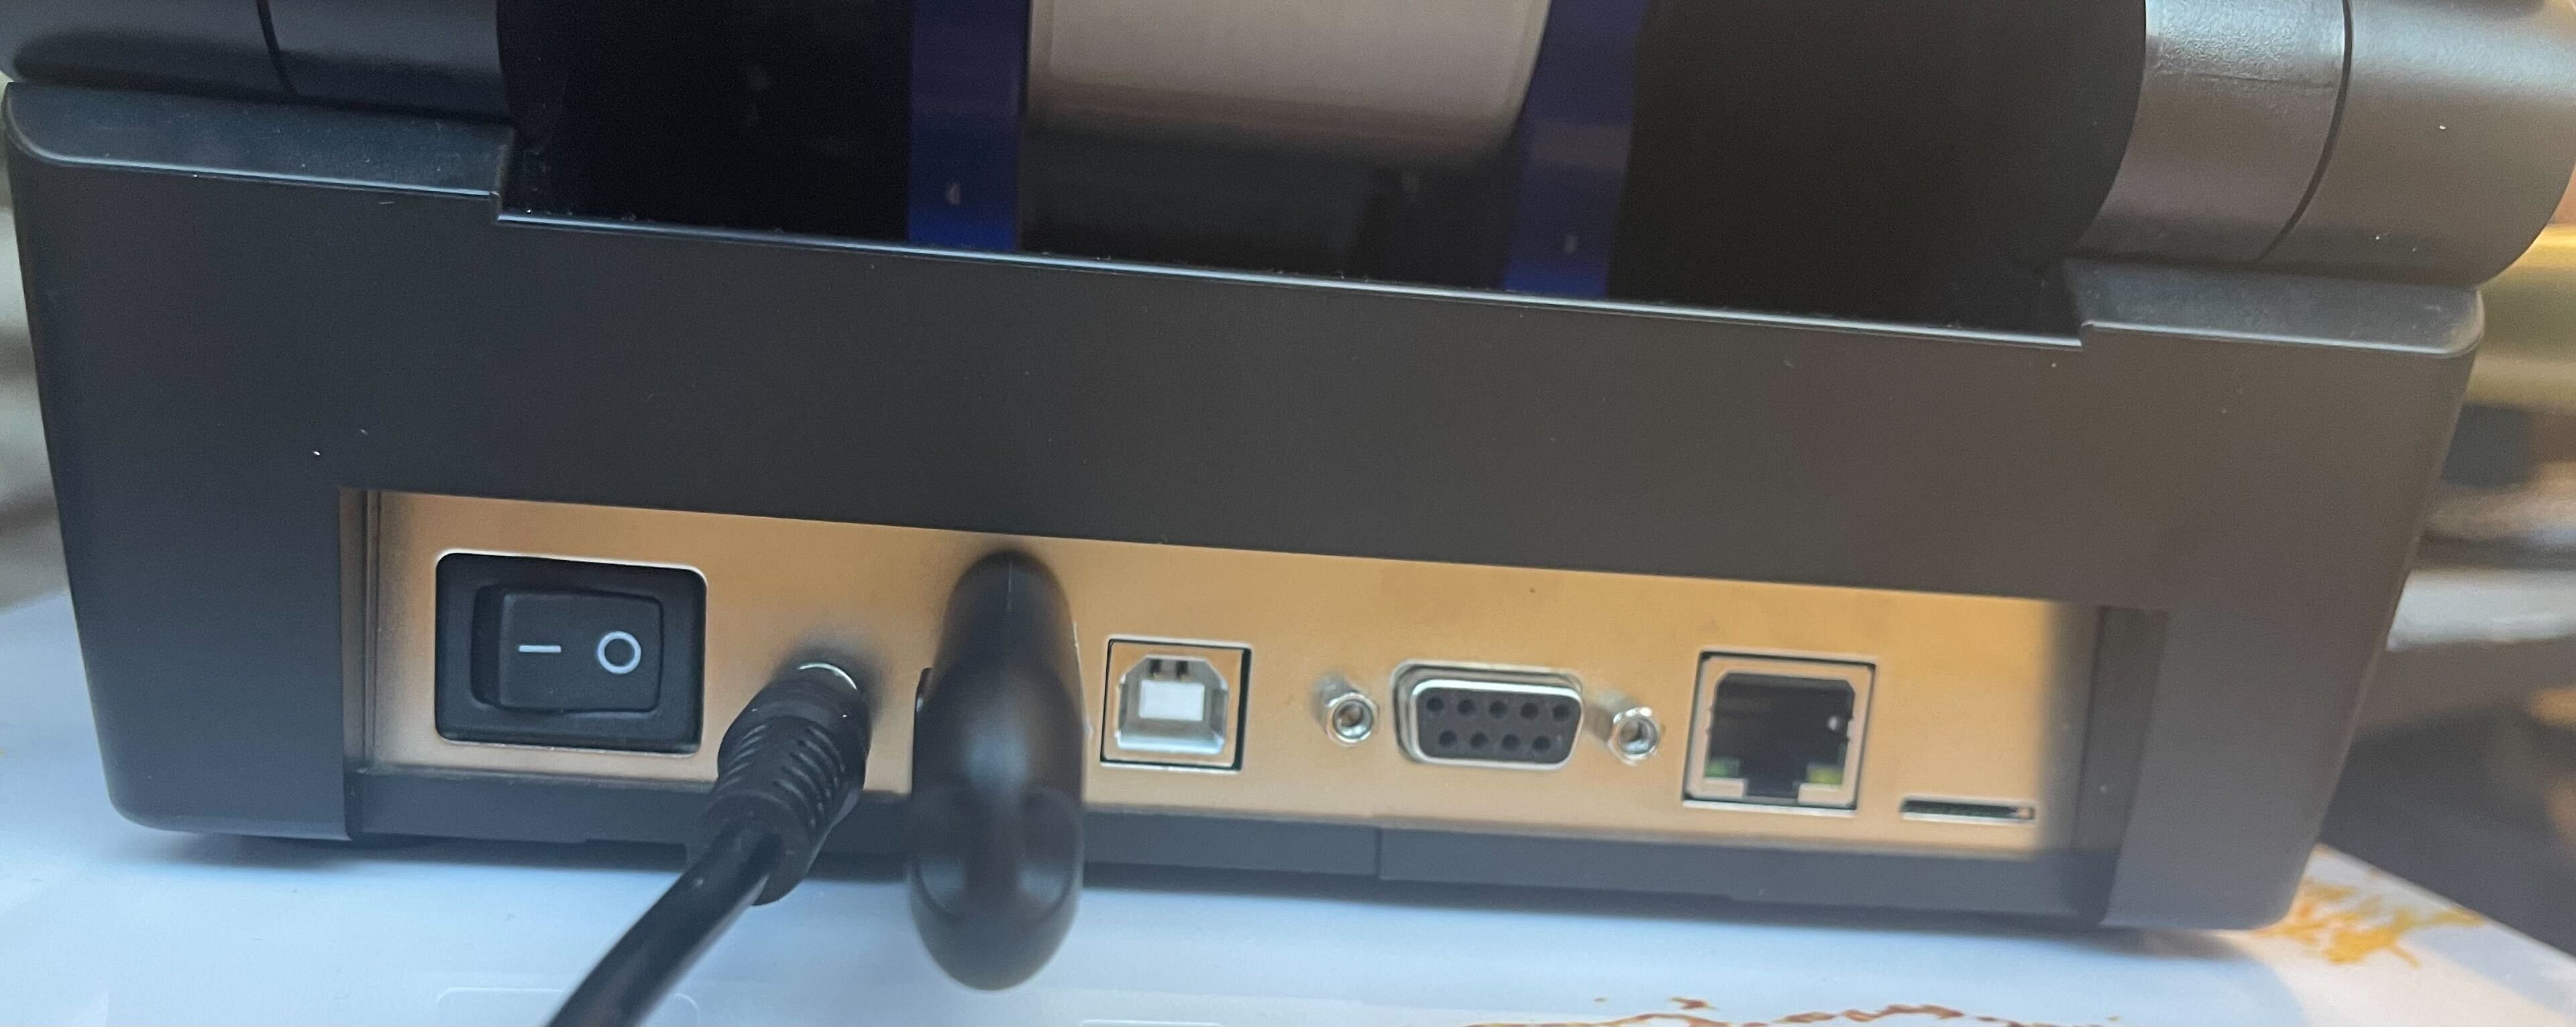
Step 4: Plug the Flash Drive into your Printer
- Plug the Flash Drive into your Printer.
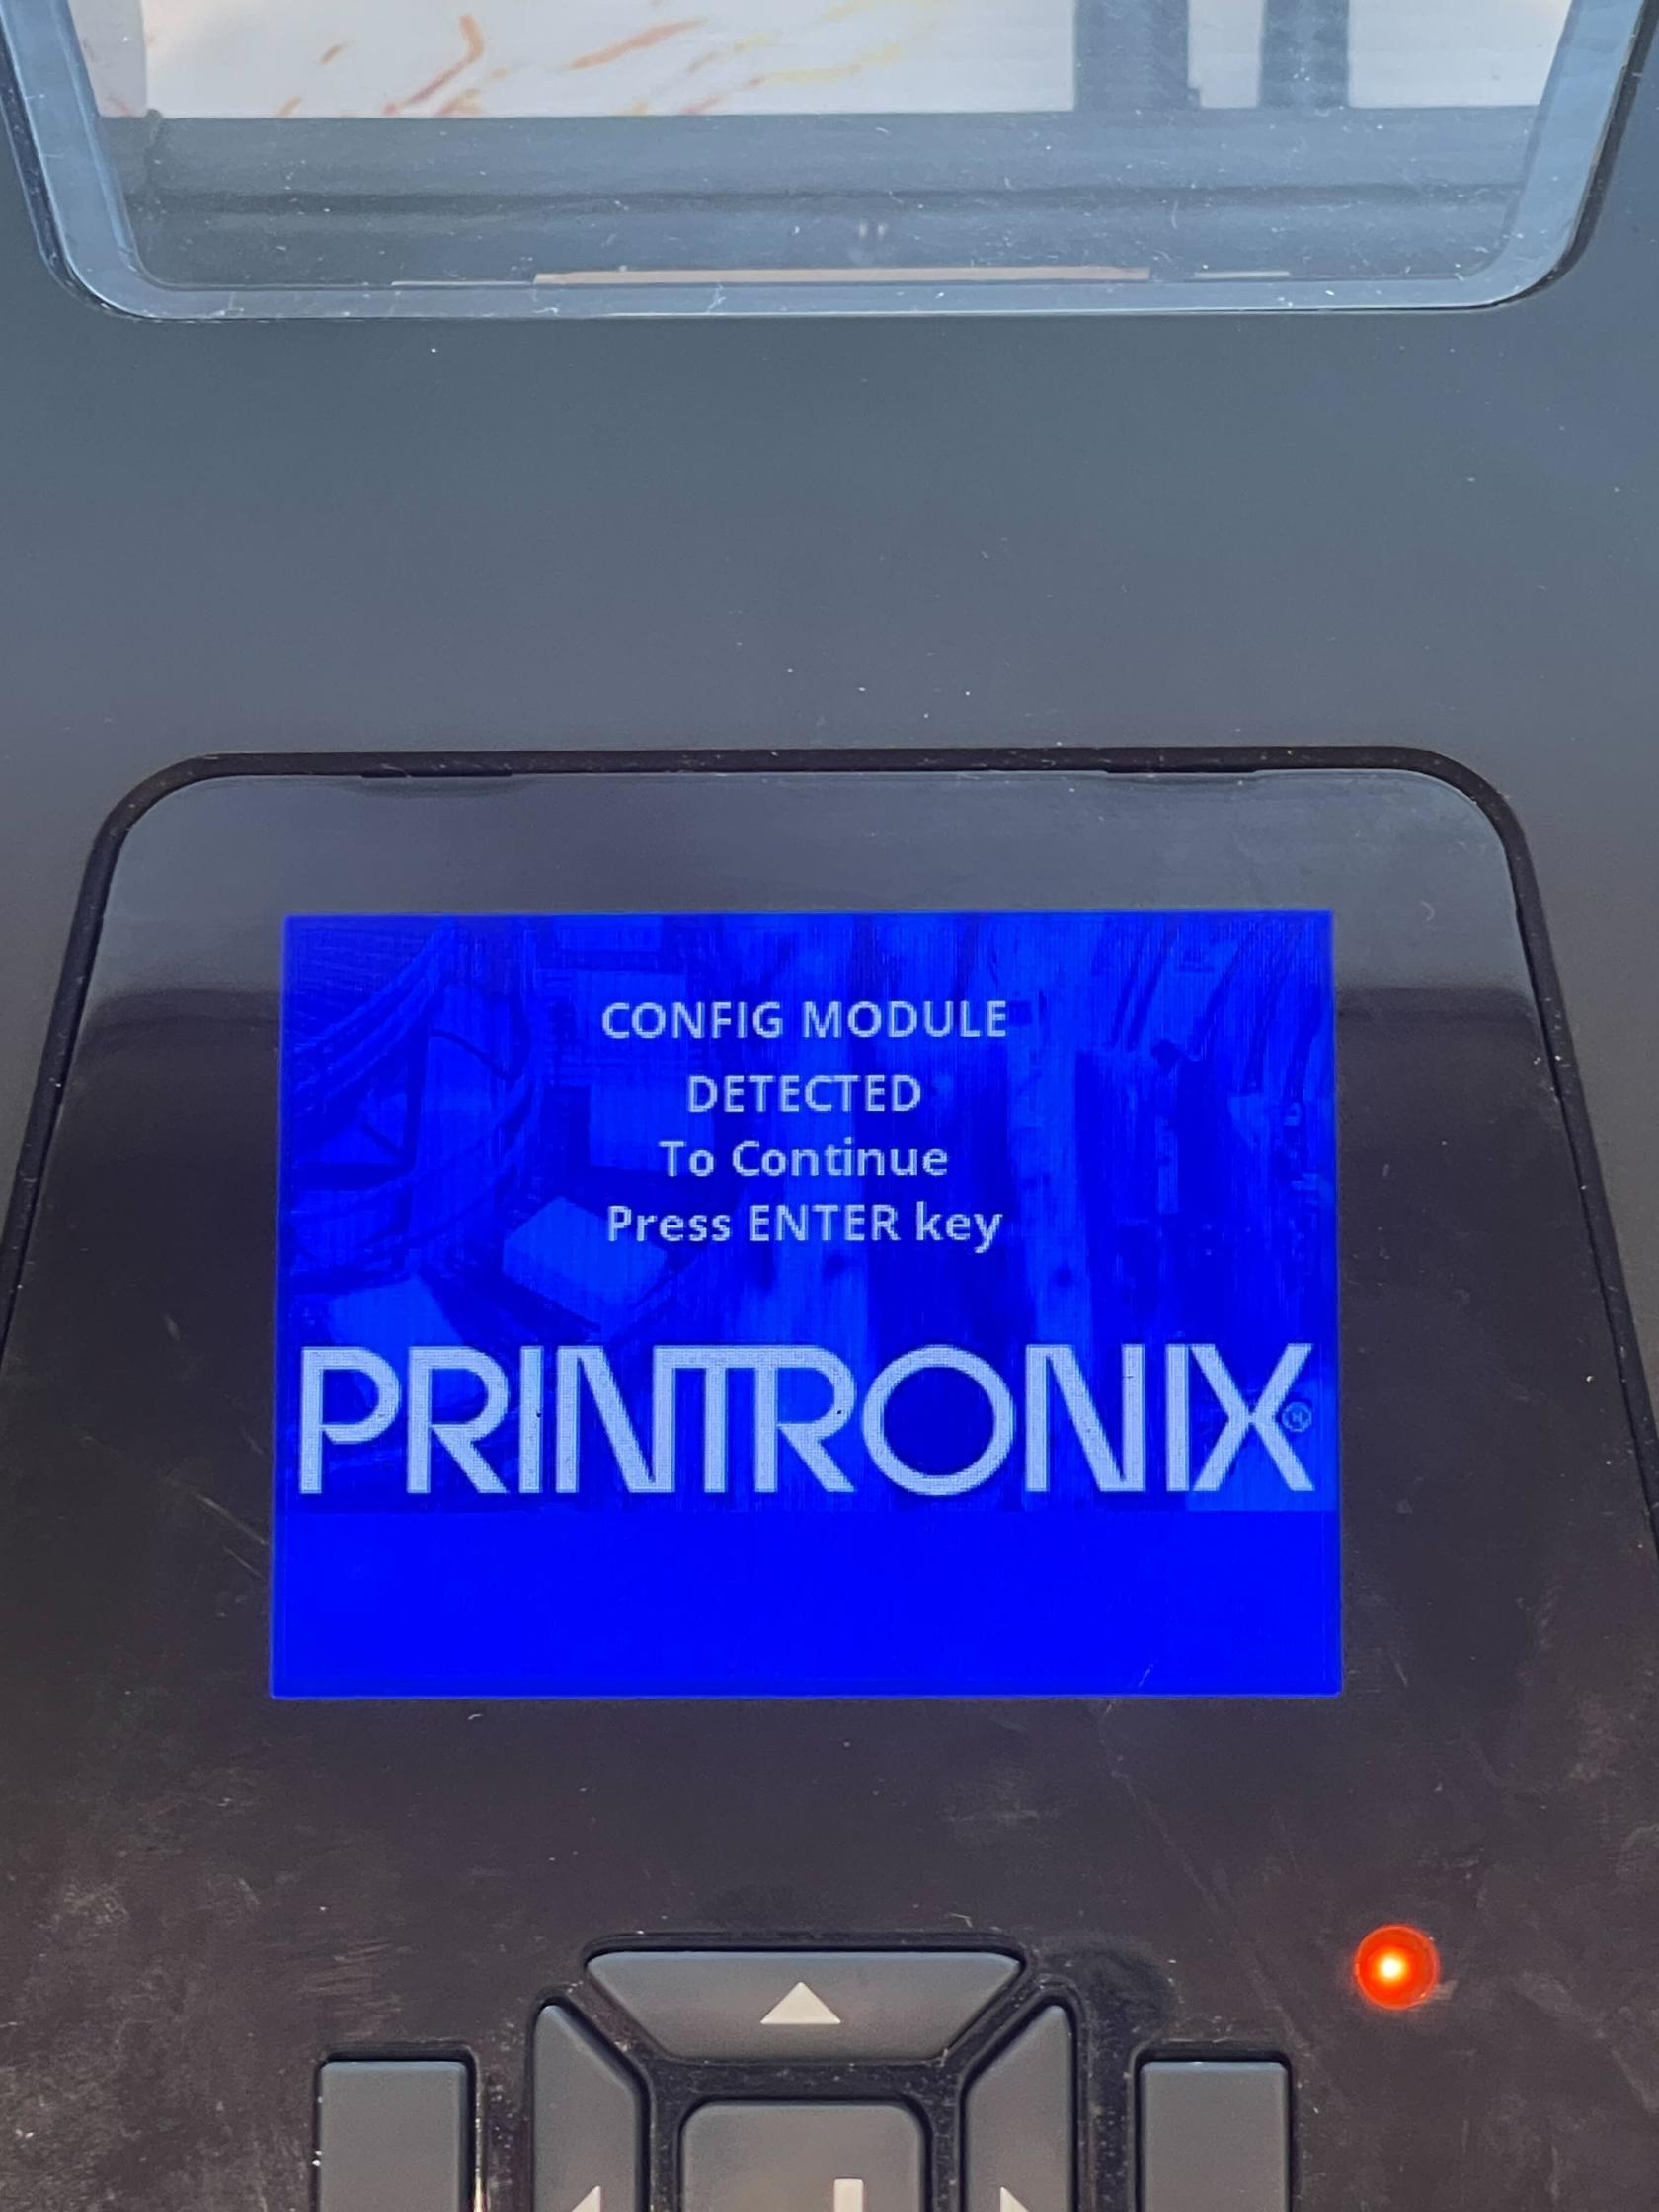
Step 5: Power on and hold down the Up Arrow
- While you flip the power switch on, hold down on the up arrow on the printer. Keep holding that down until you see "Config Module Detected" on the printer screen.
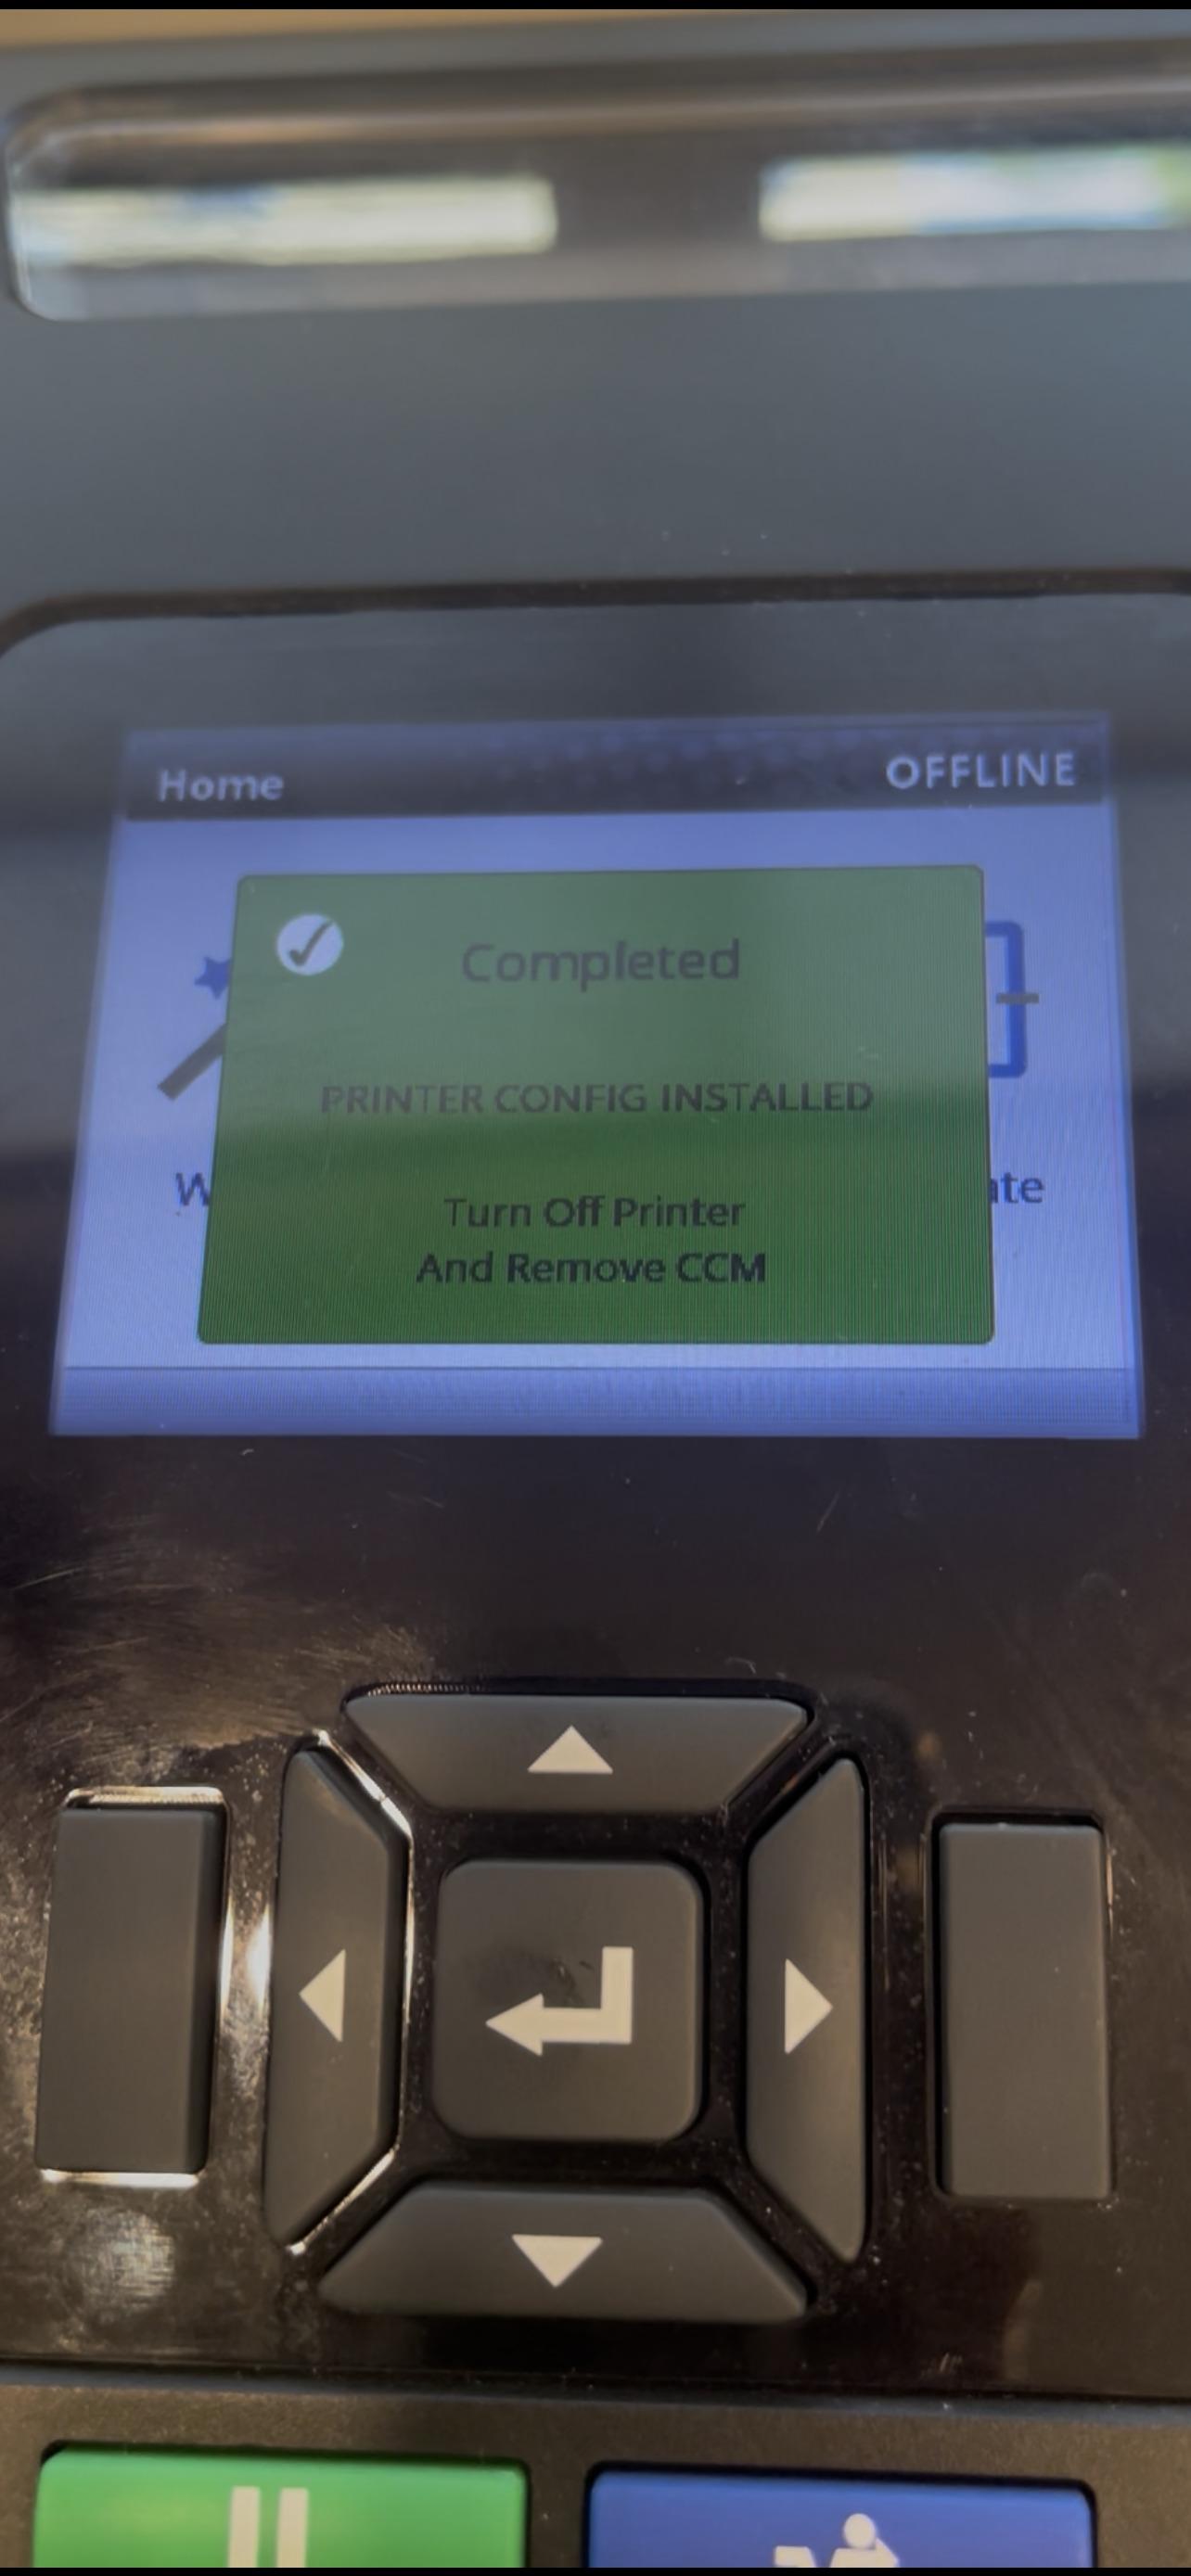
Step 6: Wait for the Printer to Reboot
- At this point you will have to wait for the printer to process the files and upgrade. Wait until you see the printer reboot (the printer may reboot multiple times) and a screen that says "Printer Config Installed".
Step 7: Unplug the Flash Drive and Turn off the Printer
- Go ahead and turn off the printer and take the flash drive out. At this point the printer is configured and updated. Go ahead and plug in the rest of your connections and power on. (Remember to Calibrate before printing again).
The printer will be in Ethernet mode after the upgrade. If you're using a USB connection, change the printer's Interface setting to USB (Pause the printer > Settings > Host I/O > Interface).