
Printronix: Updating Firmware via Flash Drive
If needed, video recordings of this process can be found at the bottom of this article
Requirements:
- Flash Drive formatted with FAT32 and MBR partitioning
- Printer set up with Power
Step 1: Import the CCM File onto your Flash Drive
Using the zip file below download the file. After downloading, open up file explorer to the file and Extract All from the zip file onto the USB Drive. At this point the USB is ready.
Step 2: Connect the Power into your Printer
Using the provided Power Cord plug in your printer but leave the switch in the power off position.
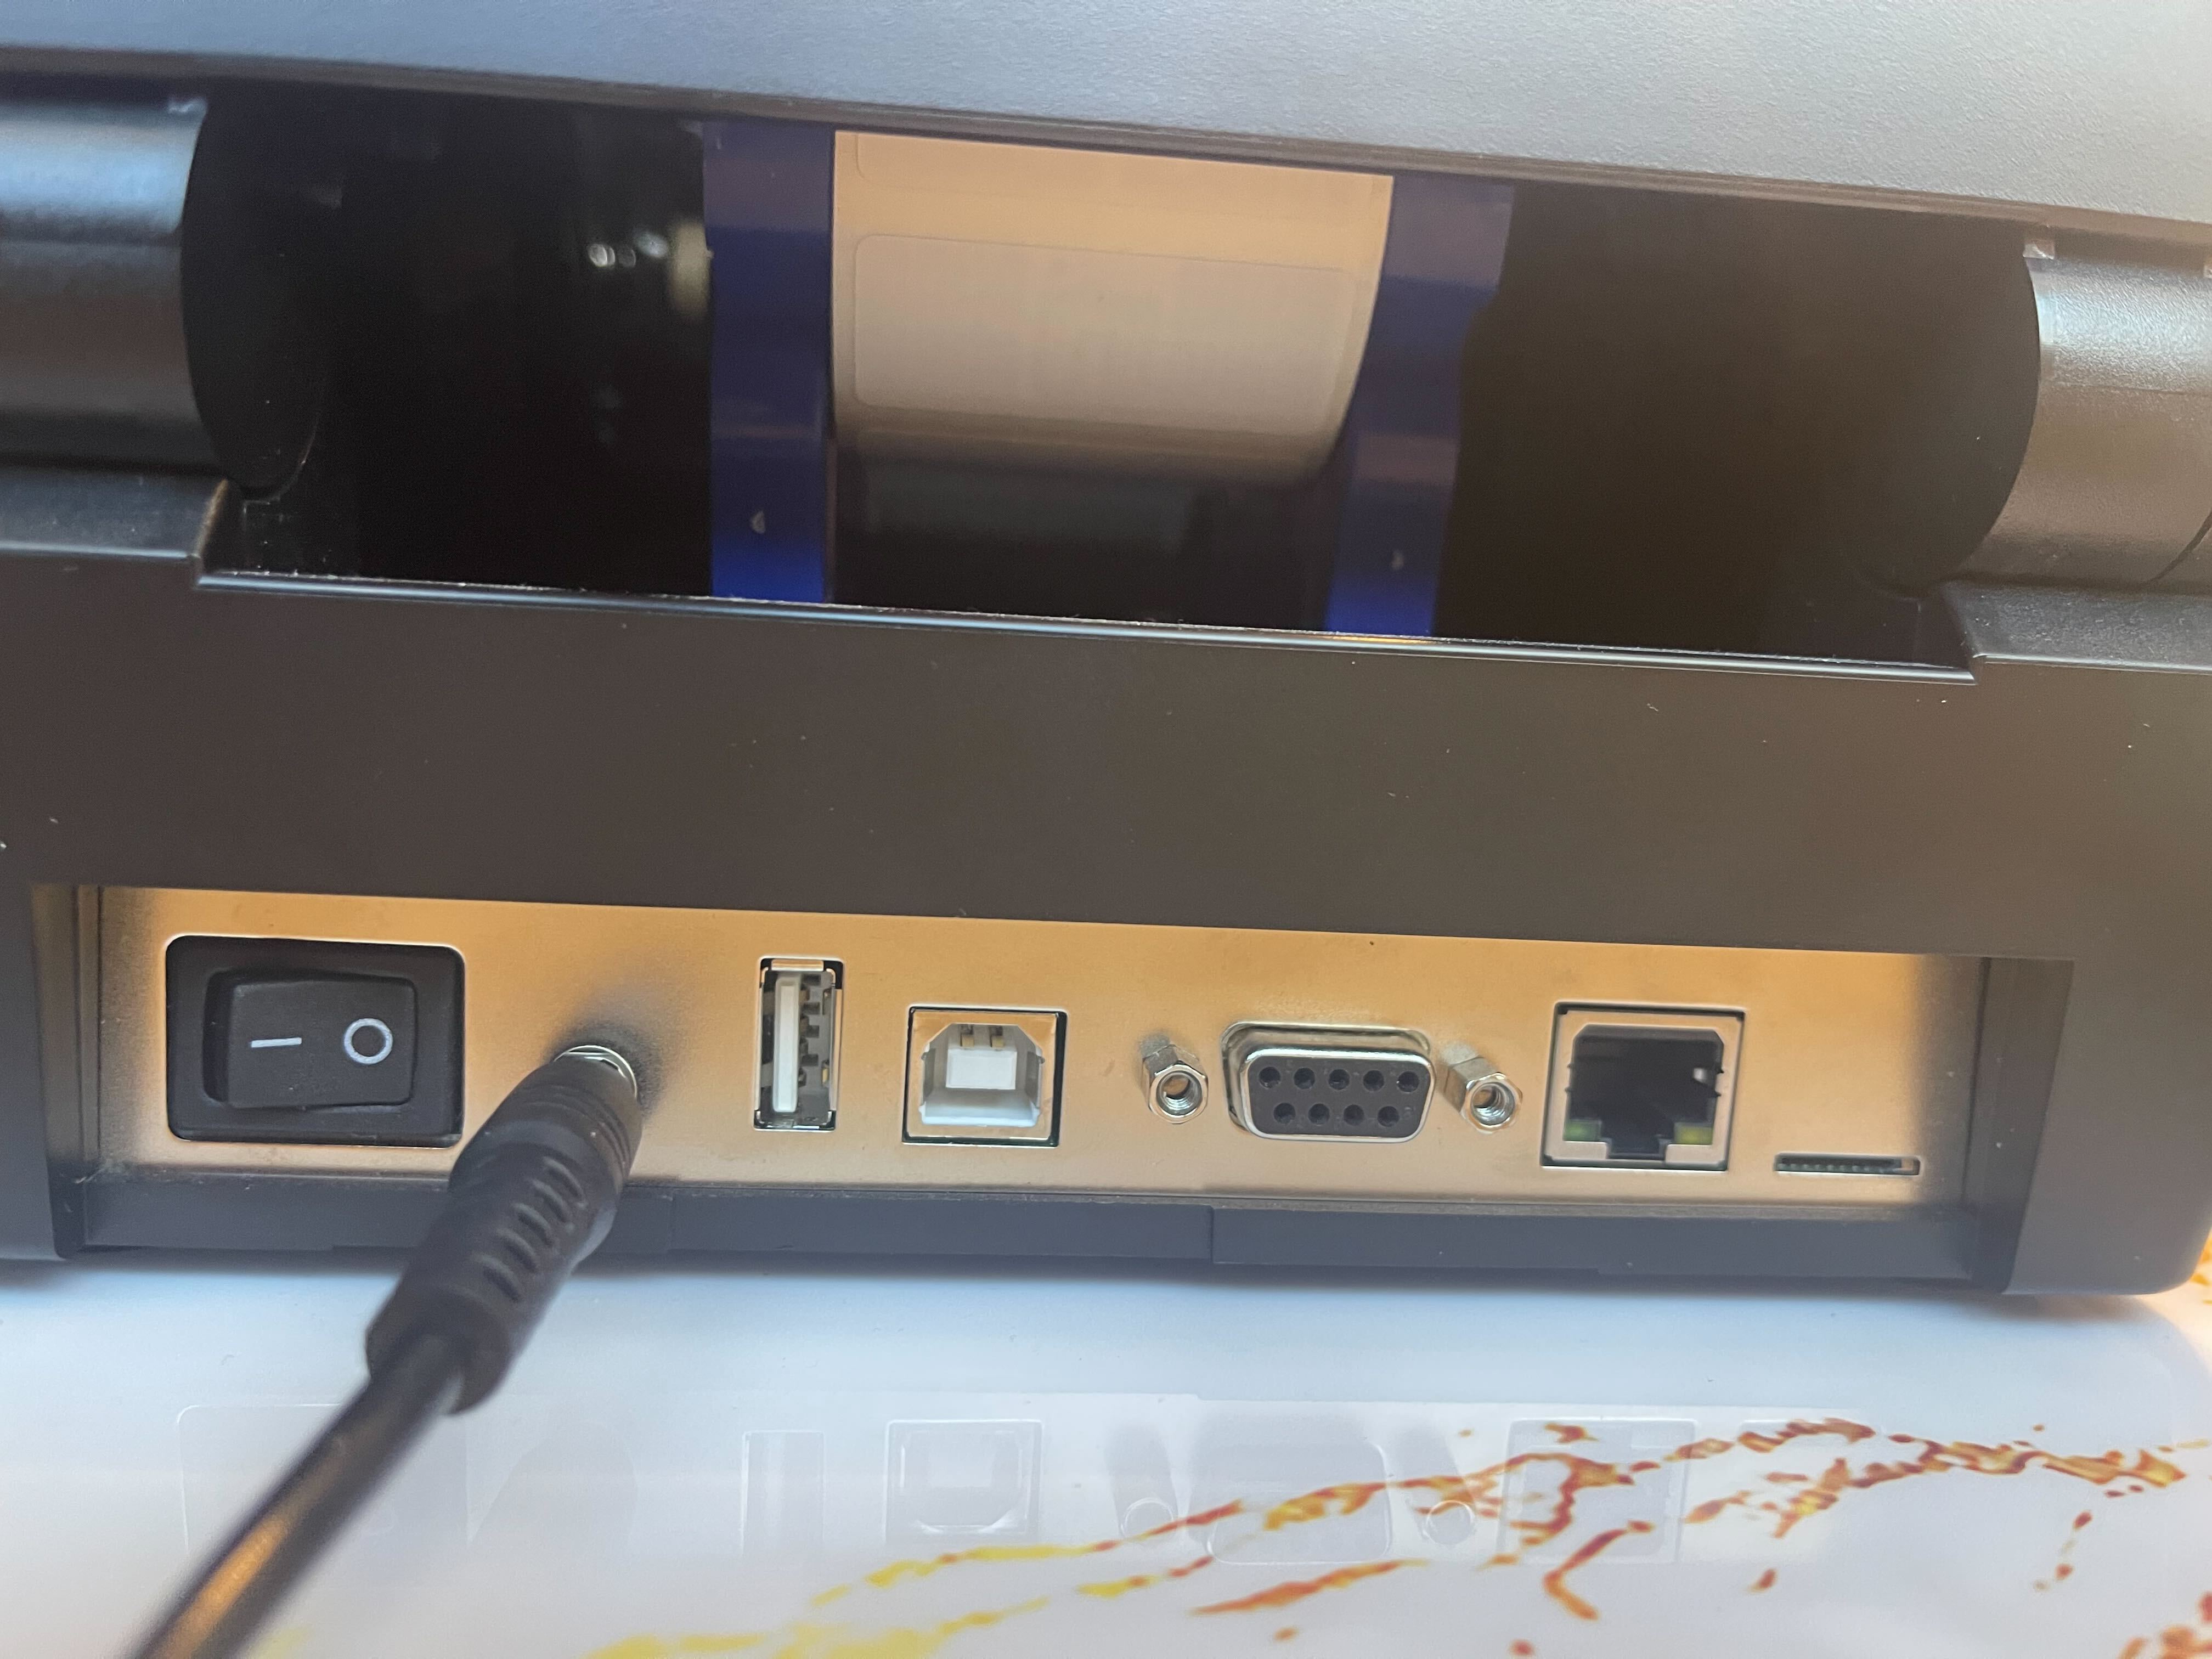
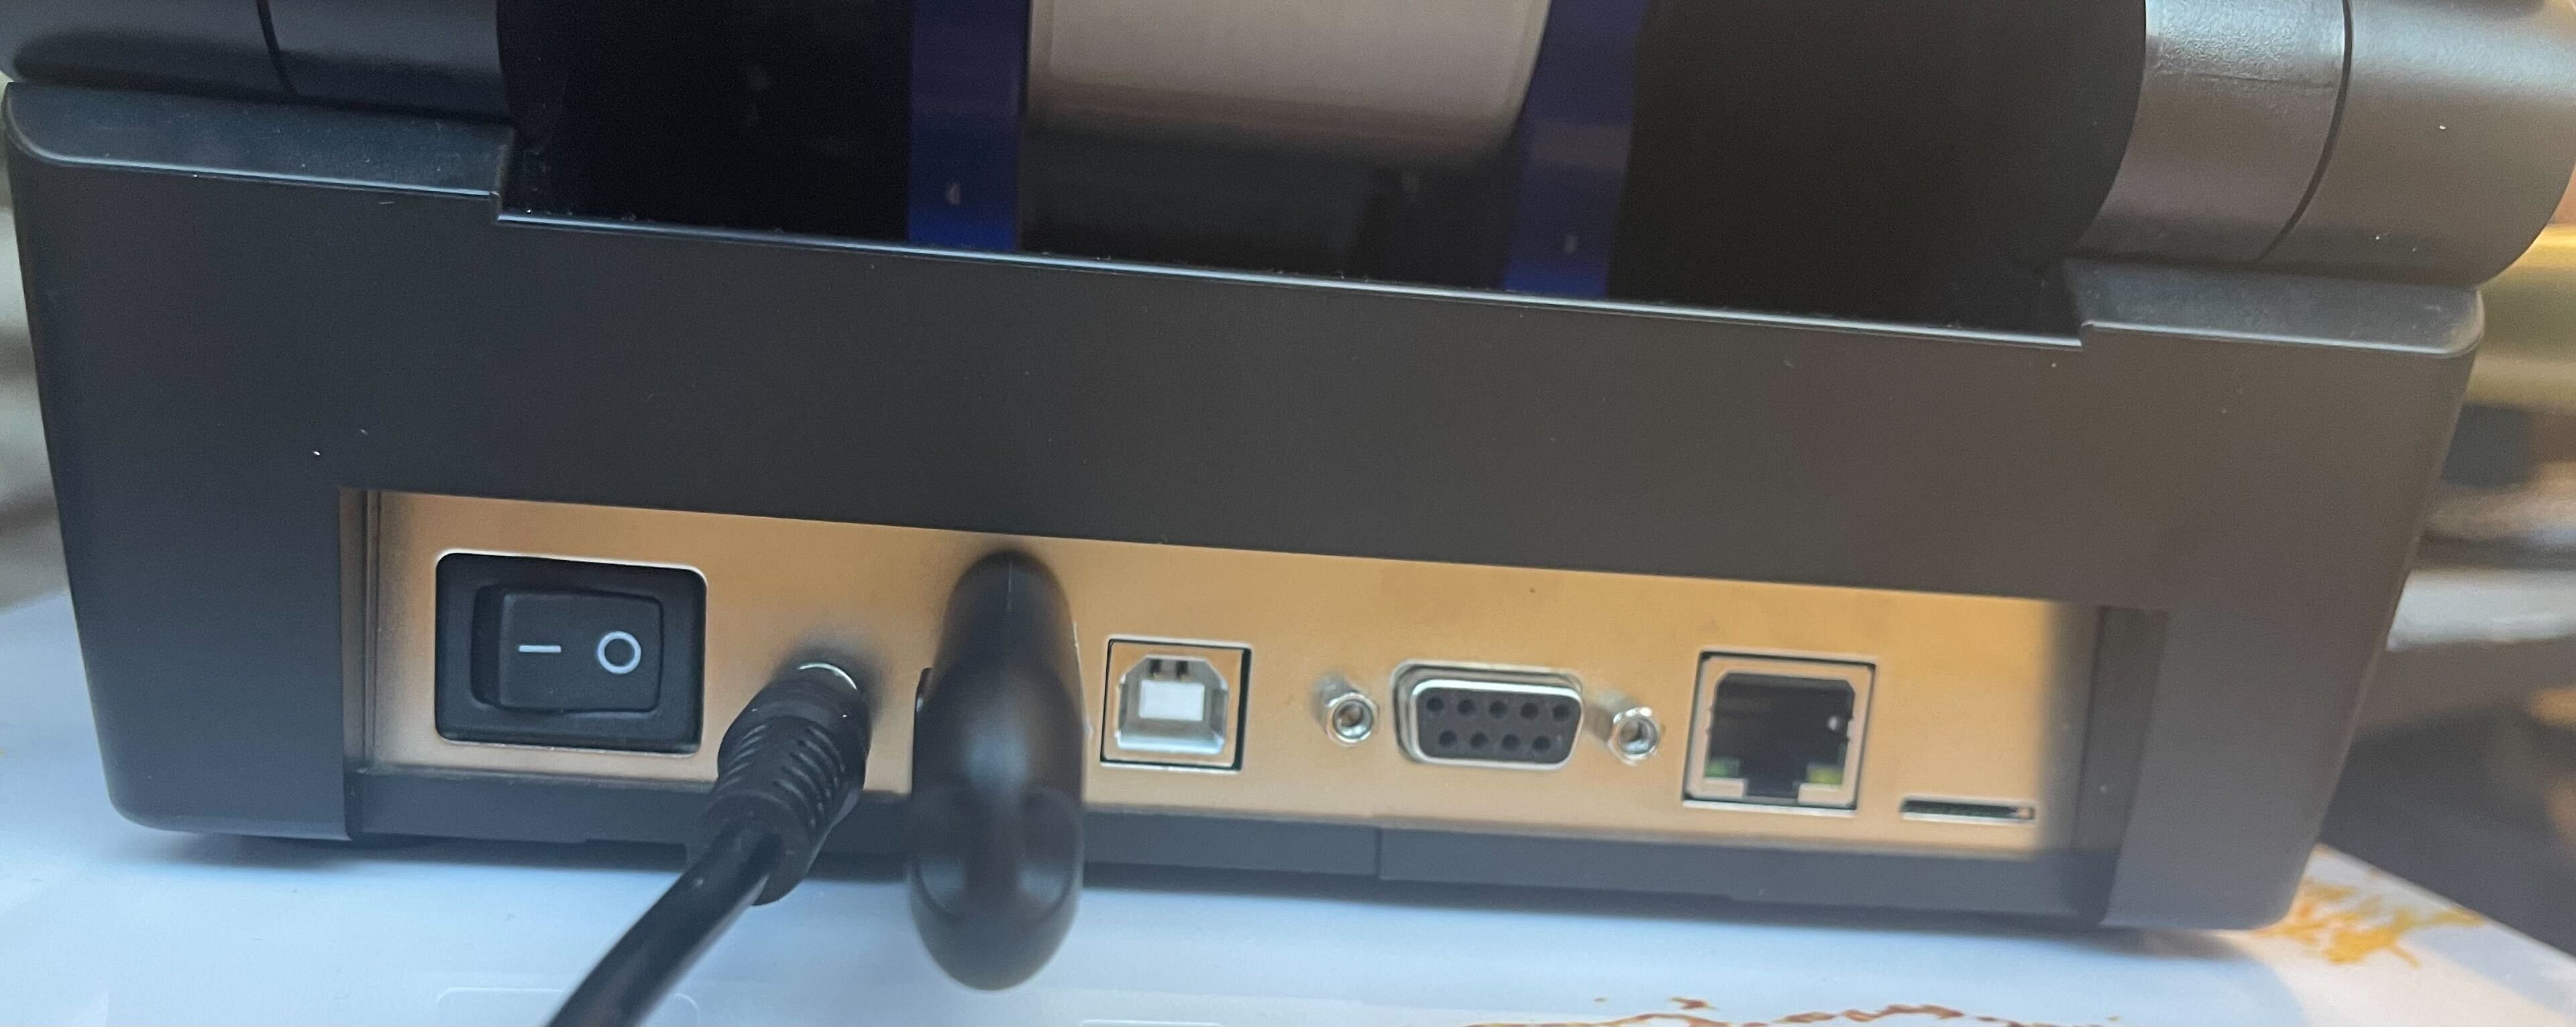
Step 3: Plug the Flash Drive into your Printer
Plug the Flash Drive with your CCM Files into your Printer.
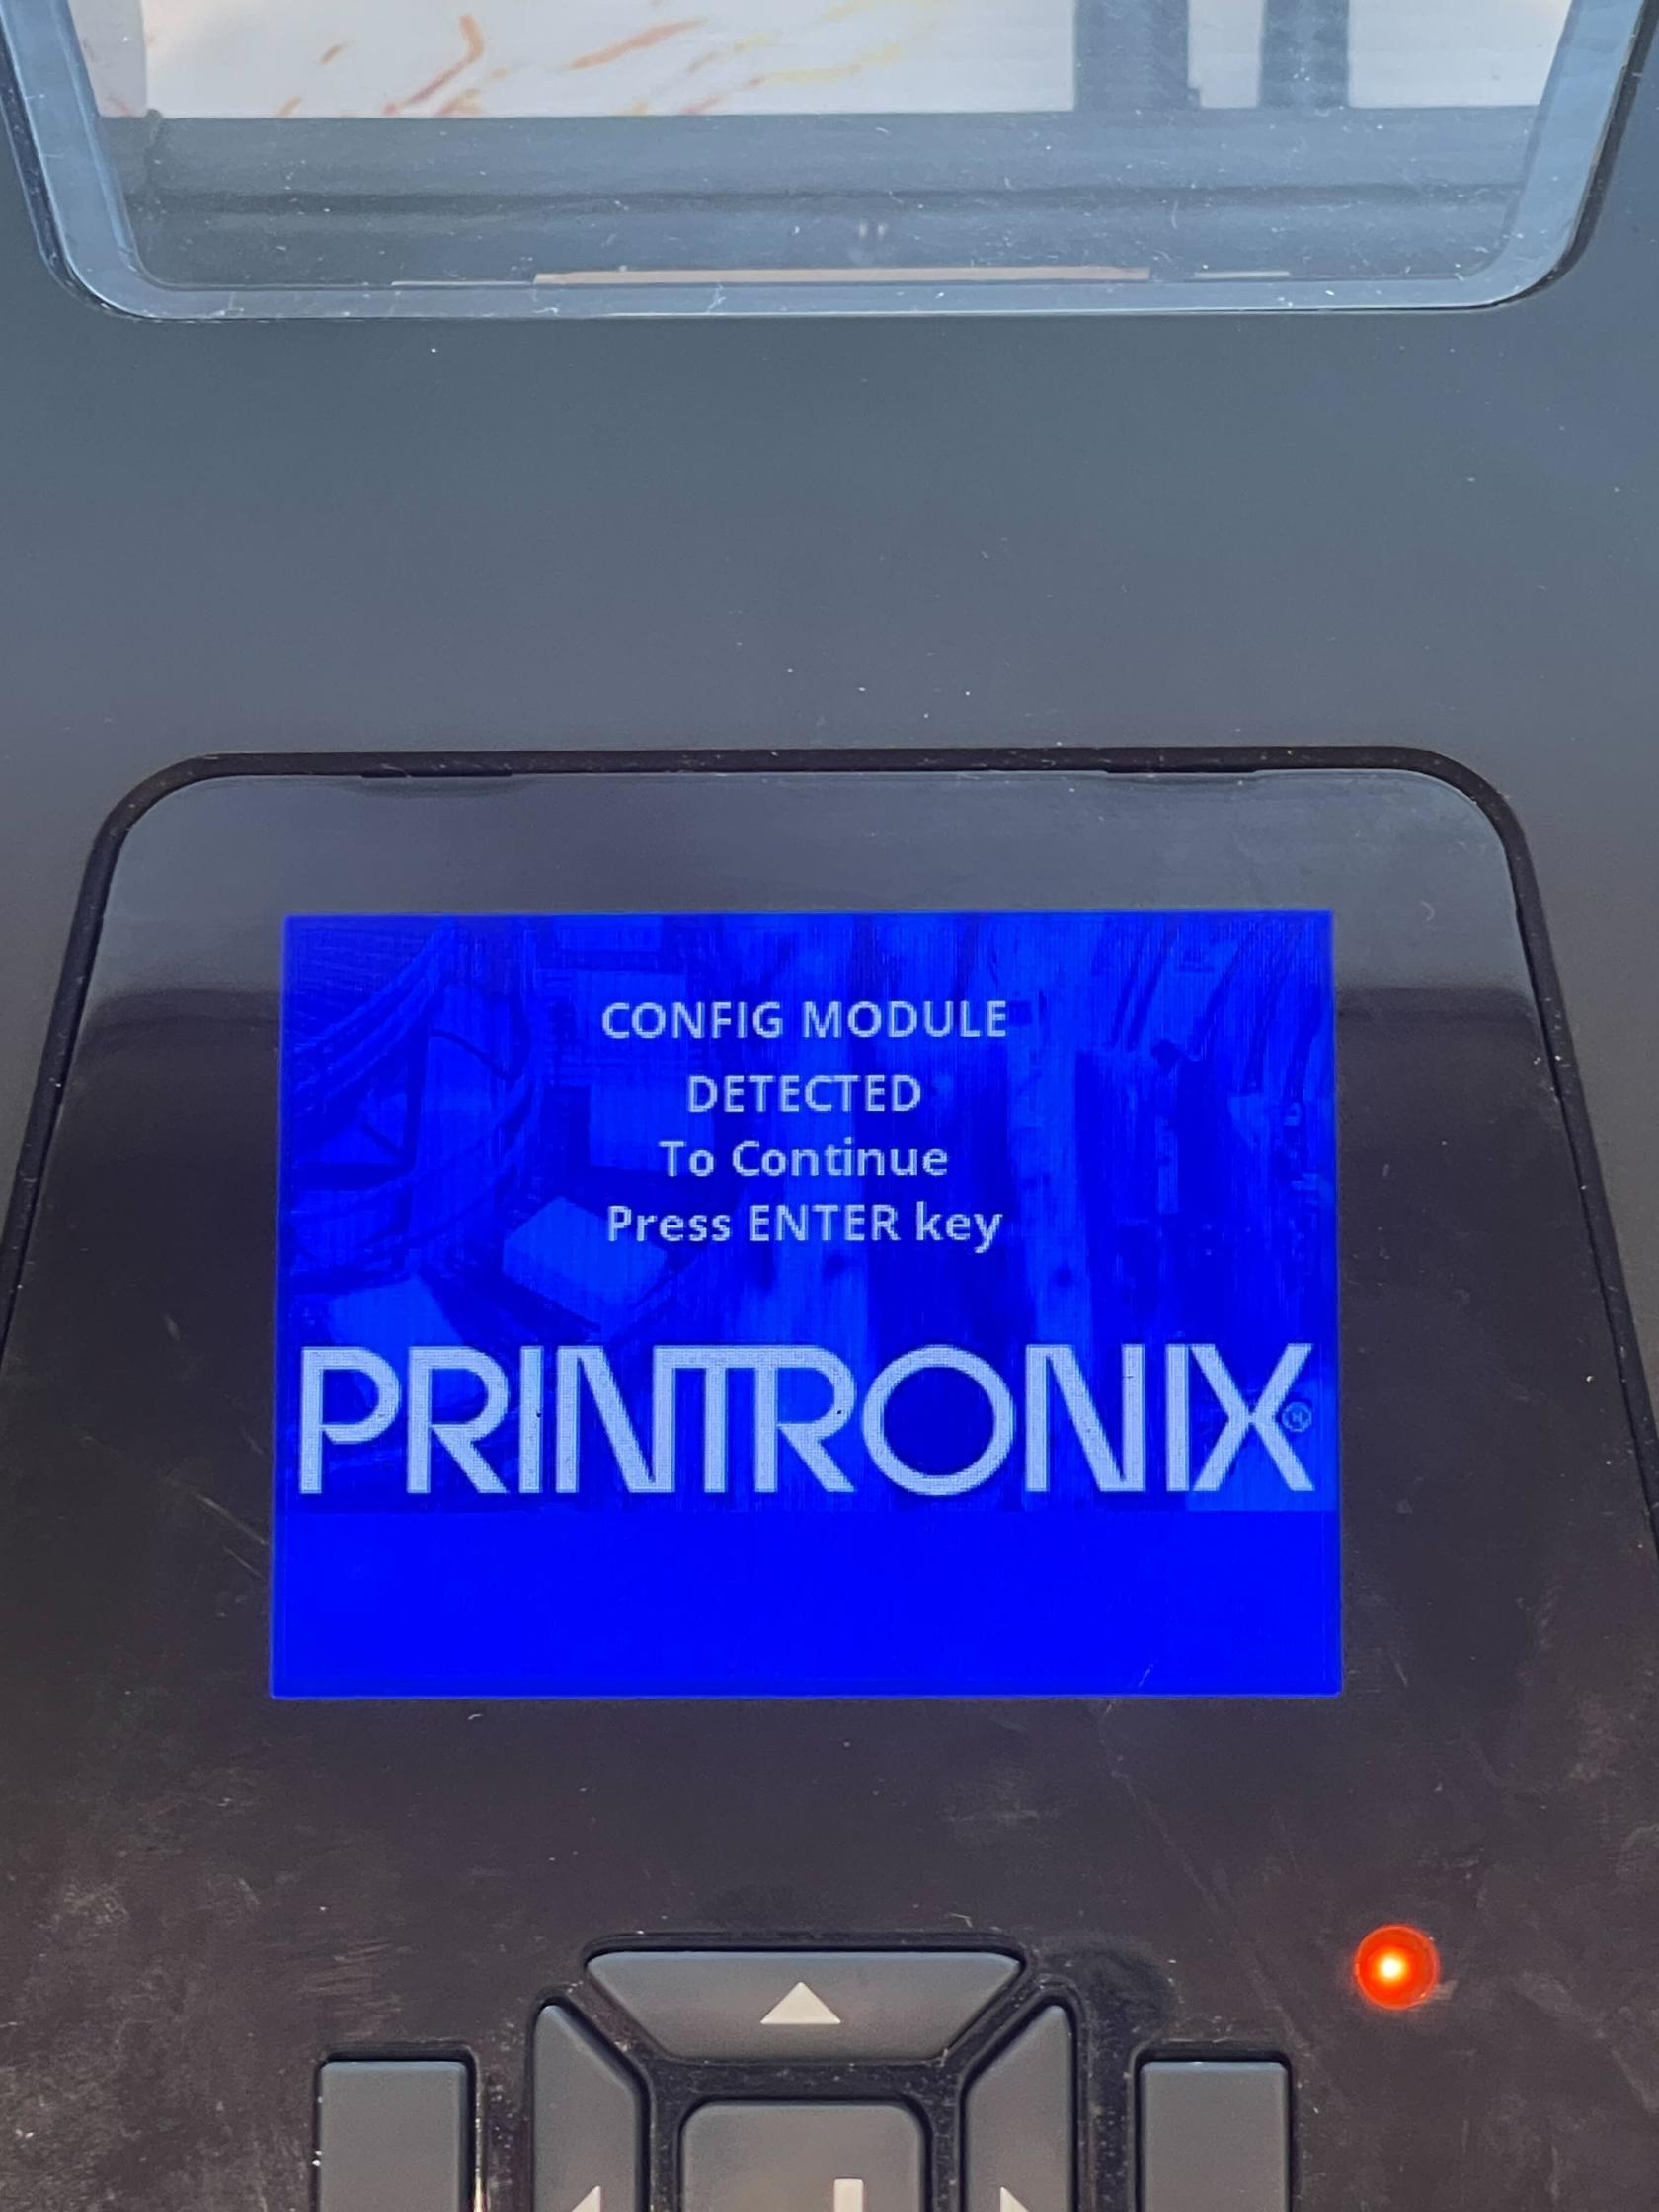
Step 4: Power on and hold down the Up Arrow
While you flip the power switch on, hold down on the up arrow on the printer. Keep holding that down until you see Config Module Detected on the printer screen.
Step 5: Wait for the Printer to Reboot
At this point you will have to wait for the printer to process the files and upgrade. Wait until you see the printer reboot and a screen that says Printer Config Installed.
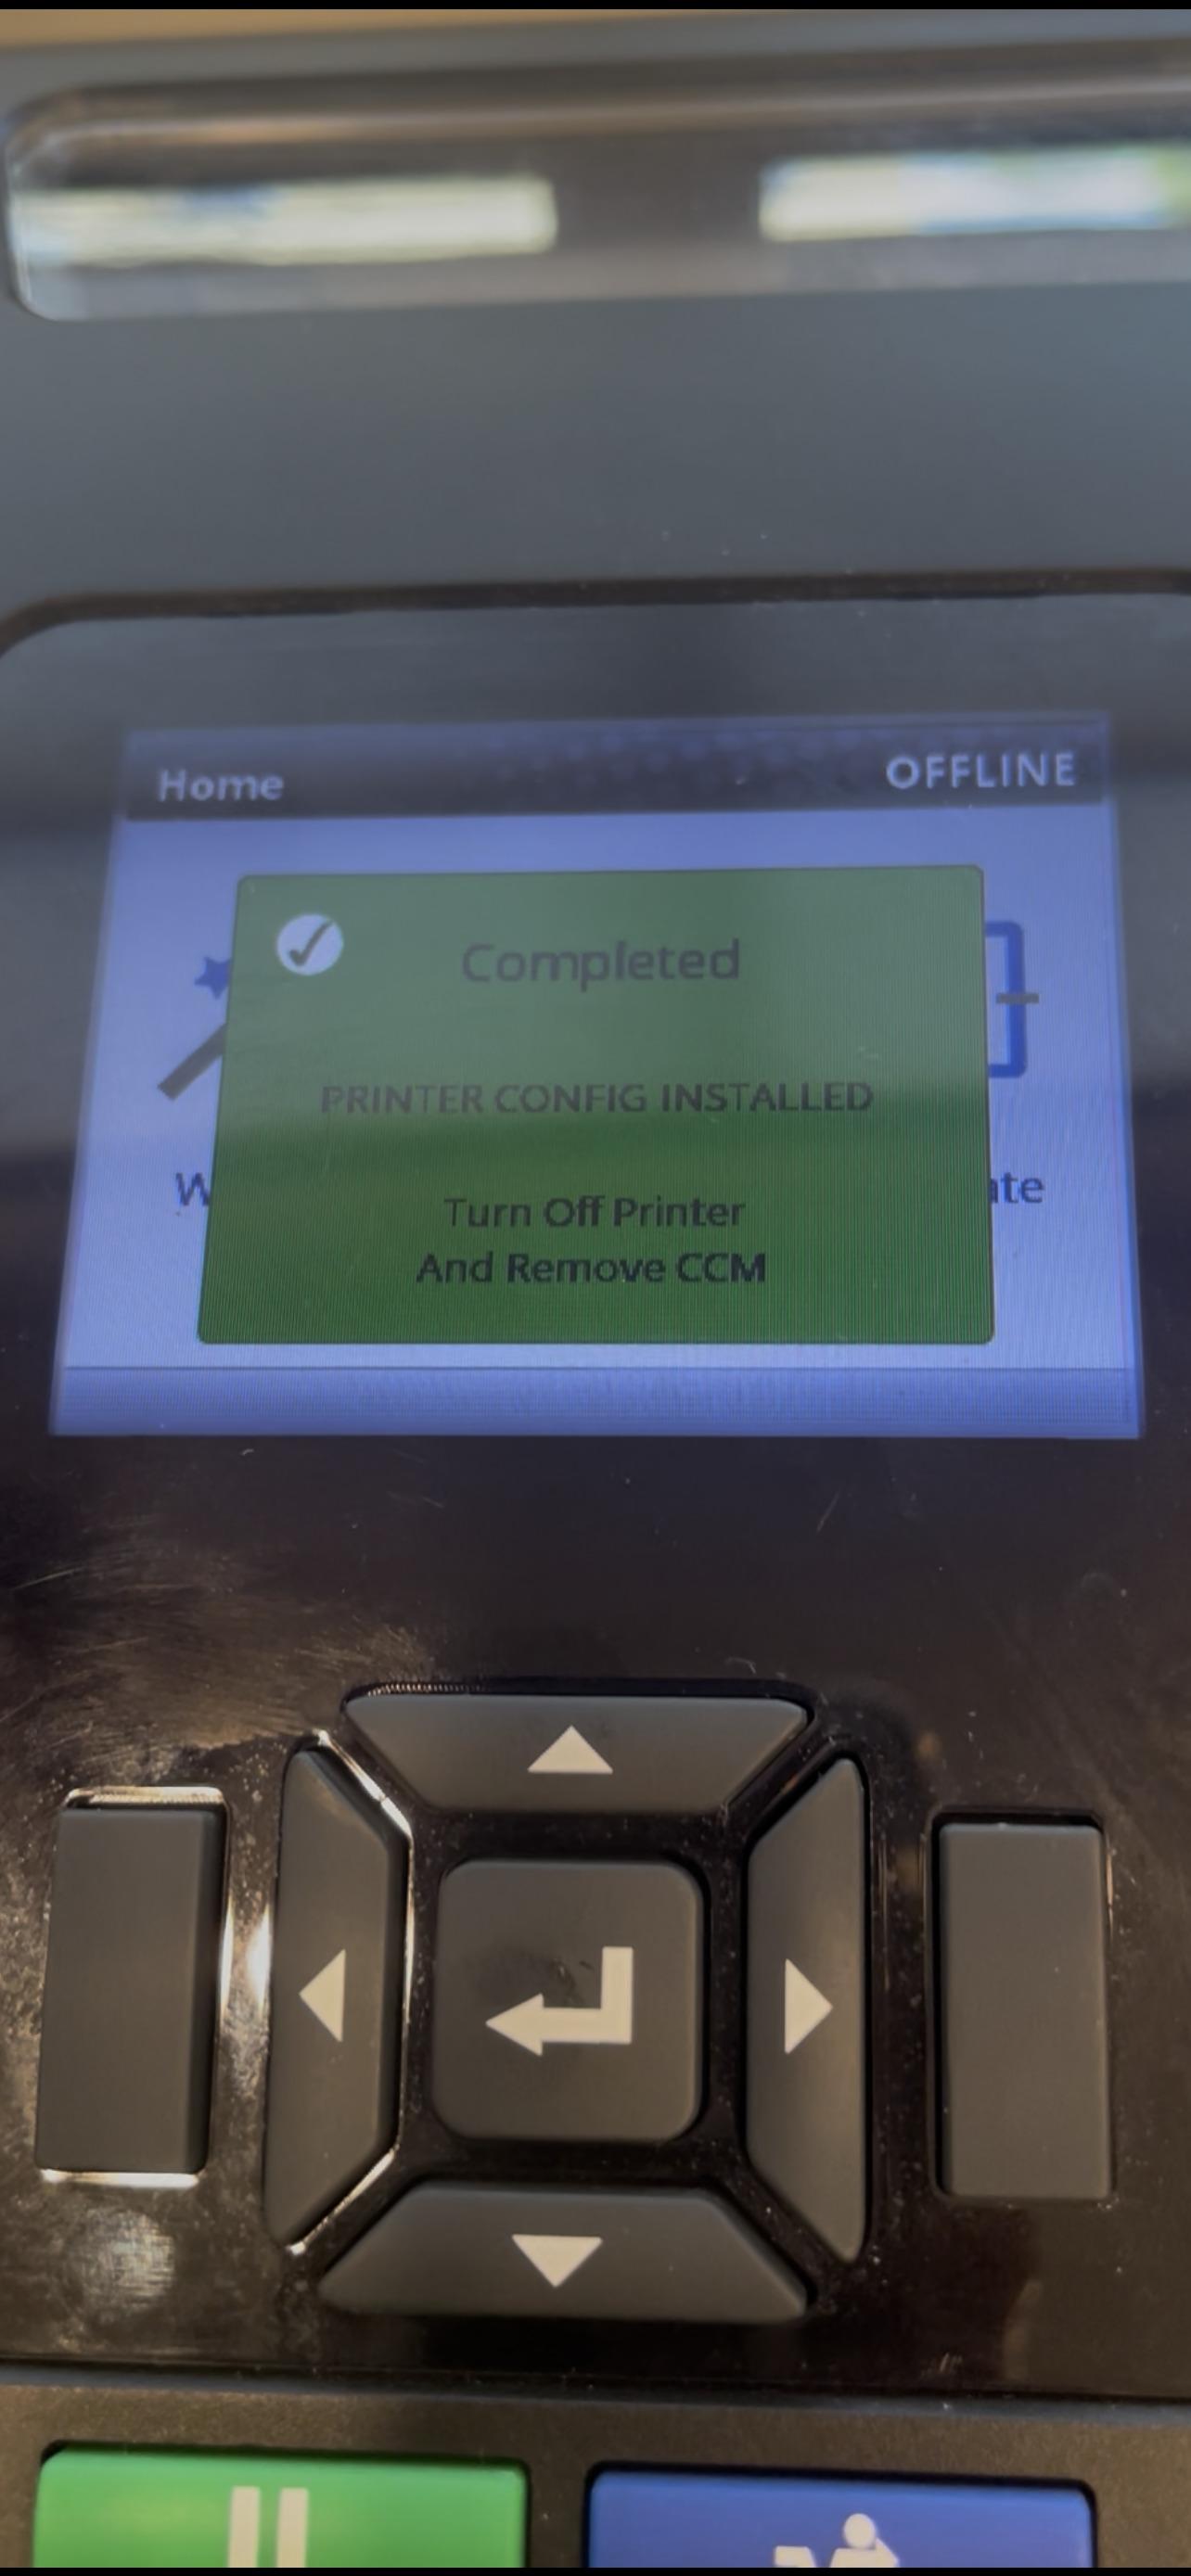
Step 6: Unplug the Flash Drive and Turn off the Printer
Go ahead and turn off the printer and take the flash drive out. At this point the printer is configured and updated. Go ahead and plug in the rest of your connections and power on. (Remember to Calibrate before printing)