
Installing Print Client
Step 1. Connect the printer to the device
The printer can be connected to the PC via Network or USB. Network method is generally more reliable, and therefore preferred if possible.
If you connecting a Printronix printer to a Mac, you must connect the printer via network. macOS does not support Printronix printers via USB connection.
Network method
If connecting via network, use the provided CAT6 cable, or a network cable of your own, to attach the printer to your network.
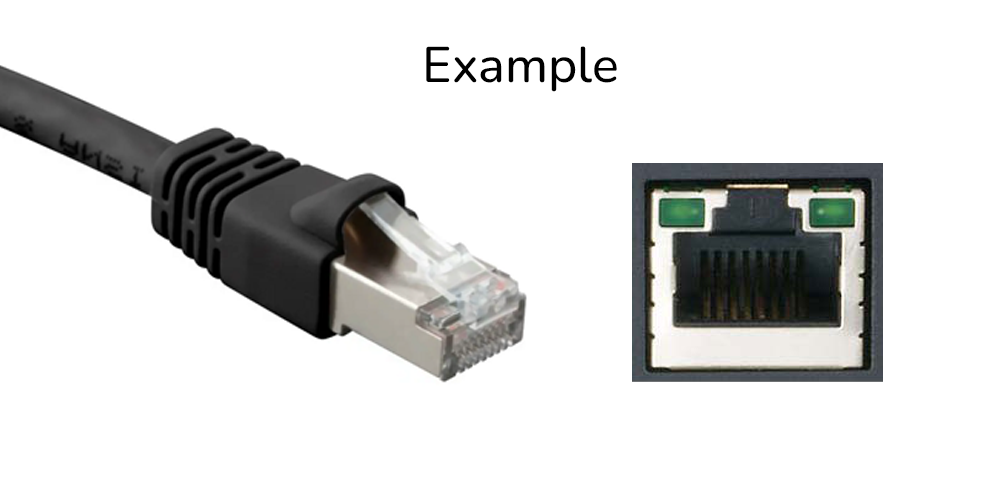
The printer must be on the same subnet as the host PC in order to be detected by the Print Client.
USB method
If connecting via USB, plug the provided USB cable into your PC and printer. The USB-A connector should be plugged into the PC, while the USB-B connecter should be plugged into the printer:

Last, for the USB method, you'll need to change the Host I/O setting on the printer to USB.
Step 2. Install Print Client
If you are connecting a Printronix printer via USB, you must use the Windows version currently. macOS only supports Printronix printers via network connection.
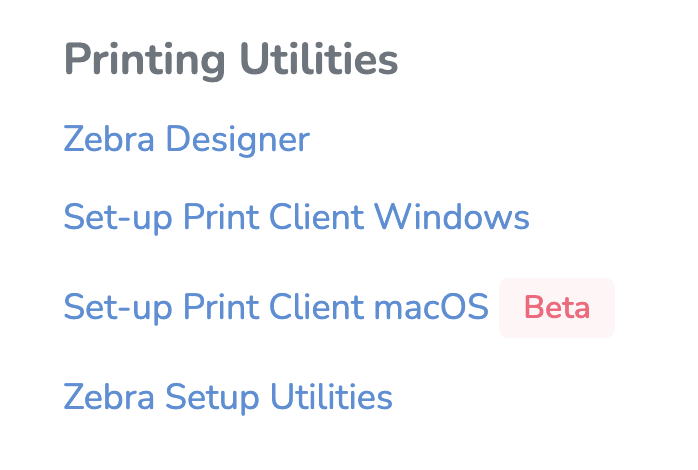
Download the Print Client:
- Login to the web portal
- Click on your account name in the top-right corner
- Click "Resources"
- On the resources page, under Printing Utilities, click "Set-up Print Client Windows" or "Set-up Print Client macOS" to download

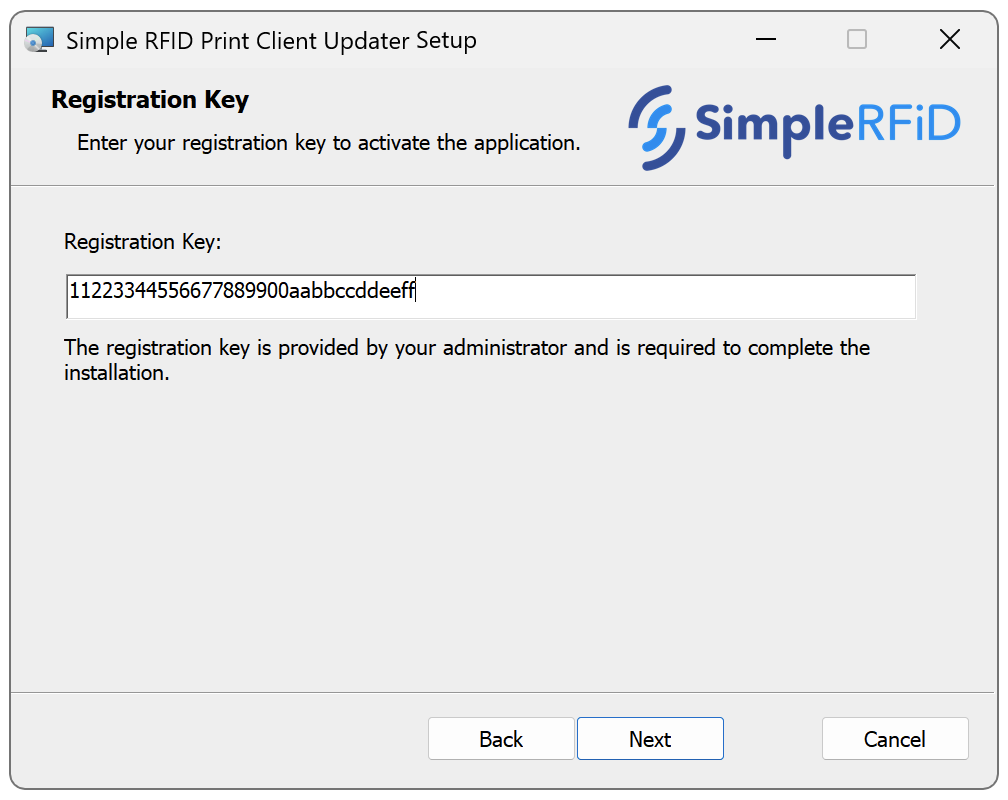
Install Client
- Open the downloaded file (PrintClient.Updater.Installer.msi or PrintClientUpdater.Installer.pkg). This will launch the installer.
- Follow the steps in the installer. You will need to provide Administrator approval to complete the installation.
- Enter your Registration Key when prompted. You can find this key on the web portal, on the Customer Profile page under Printing Settings.
If you don't have access totheythe key,orreachifout to your manager.
If you are not prompted to enter thekeykey,,reach out to Simple RFIDforsupportsupport.to connect your printer.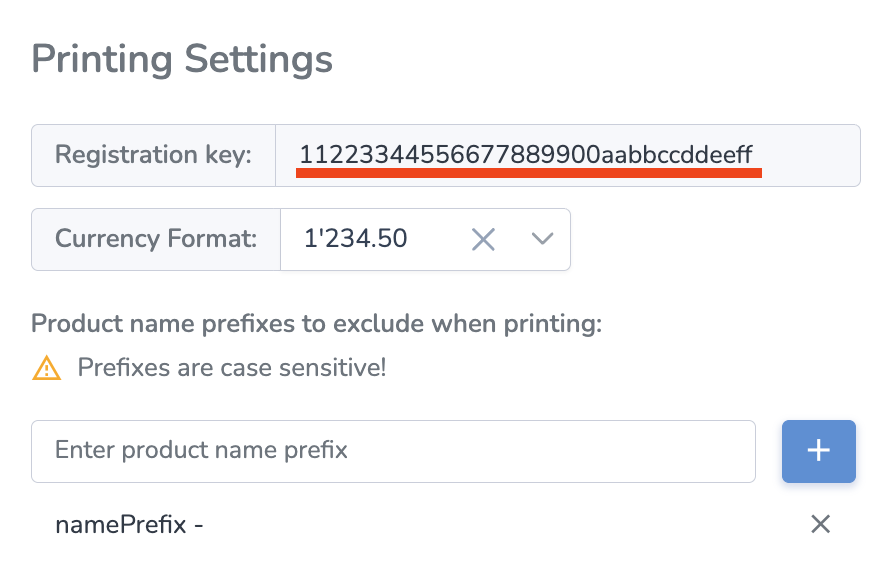
- When the installation is completed successfully, you can close the installer.


Once the printer is connected, it will appear on the Printers page, and in the Available Printers menu.