
Installing Print Client
Step 1. Locate the name of the device
You will need to provide the device name to Simple RFID in order to connect the station to your account:
Windows 10/11
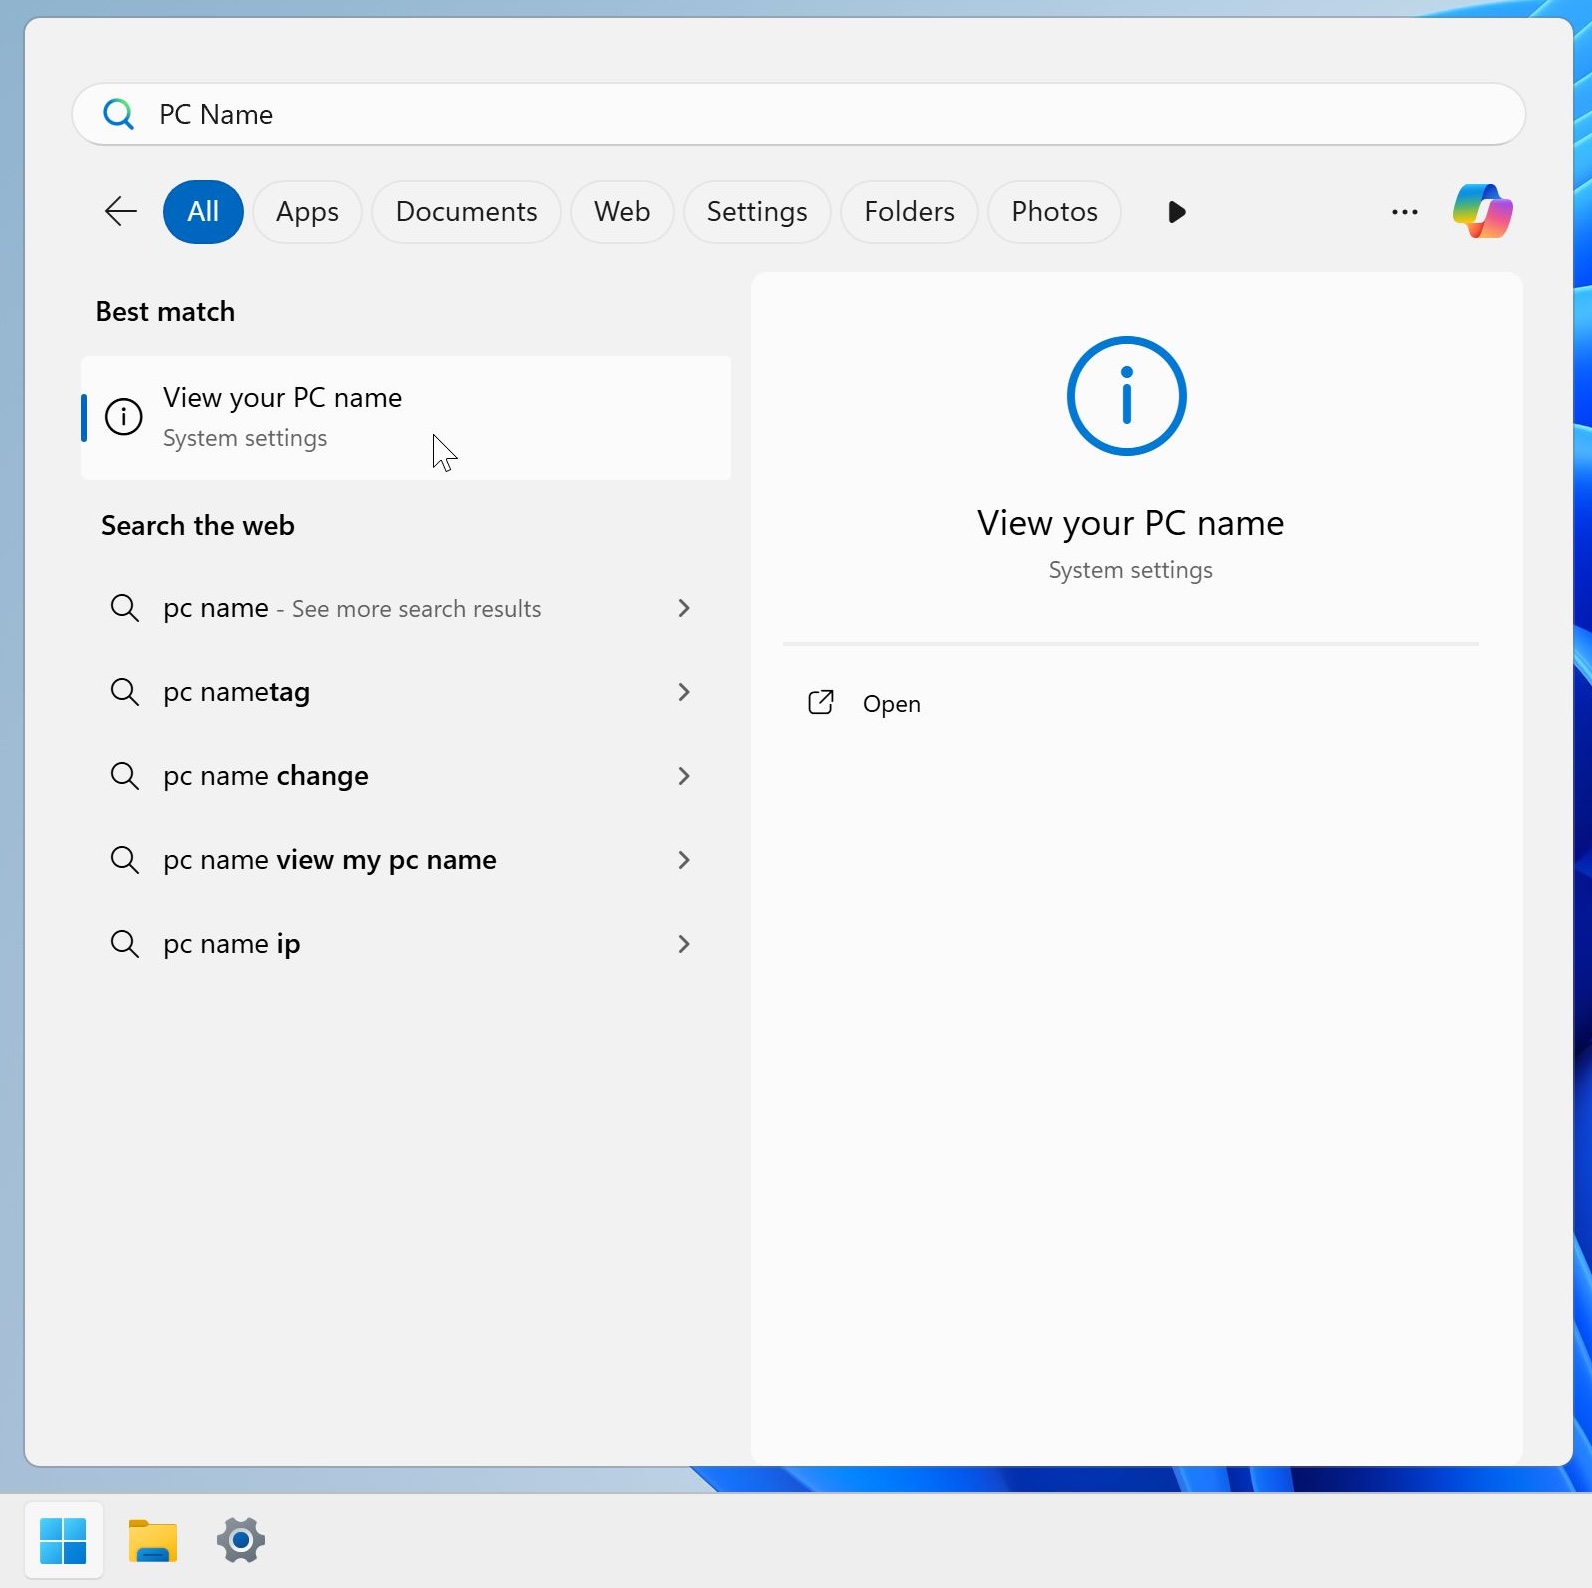
From the search window on your Windows PC, type "PC Name", then click View your PC name.
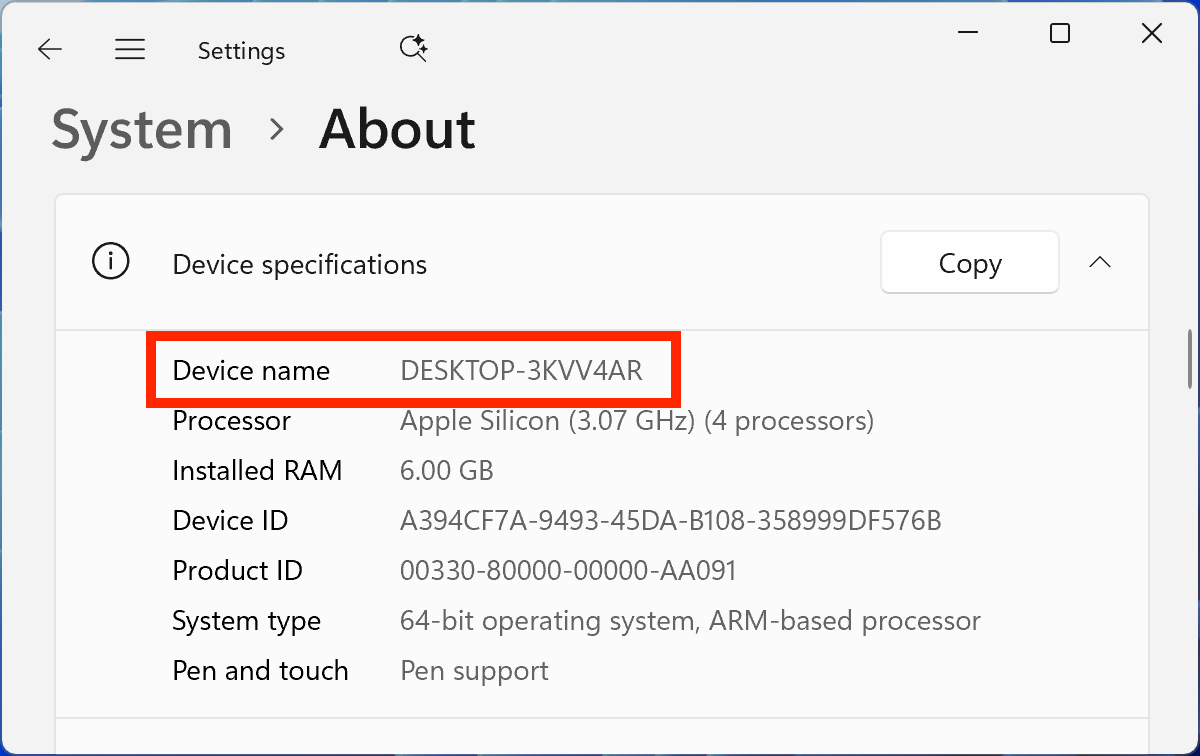
Under System > About, you will find the name under "Device specifications".
If you rename your PC, you must restart your computer before continuing to Step 2.
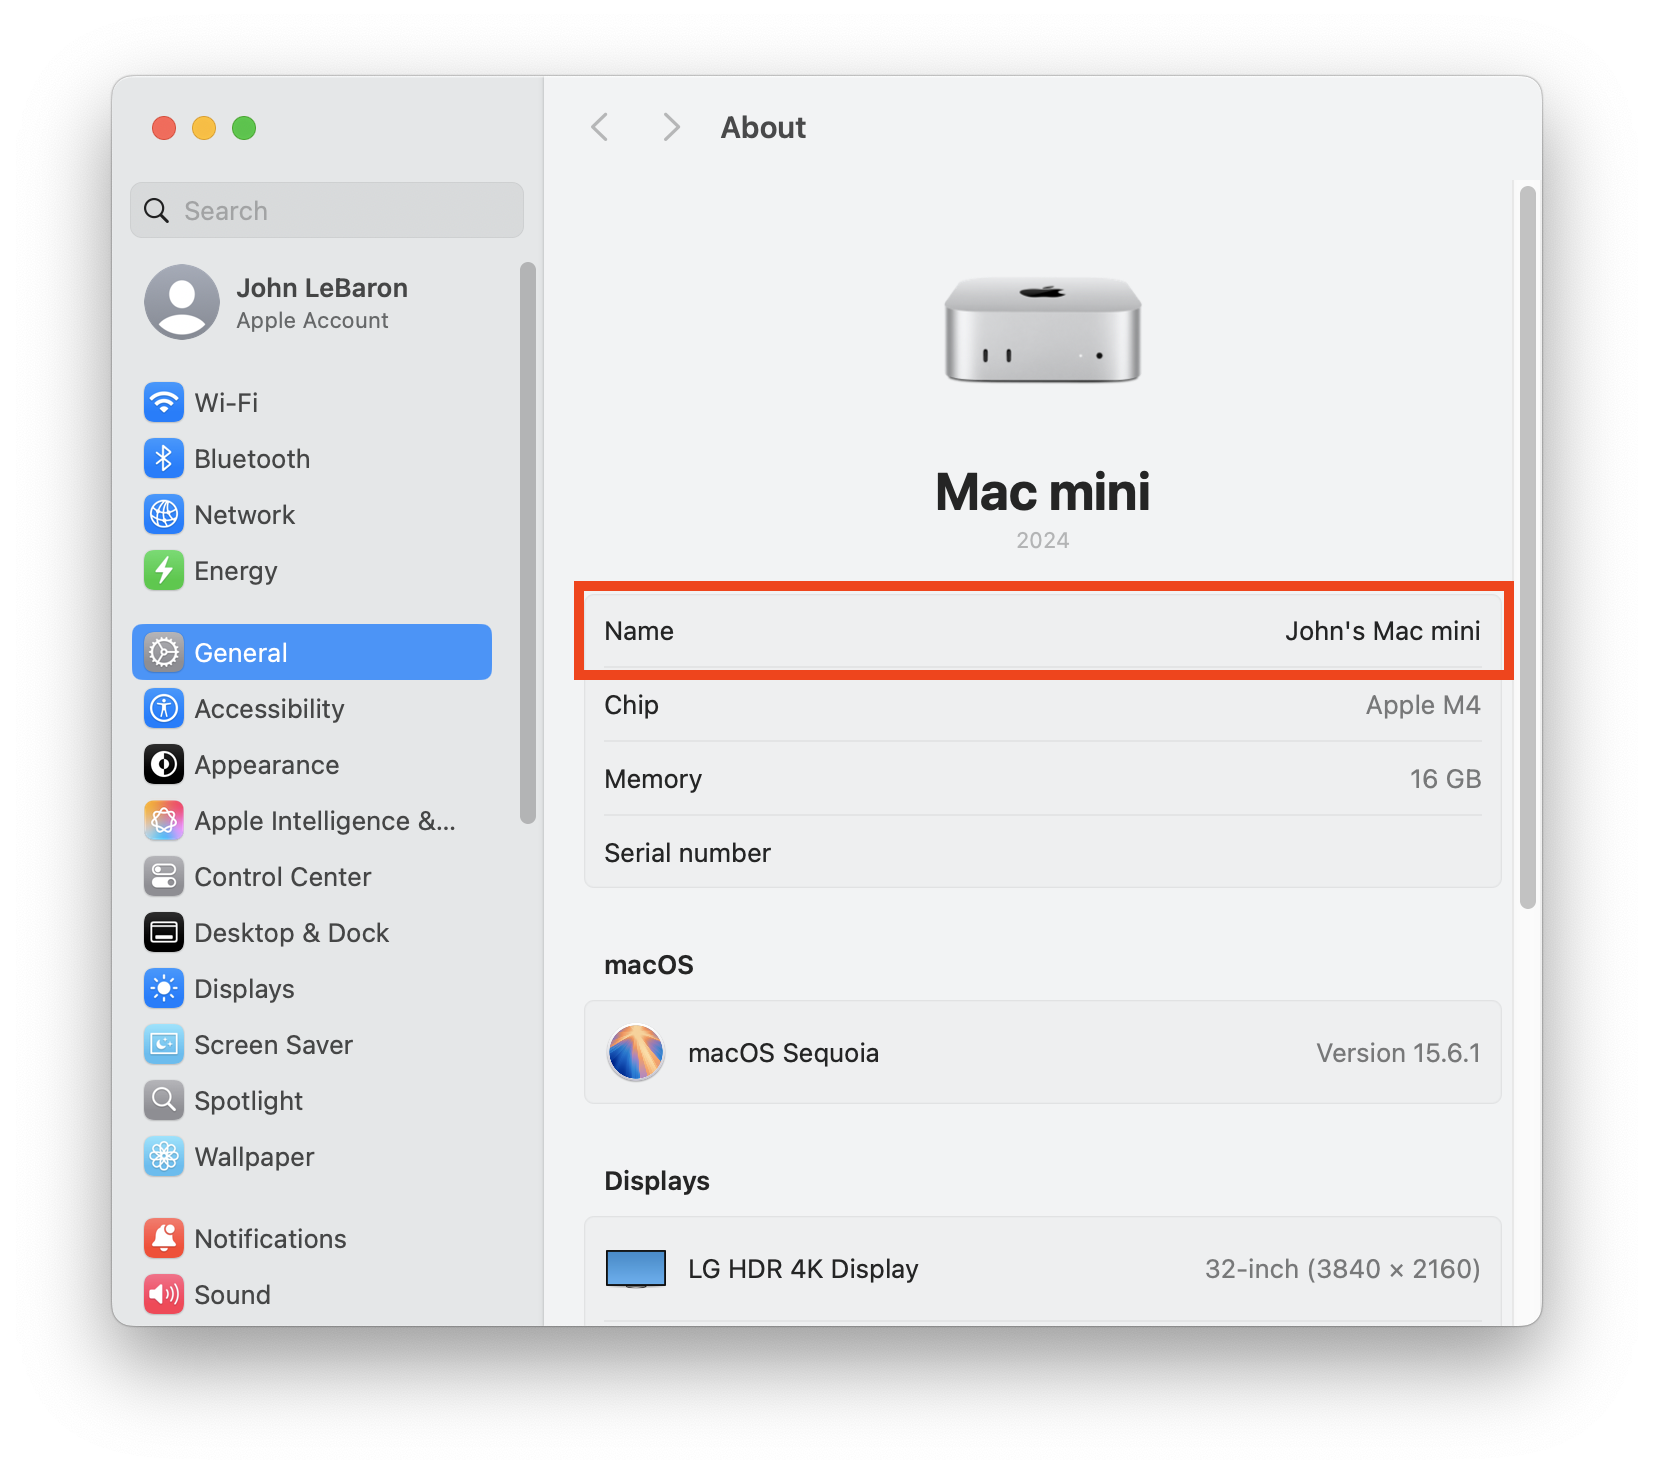
macOS
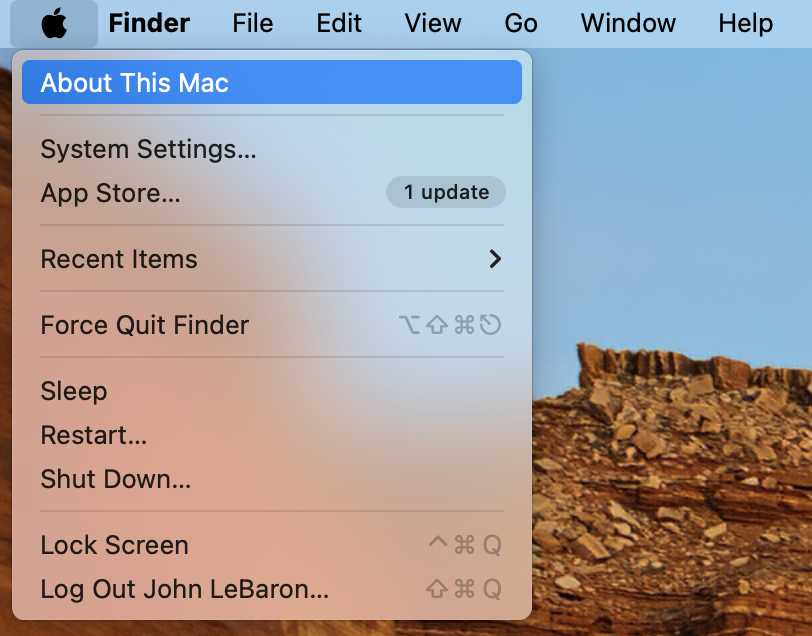
In the information window, click More Info...
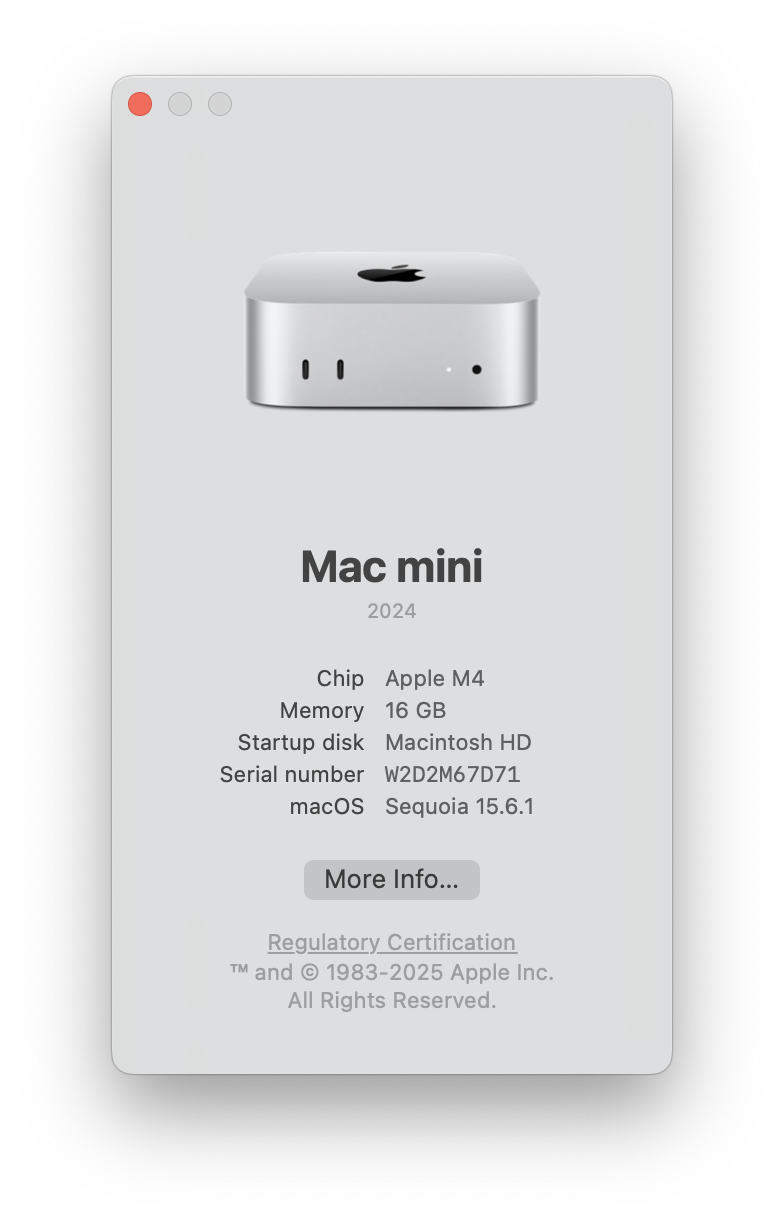
In the About window, your device name is indicated in the Name field.
Step 2. Connect the printer to the device
The printer can be connected to the PC via Network or USB. Network method is generally more reliable, and therefore preferred if possible.
If you connecting a Printronix printer to a Mac, you must connect the printer via network. macOS does not support Printronix printers via USB connection.
Network method
If connecting via network, use the provided CAT6 cable, or a network cable of your own, to attach the printer to your network.
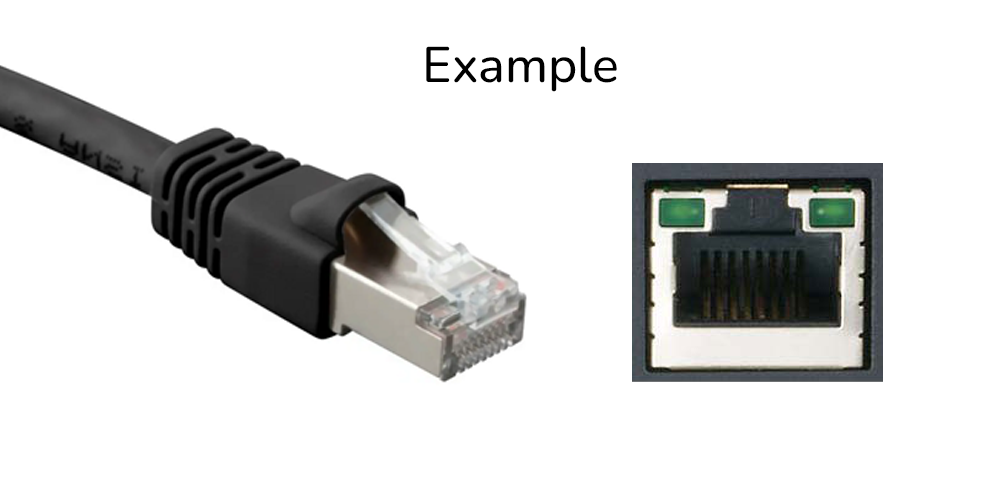
The printer must be on the same subnet as the host PC in order to be detected by the Print Client.
USB method
If connecting via USB, plug the provided USB cable into your PC and printer. The USB-A connector should be plugged into the PC, while the USB-B connecter should be plugged into the printer:

Last, for the USB method, you'll need to change the Host I/O setting on the printer to USB.
Step 3.2. Install Print Client
If you are connecting a Printronix printer via USB, you must use the Windows version currently. macOS only supports Printronix printers via network connection.
Download the Print Client:
- Login to the web portal
- Click on your account name in the top-right corner
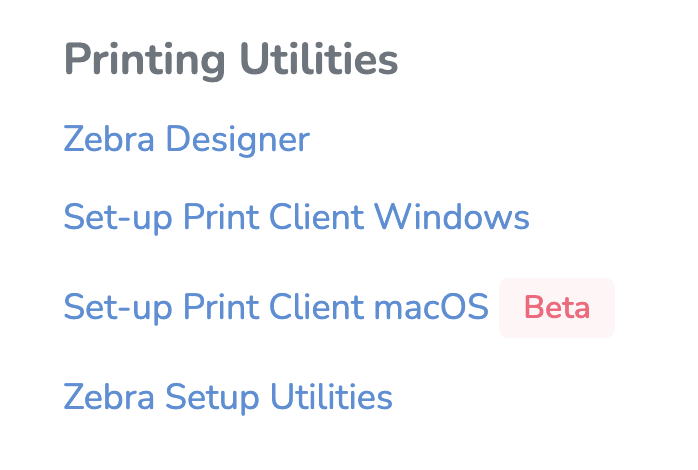
- Click "Resources"
- On the resources page, under Printing Utilities, click "Set-up Print Client Windows" or "Set-up Print Client macOS" to download

Install Client
- Open the downloaded file (PrintClient.Updater.Installer.msi or PrintClientUpdater.Installer.pkg). This will launch the installer.
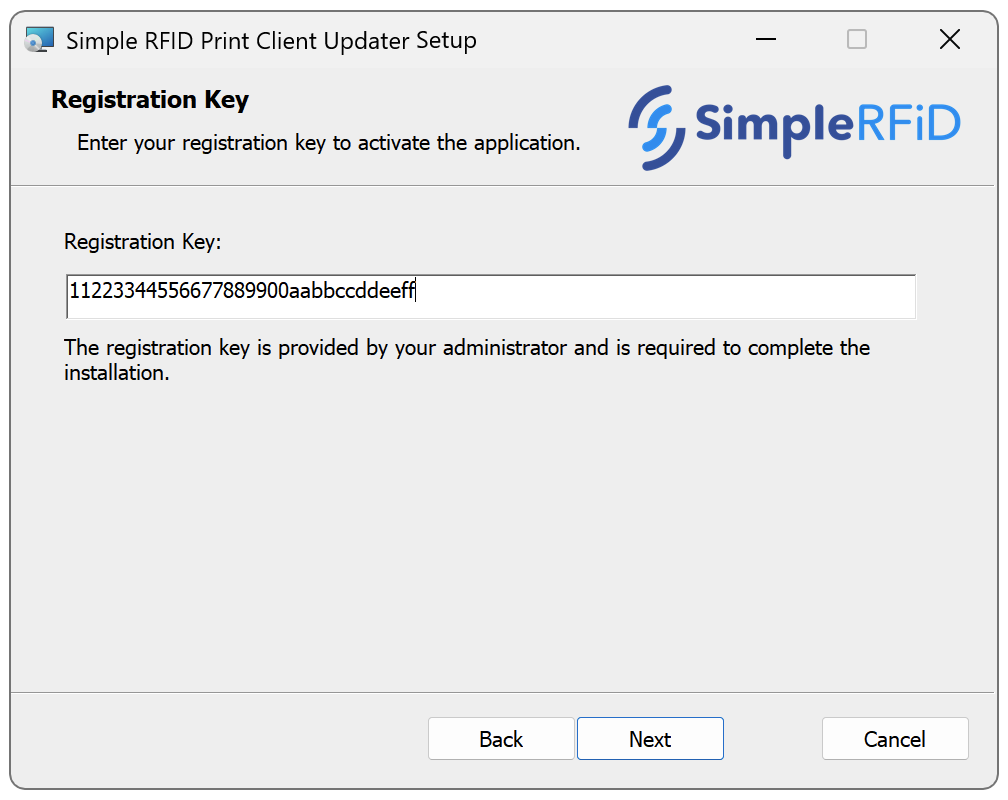
- Follow the steps in the installer. You will need to provide Administrator approval to complete the installation.
- Enter your Registration Key when prompted. You can find this key on the web portal, on the Customer Profile page under Printing Settings.
If you don't have access to they key, or if you are not prompted to enter the key, reach out to Simple RFID for support.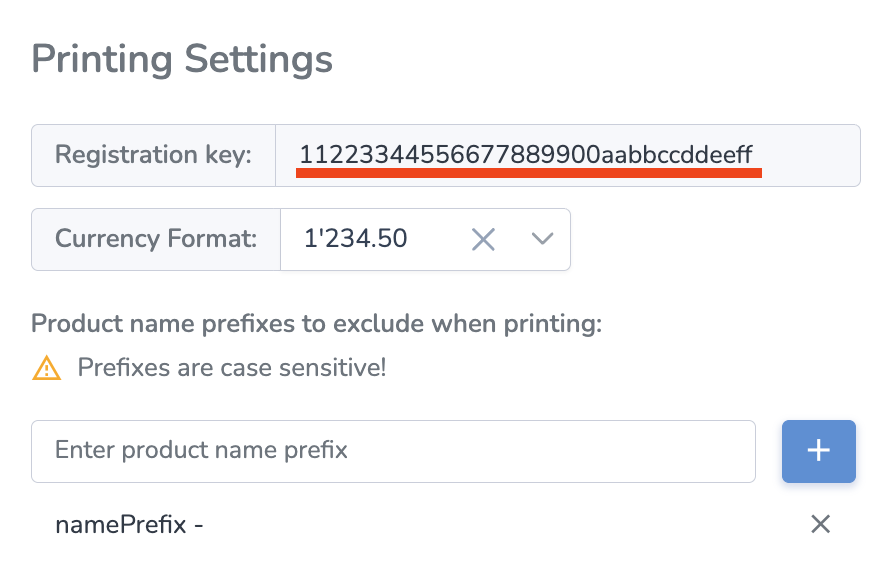
- When the installation is completed successfully, you can close the installer.


Step 4. Notify Simple RFiD
Finally, please notify us of your new device so we can connect it to your account.
Email: support@simpleRFID.com1. Please make "Connect Printer" the subject2. In the body of your email include:• The name of your company• The Device name of the host PC/Mac• Name of the location where your printer is connected( This refers to the physical location where the printer is located (e.g. which warehouse or store the printer is in). If you are setting up your printer before your first training, you can disregard this step as you will not have any locations set up yet. )
After sending the email, a member of our team will connect your printer
⇒ Please allow up to 8 hours for a response, notifying you that the printer is connected (expect a shorter wait time during normal business hours: 9-5pm MT)
Once the printer is connected, it will appear on the Printers page, and in the Available Printers menu.