Printing
Print one-by-one, create print jobs via spreadsheet
- Print Labels One-by-One
- Print Labels from Spreadsheet Upload
- Formatting Currency for Price & Cost fields
- How to manage variable pricing: and provide the customer an enhanced shopping experience
Print Labels One-by-One
This section will teach you how to print tags from the web portal manually without using spreadsheets.
Quick Printing
Save some time if you need to print a single product by visiting the Quick Printing view!
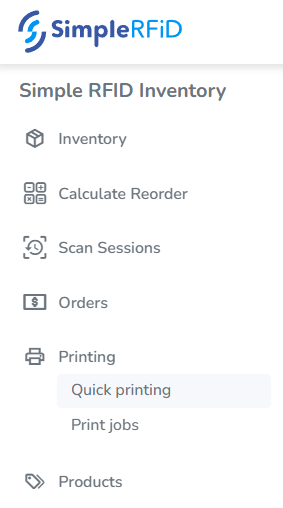
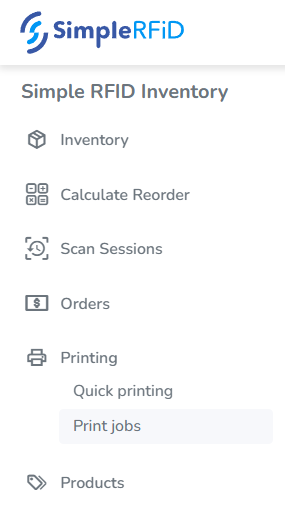
- Select Quick Printing from the navigation menu

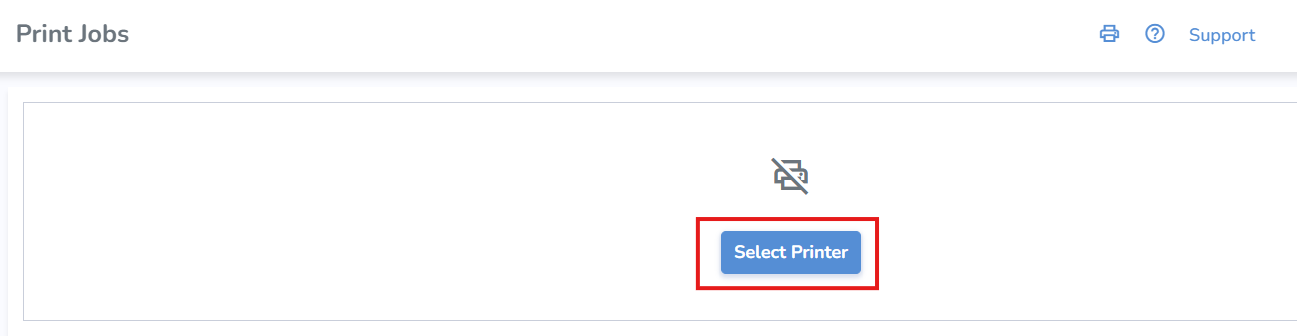
- From the Quick Printing page, click Select Printer

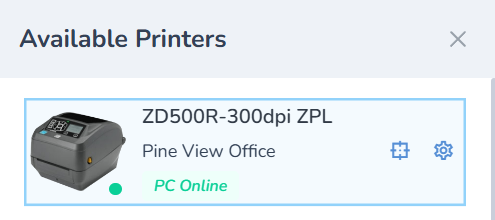
- Then click the printer tile to select the desired printer from the right Available Printer menu

- Click X to close the menu
Print a single product
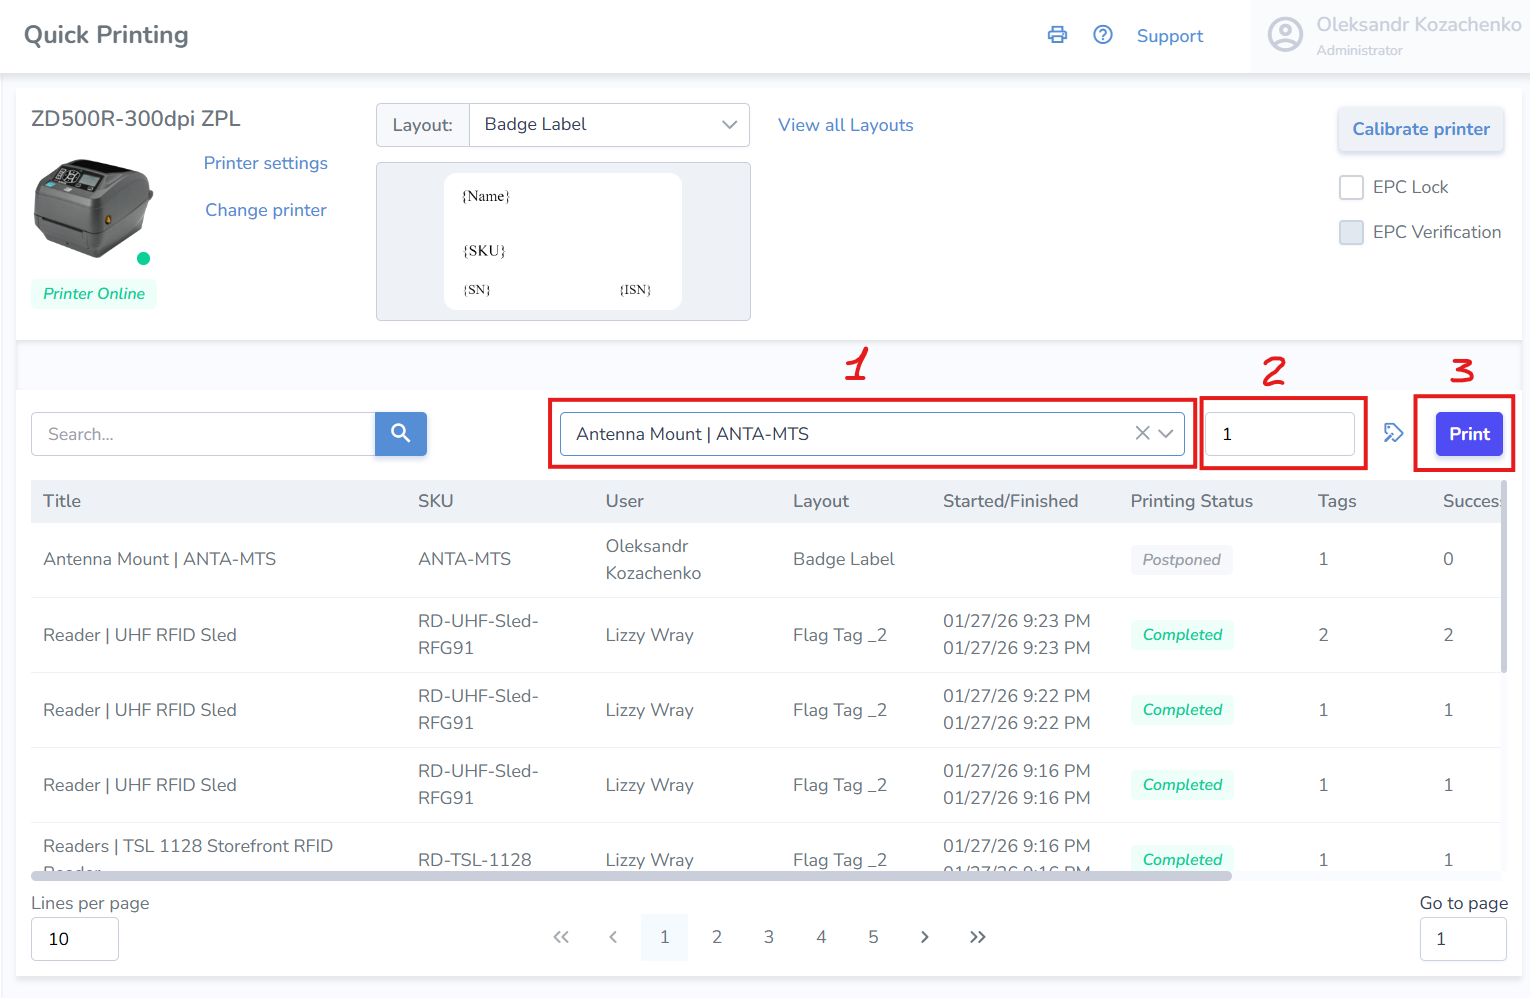
- Ensure that the correct layout is selected. The last used layout will be selected by default
- Search and add the item(s) you wish to print from the search bar on the right
- Once added, you can change the quantity of tags you'd like to print for the item
- Finally, click Print to start a Print Job

Print Jobs
- Select Print jobs from the navigation menu

- From the Print Jobs page, click Select Printer
- Then click the printer tile to select the desired printer from the right Available Printer menu
- Click X to close the menu
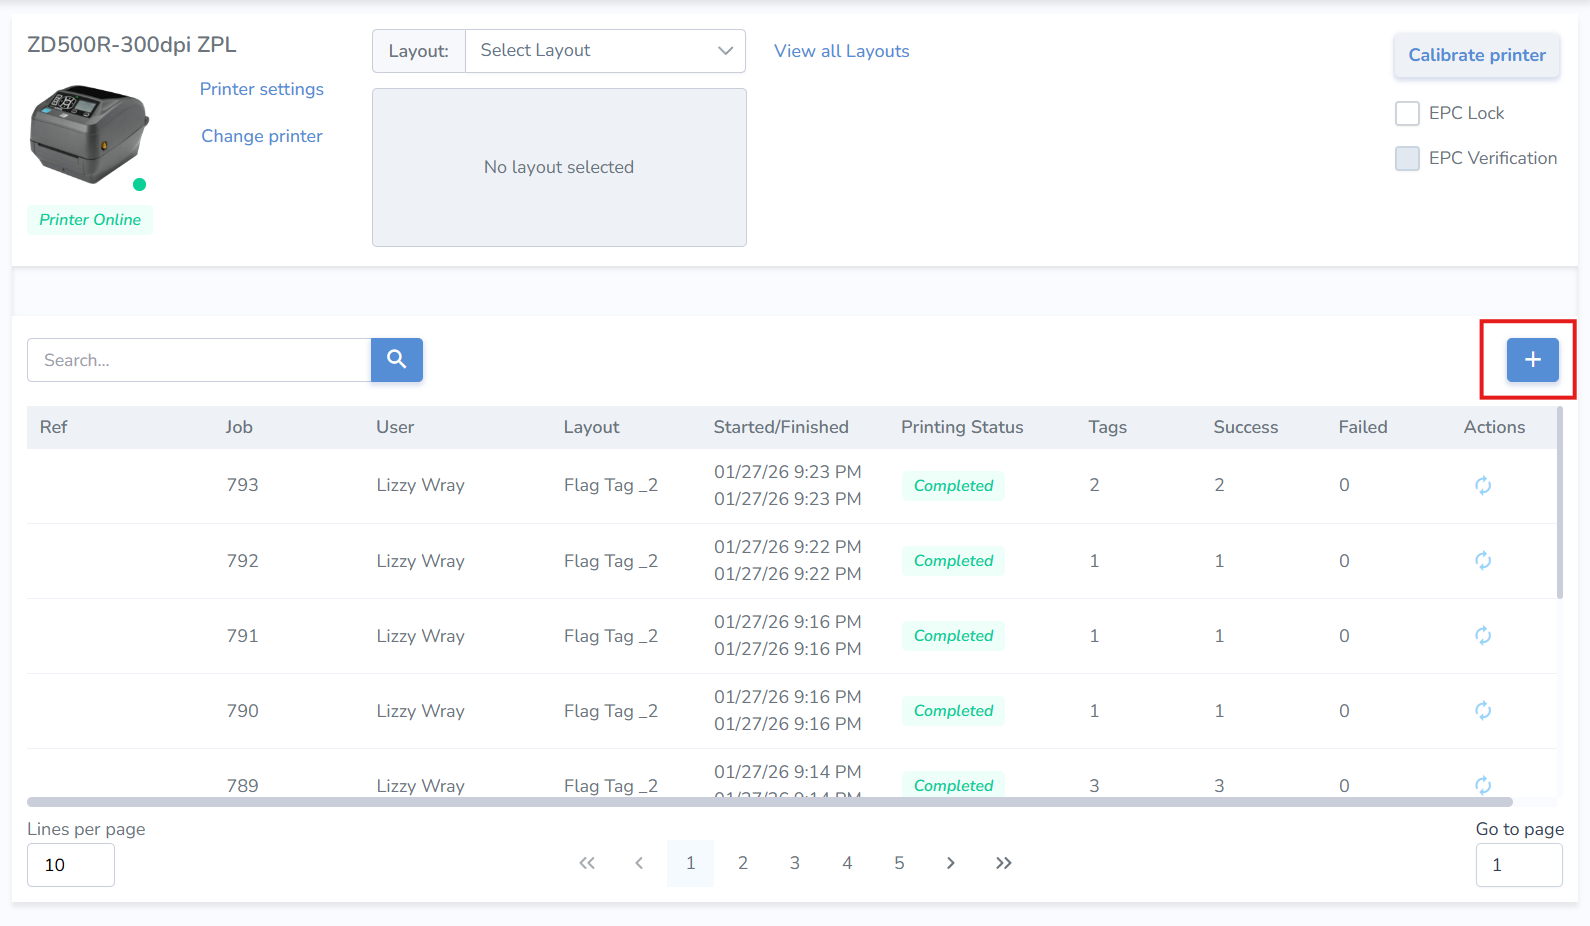
- Then click the "+" button located in the top right corner of the jobs list

Create Print Job
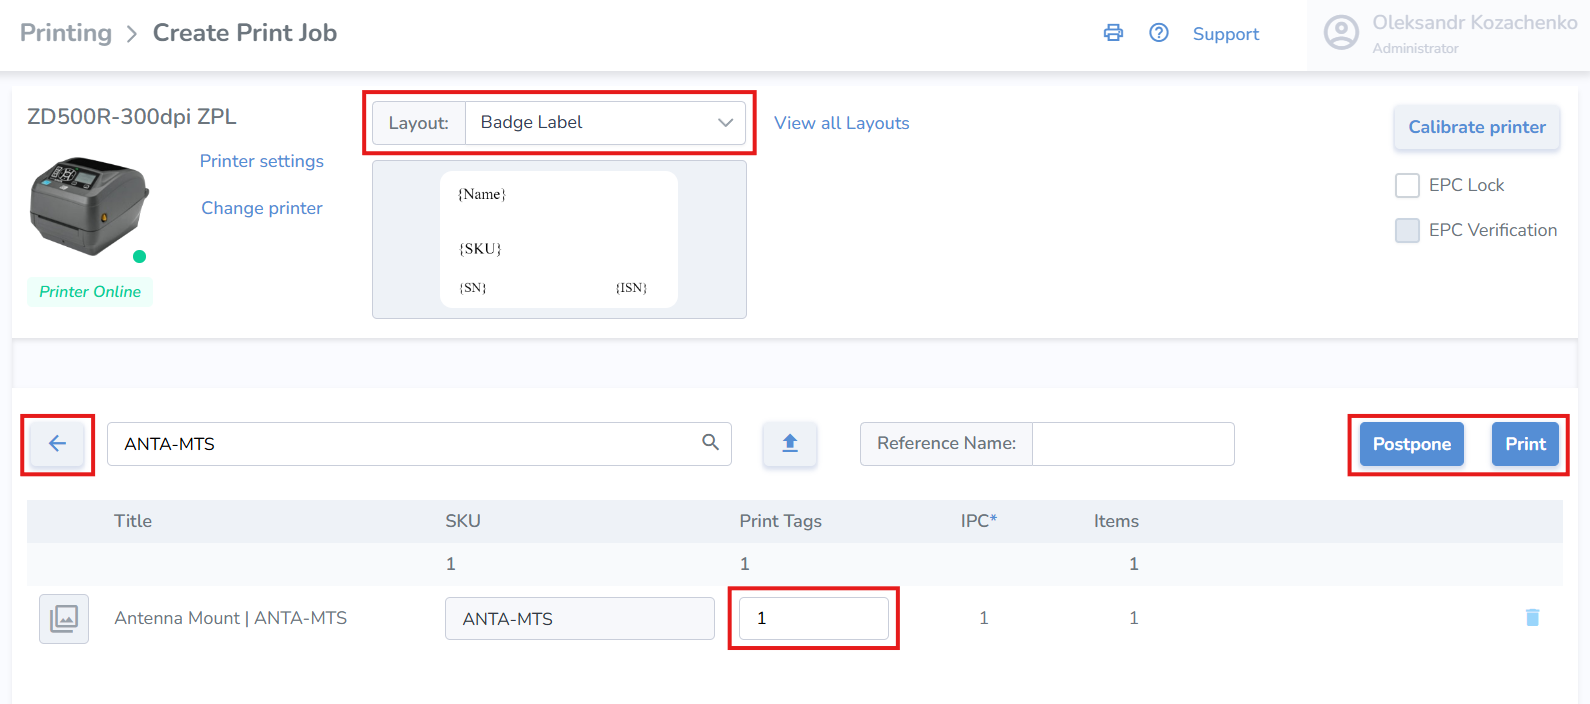
- Ensure that the correct layout is selected. The last used layout will be selected by default
- Search and add the item(s) you wish to print from the search bar on the right
- Once added, you can change the quantity of tags you'd like to print for the item

From this point, you can add optional tag-specific information such as born date, expiration date, sell by date, lot number, serial number, or cost. None of it is required, but if you do not change anything, the tag’s default born date will be the day it is printed.
• To add this information, click on the name of the item once and the screen will pop up on the right.
Print, Postpone, or Navigate Back from the print job
Print — When ready, click 'Print' at the bottom right of the page to print immediately
Postpone — If you would like to print the labels at a later time, click 'Postpone' and start printing later
Print Job Actions
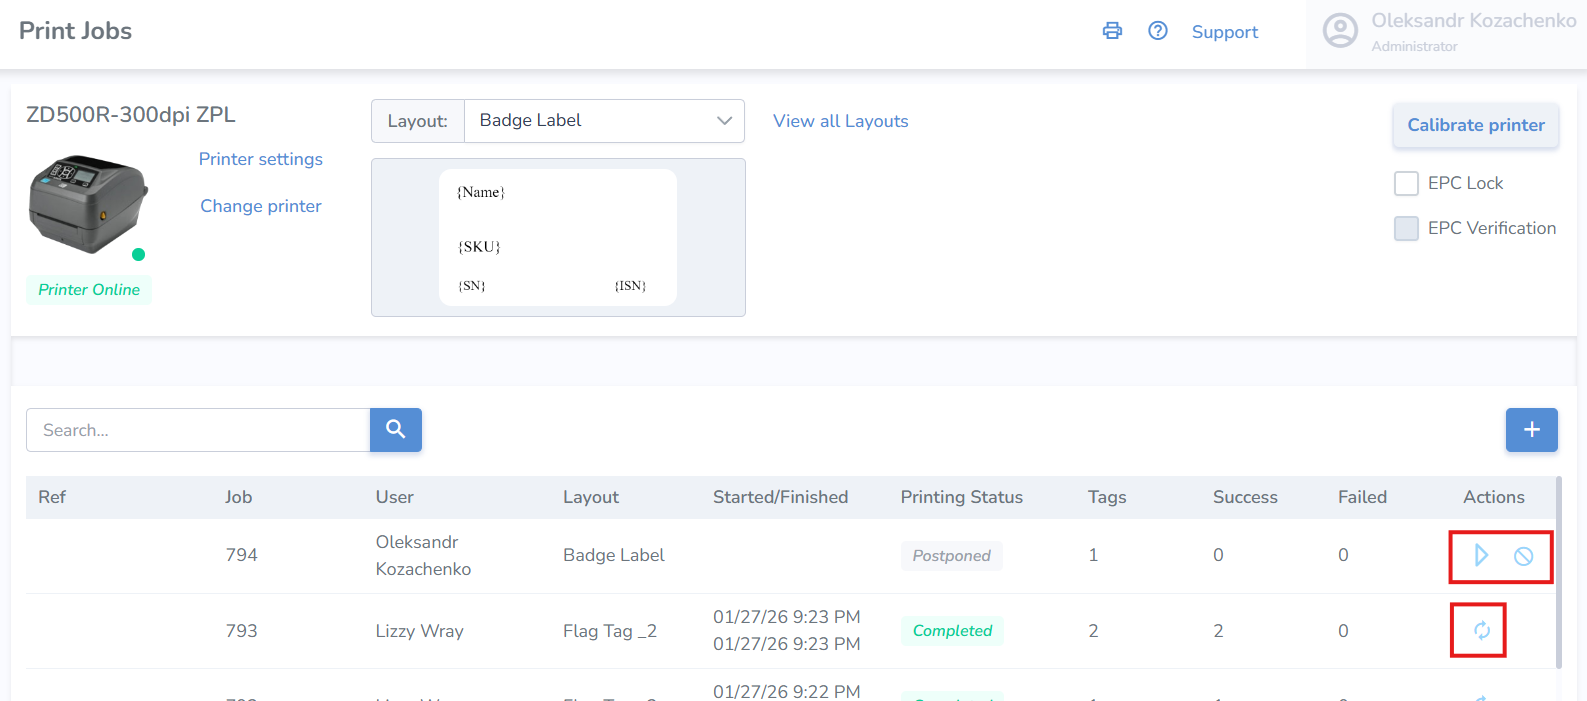
- On the Print Jobs page, you can see the Printing Status of each job in the listed history

- To start the print job, click the triangular start button under the 'Actions' column
- To cancel the job, click the strike-through circle icon
- To repeat the job, click the 2-arrows circle icon
A good practice is to scan the labels and upload them to a temporary location to verify that all tags have been printed correctly.
When you have successfully printed a few out, learn how to Scan and Upload Tags.
However, if the printer isn't working correctly, take a look at Printers or Printing Issues
Print Labels from Spreadsheet Upload
Print Labels from Spreadsheet Upload
Add details to a print job using a spreadsheet. Use our formatted spreadsheet template, or use your own template.
Upload Your Spreadsheet
Inside the Print Jobs > Create Print Job page, click the upload button in the center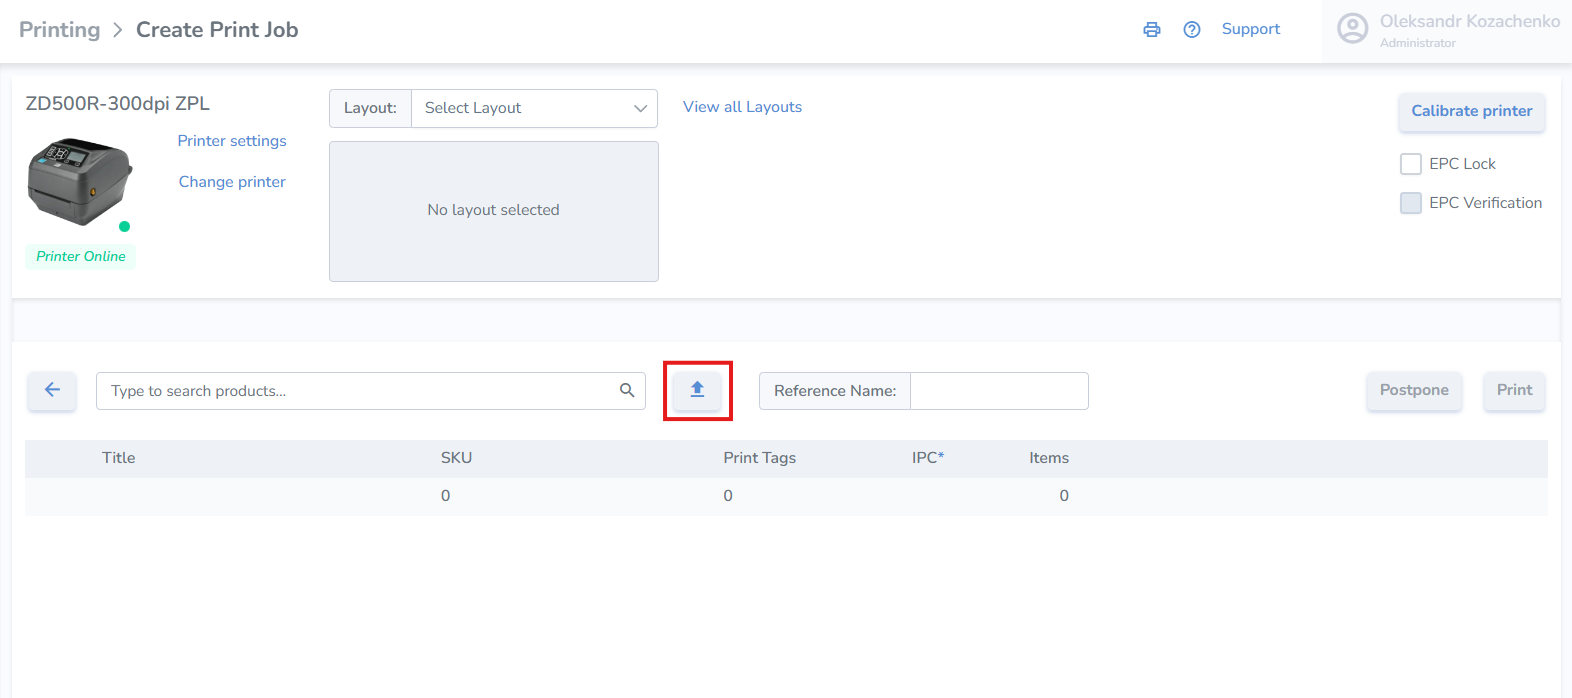
Option 1: Using Our Template
- In the new pop up window, click on the Get Template button

- Fill out the information for your print job and save the spreadsheet
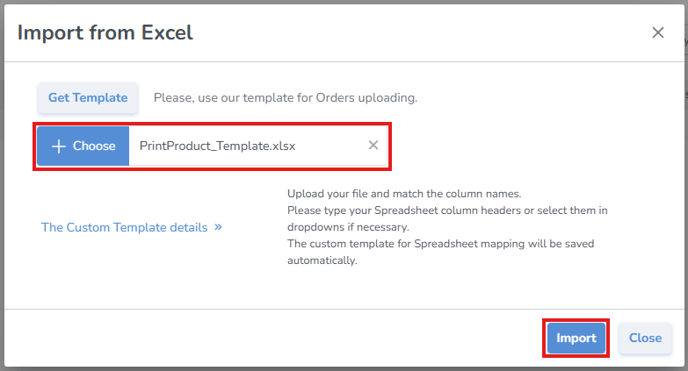
- Back on the web, click the + Choose button and select the file with the information you saved

- Once the file has been selected, click Import
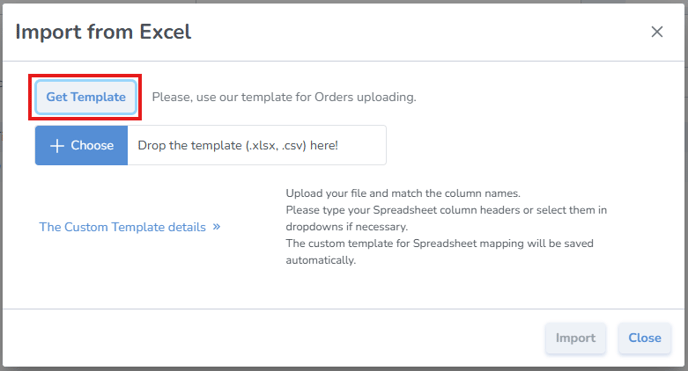
Option 2: Using Your Own Spreadsheet
If you're using your own existing spreadsheet instead of the template:
- Click the + Choose button and select the file with the information
- Click The Custom Template details
- Select which columns contain the corresponding information
- Once the file has been selected, click Import
Complete the Import
The system will then add all the items to the print job, which you can print immediately or postpone.
If any of the information from the uploaded spreadsheet is invalid, you'll see a validation error on that item in the list.
Best Practice
A good practice is to scan the labels and upload them to verify that all tags have been printed correctly.
Formatting Currency for Price & Cost fields
You may apply a custom format to the Price ( {Price} ) and Cost ( {Cost} ) fields.
Price can be set in the Edit Product, Cost is set when creating a print job (click on the product line from the list and menu will appear on the right).
To change the currency format, please follow these steps:
1. Go to Customer Profile
2. Expand Currency Format dropdown
3. Select the desired Currency Format
4. Click Save
After Currency Format is set, values of {Price} and {Cost} will get printed with the desired format.
How to manage variable pricing: and provide the customer an enhanced shopping experience
Don't want to print the price on your products, but still want the customers to be able to see it? Here's how.
Instead of printing prices on labels, each product gets a QR code.
When a customer scans it, they see the live product page on your website — with the current price, photos, and details, allowing you to manage the variable price, while providing an enhanced shopping experience for your customers.
If the price ever changes, you update it in your software, and every label stays correct. The benefit is that you never have to reprint the labels and spend the labor hours to complete the task. No re-printing labels and the associated costs.
✔ Always shows the current price
✔ No wasted labels when prices change
✔ Works with any smartphone
✔ Looks modern and premium in-store
✔ Zero extra work for staff