ApparelMagic
ApparelMagic: Setting up the integration
To connect Simple RFID to ApparelMagic, you'll need your account ID and an API Key from ApparelMagic.
1. Determine your Account ID
When logged into ApparelMagic, your Account ID makes up the first part of the URL as shown here:

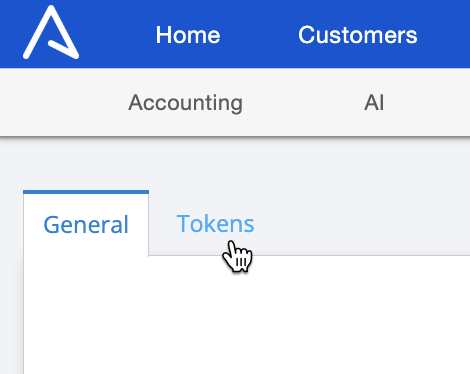
2. Generate an API Key
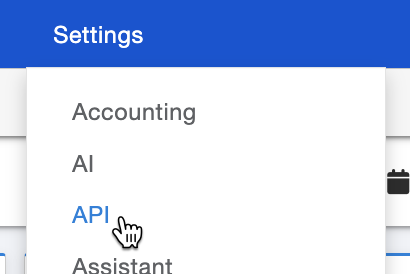
In the top-left of the page, open the Tokens tab, then press + New at the bottom-left:

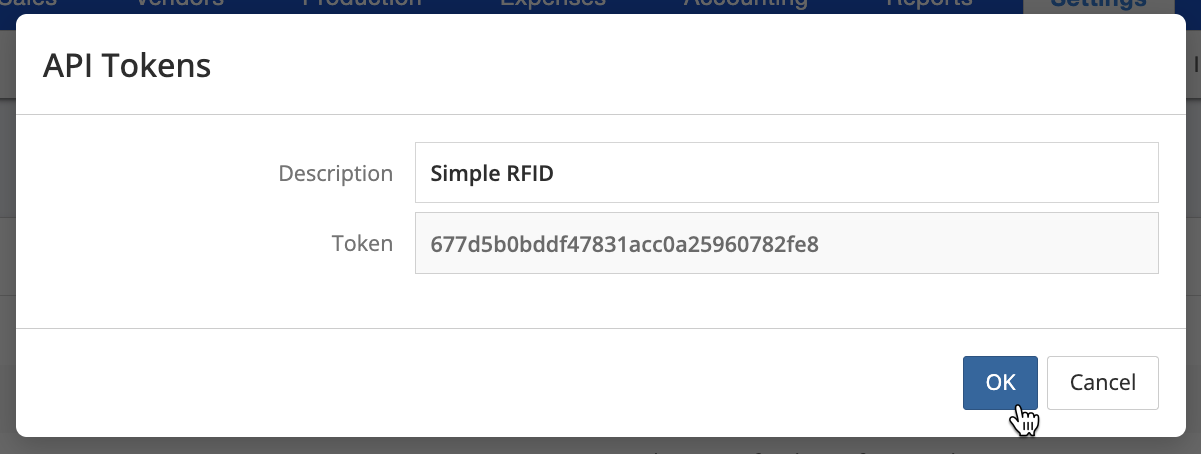
Give the token a description, like "Simple RFID". Make a note of the Token (you'll enter this in Simple RFID) then press OK.
Last, make sure to press Save at the bottom-right of the page.

3. Enter your Account ID and API Key
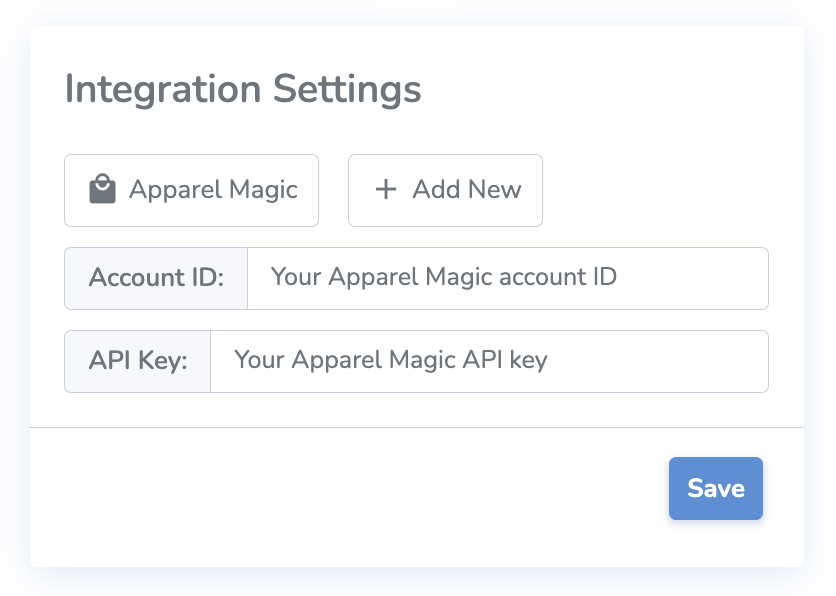
With this information collected, enter your ApparelMagic Account ID and API key in the Customer Profile page in Simple RFID, then press Save:
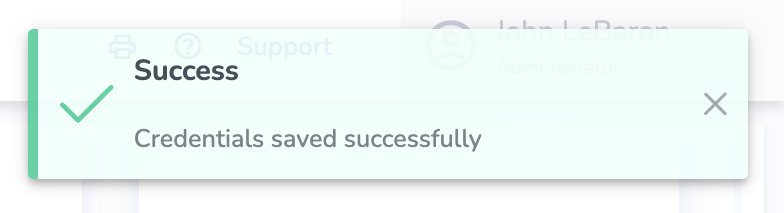
You should see a message that the credentials saved successfully, then you will see the ApparelMagic page appear under Integrations in the side navigation.
ApparelMagic: Products
If you haven't connected ApparelMagic with Simple RFID yet, follow the instructions here: ApparelMagic: Setting up the integration
Overview
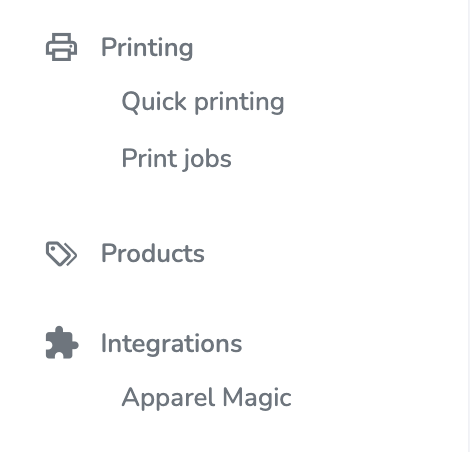
Access the ApparelMagic integration from the navigation sidebar:

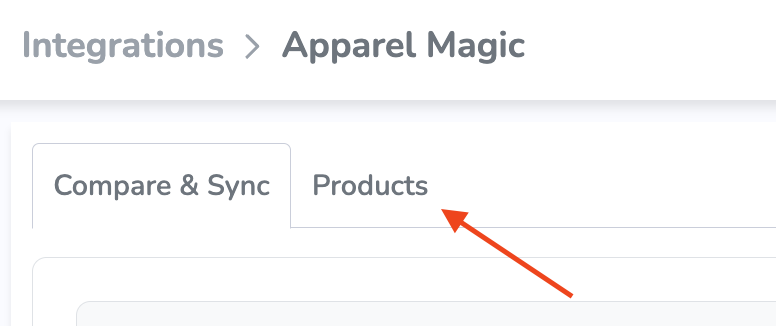
By default, you'll see the Compare & Sync view. To import products, open the Products tab at the top of the page:
In the Products tab, you'll see your ApparelMagic products listed. From here, you can search by style name (full match) to find specific products:

Parent SKUs can be expanded to show variants, and relevant information such as SKU, Name, Color, Size, Price, and Sync Status.

Sync Status describes the import status of each variant.
- New means the variant has not been imported yet.
- Existed means the variant already exists and is up to date in Simple RFID, so there's no need to import.
- NeedUpdate means that some product information has changed, so the product needs to be imported again with the new info.
Import Products
There are a couple of different approaches you can take to import products.
Import All
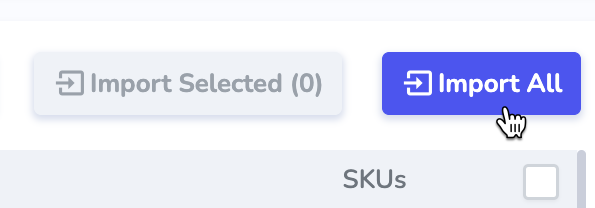
Using the Import All button will attempt to import all of your products from ApparelMagic to Simple RFID. This is generally recommended when first setting up the integration rather than copying products individually.
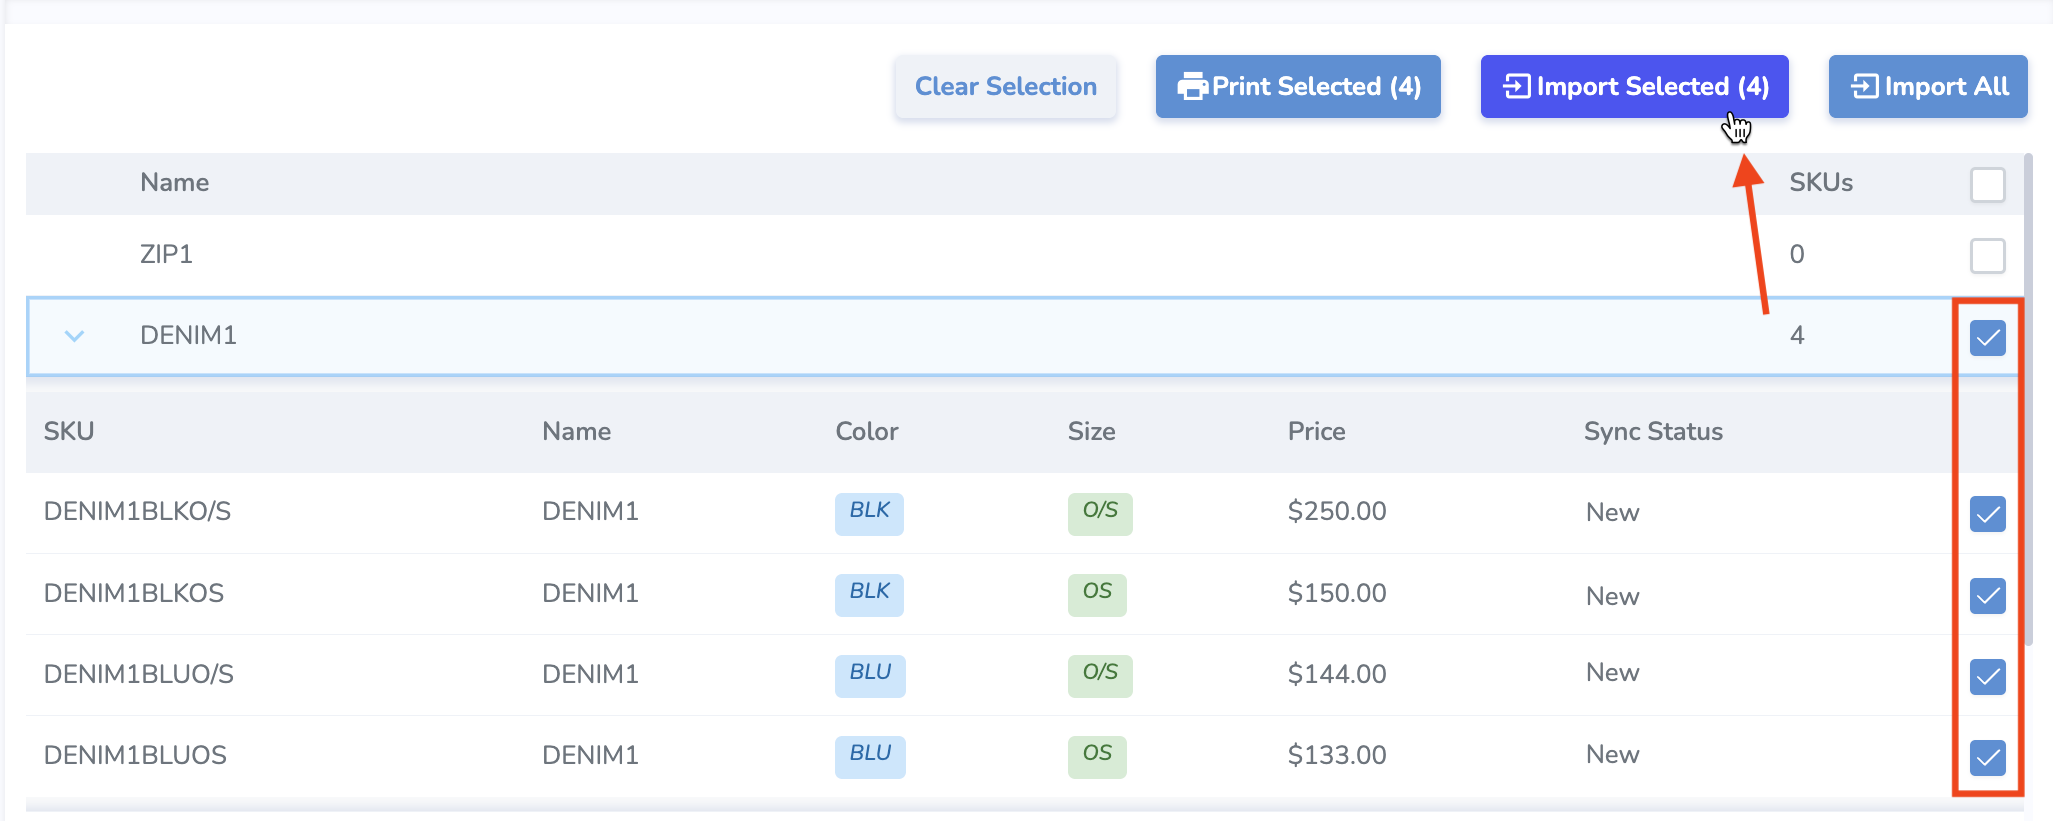
Import Selected
You may also wish to select a specific product or variant to import, especially after making changes to the product information in ApparelMagic. Use the checkboxes on the right side of the products/variants to select one or more items. You may select a parent SKU to include all its variants, or specific variants individually. Press the Import Selected button to import those items.
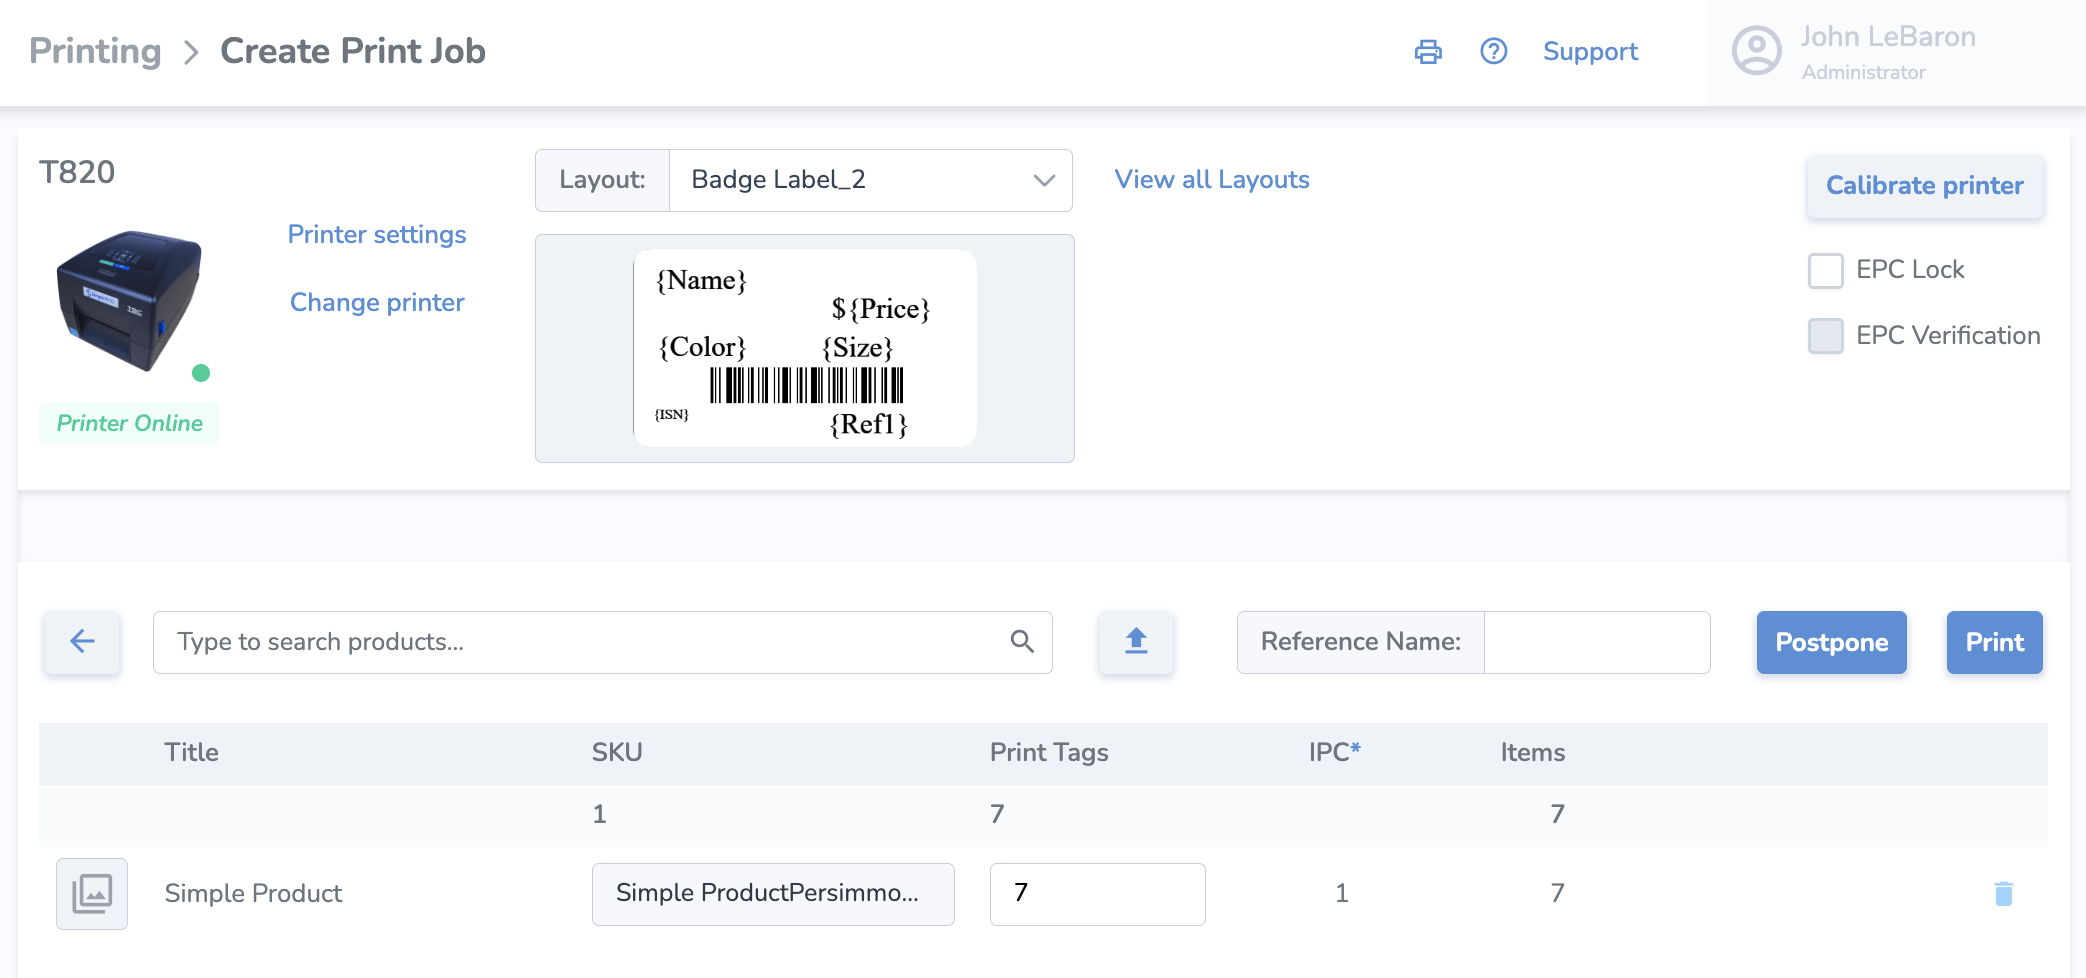
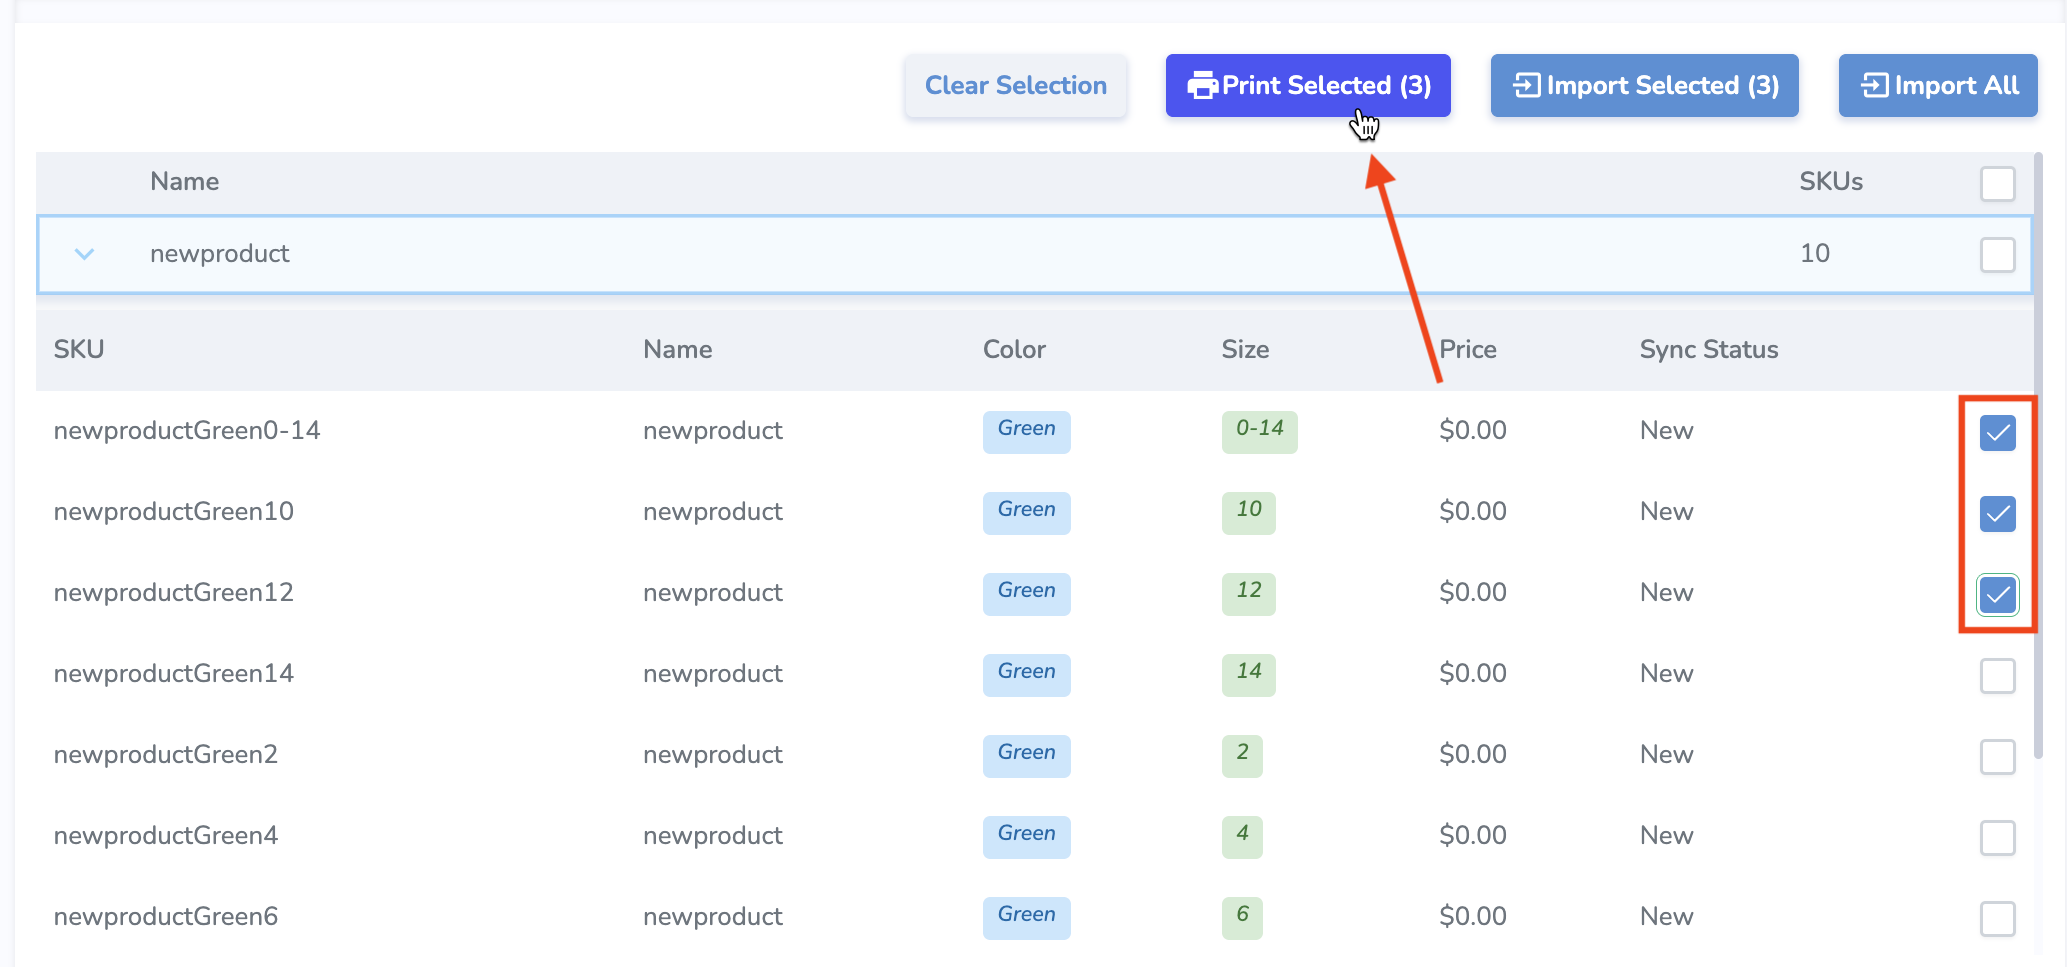
Printing tags for products
From the Products tab, you can also select specific products or variants and print tags for those products. Pressing Print Selected will bring you to the Print Jobs page where you can specify quantities, select a printer and label layout, and print or postpone the job.
You can also print from the Compare&Sync tab.
NOTE: Property mappings
Currently we have hardcoded the following properties for product import. We plan to implement configurable mapping in the future.
Simple RFID Property | ApparelMagic Property |
Color | attr_2 |
Size | size |
Price | label_price (fallback: price) |
Category | category |
Name | style_number |
Sku | sku_alt (fallback: sku_concat) |
Barcode | upc_display |
ApparelMagic: Compare and Sync
If you haven't connected ApparelMagic with Simple RFID yet, follow the instructions here: ApparelMagic: Setting up the integration
Overview
Access the ApparelMagic integration from the navigation sidebar:
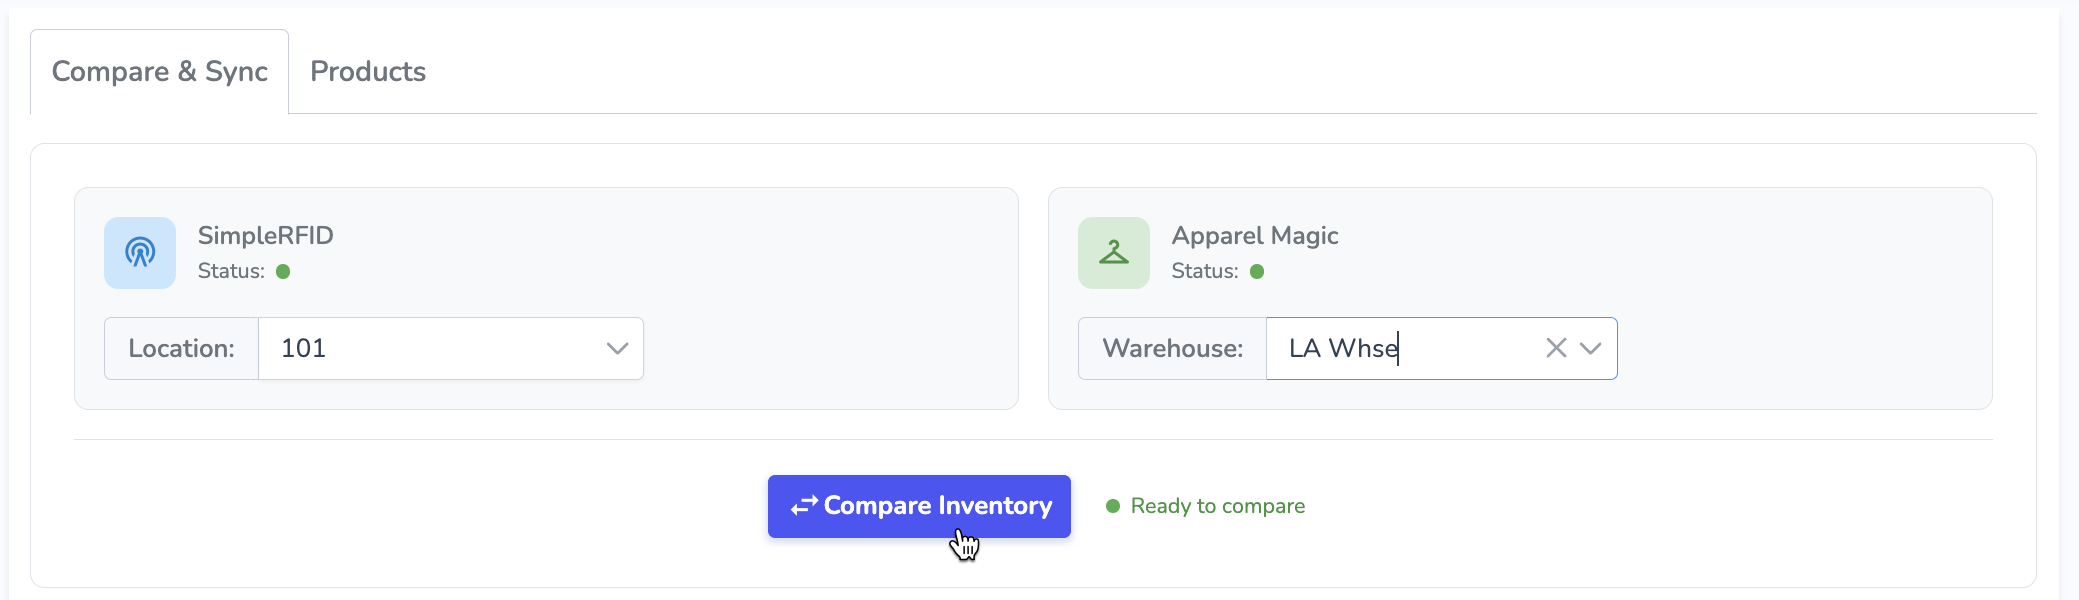
The Compare & Sync page allows you to sync your Simple RFID inventory counts to ApparelMagic.
First, select the locations you want to compare: your Simple RFID location on the left, and your ApparelMagic warehouse on the right. Then, press Compare Inventory to load inventory counts from both systems and populate the comparison.
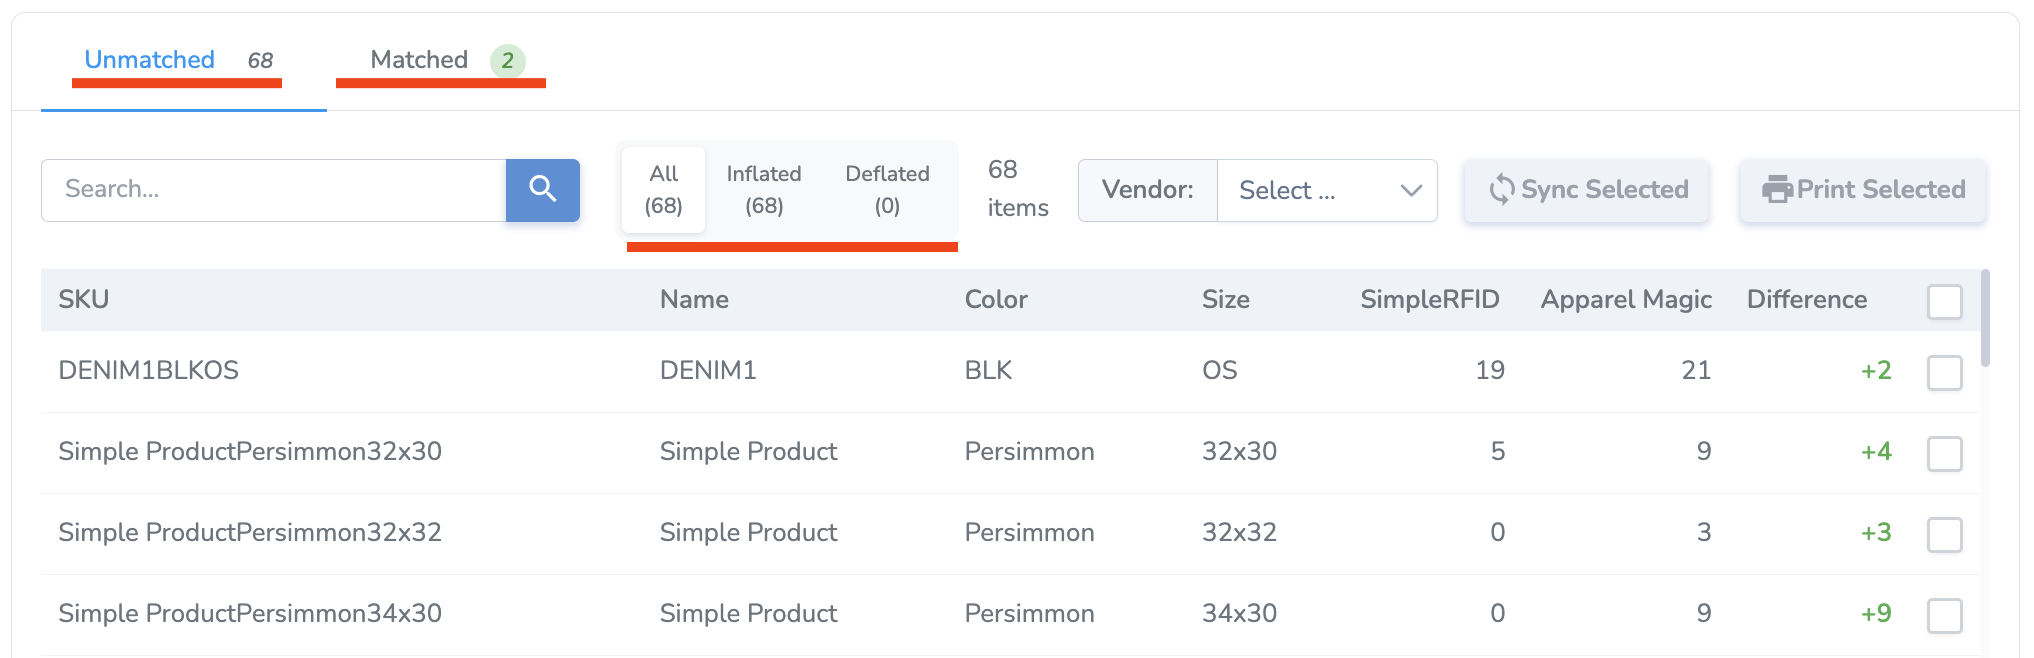
The results are split into two main categories:
- Unmatched - Products whose quantities are not the same between Simple RFID and ApparelMagic. This category is split further into two subcategories:
- Inflated - Products whose quantities in ApparelMagic are higher than those in Simple RFID.
- Deflated - Products whose quantities in ApparelMagic are lower than those in Simple RFID.
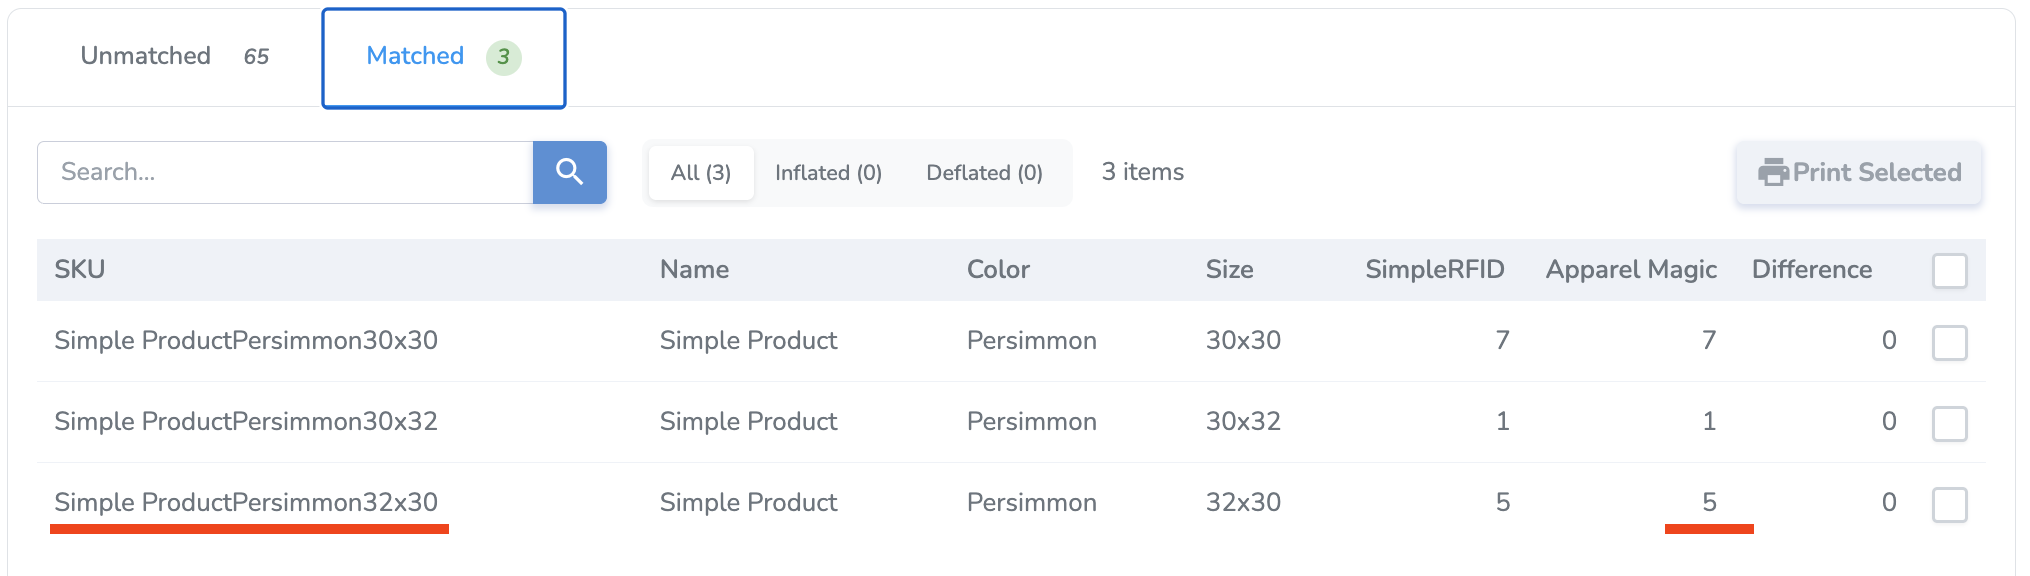
- Matched - Products whose quantities are the same between Simple RFID and ApparelMagic and are not equal to 0. These products have no action to be taken since they already match.
Sync
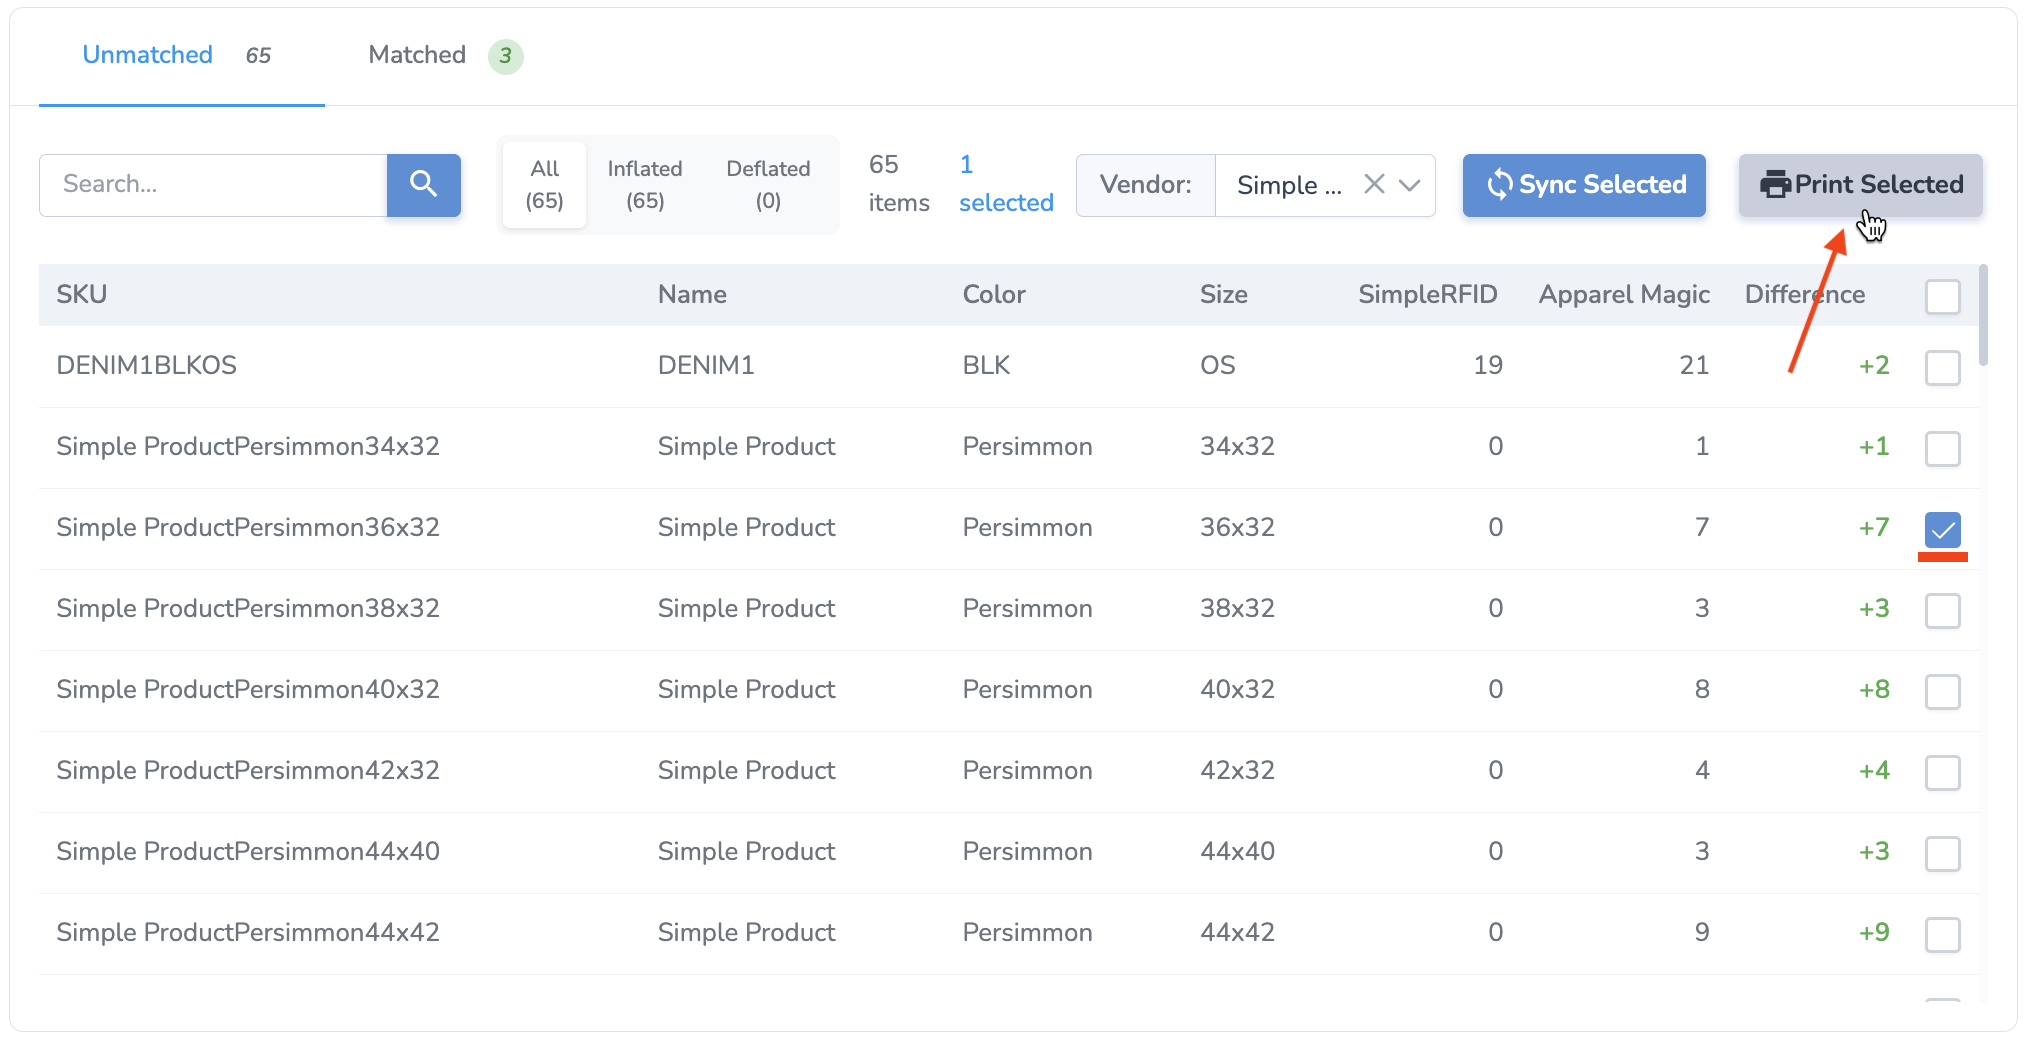
Any product in Unmatched status can be "synced" to ApparelMagic, meaning the ApparelMagic quantity will be updated to match the Simple RFID quantity.
Syncing creates a Receiver in ApparelMagic. The Vendor name identifies the source of goods. It must be set in order to create the Receiver, so you must select a Vendor from the drop-down menu next to the Sync Selected button.
You can sync any or all of the products in the Unmatched list by selecting the check boxes on the right side, then pressing Sync Selected.
NOTE: The Difference value describes the ApparelMagic total in relation to the Simple RFID total. When you sync, the opposite value will be applied, e.g. if an Inflated product has a difference of +4, the inventory in ApparelMagic will be adjusted by -4.

After you Sync, the comparison will be reloaded, and those products will be in Matched status.
For inflated products, you also have the option to print tags for missing items. For example, if you discovered that some items were physically present but weren't RFID tagged, this is a quick way to print the difference.
You'll be brought to the Print Jobs page with your products and quantities automatically populated, and ready for you to print or postpone.