Navigation Menu: Orders
Create, View, Edit & Manage Orders
- Create Multiple Orders using Spreadsheet Upload
- Generating Print Jobs from an Order
- Sales Order
- Transfer Order
- Purchase Order
Create Multiple Orders using Spreadsheet Upload
First select the order type for which you wish to create orders. Only orders of the same type can be uploaded.
For this example we are creating Purchase Orders
- Select order type

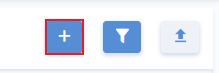
- Next, click the "Import Orders" button
Orders can be imported using a template provided by Simple RFID, or you can use your own spreadsheet.
Import using Simple RFID Template

The sheet contains:
- Order Number (required)
- Origin (required)
- Destination (required)
- SKU (required)
- Quantity (required)
- Lot Number
- Exp Date
- cost
- Born Date
- Serial Number
- Sell By Date
Input details for the sheet.

- Click the "+ Choose" button
- Locate your file on your computer

- Click Import
Import Using Your Own Sheet
If the information for your orders already exists on a sheet you can use your own spreadsheet to create the orders. It's critical that the sheet contain all required fields:
- Order Number (required)
- Origin (required)
- Destination (required)
- SKU (required)
- Quantity (required)
After selecting the order type
- And clicking the "Import Orders" button
- Click the "+ Choose" button
- Locate your file on your computer
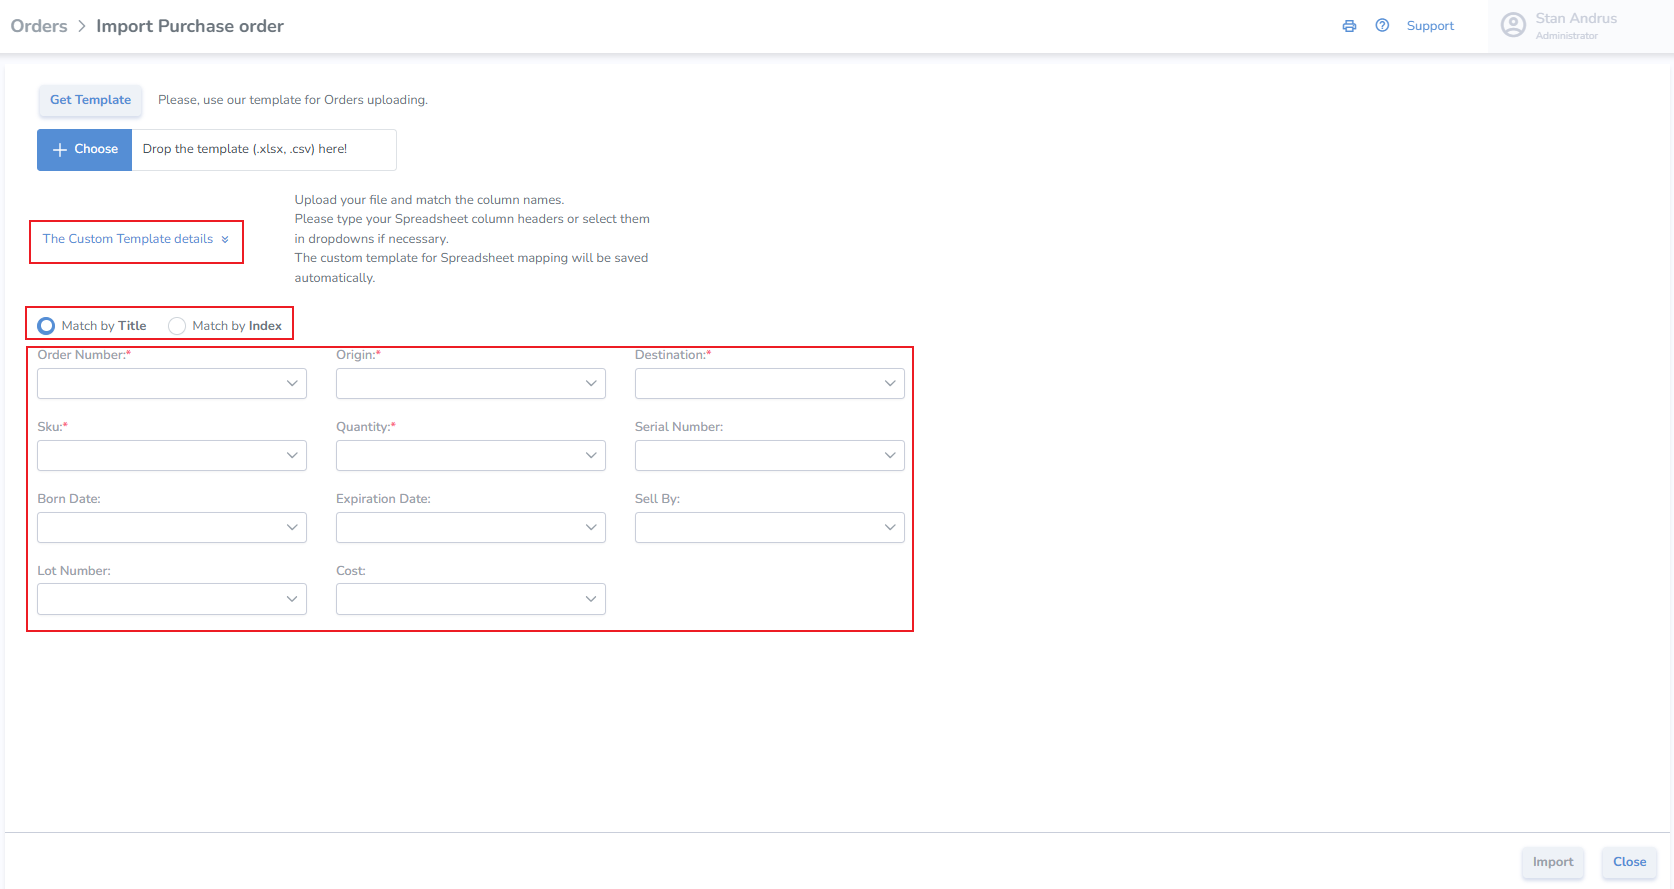
- Next, click on the "The Custom Template Details" button to expose the field mapping
- Choose whether you wish to map by Title (such as SKU, Quantity, etc.), or if you wish to map by Index (Column Headers A, B, C)
- Choose the related Simple RFID field
- Click Import
Import Orders view
We can see the two orders from our spreadsheet.
Any validation errors must be resolves before the orders can be saved. For our example we wrote "Warehouse" on our spreadsheet, however the location is named "Warehouse Location"
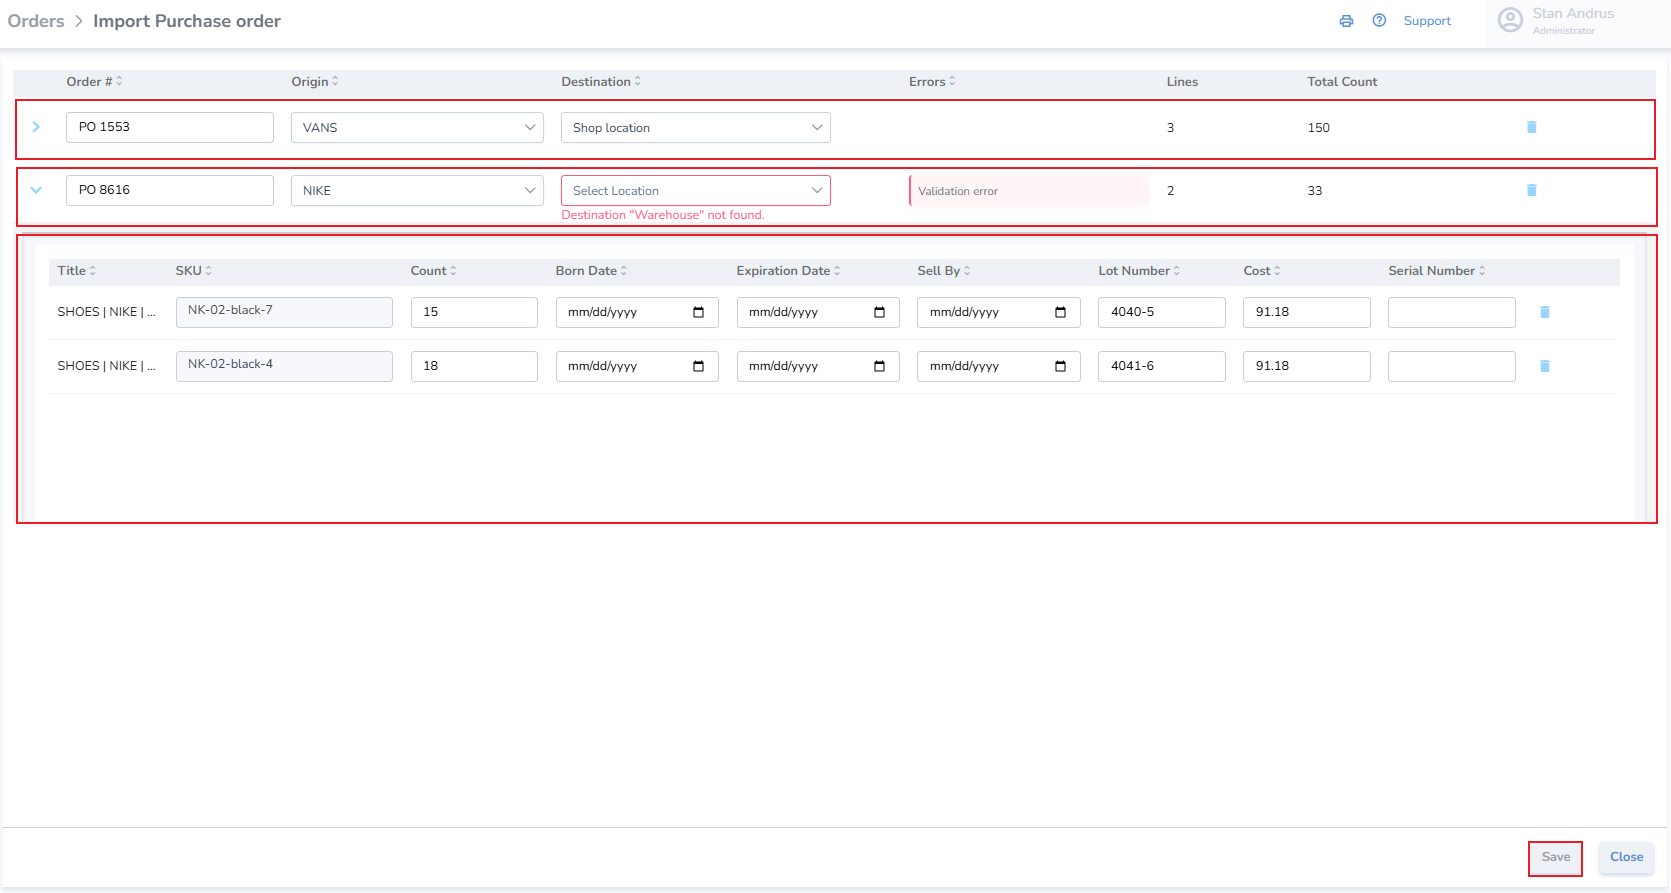
- Once the validation error has been resolved, click the Save button
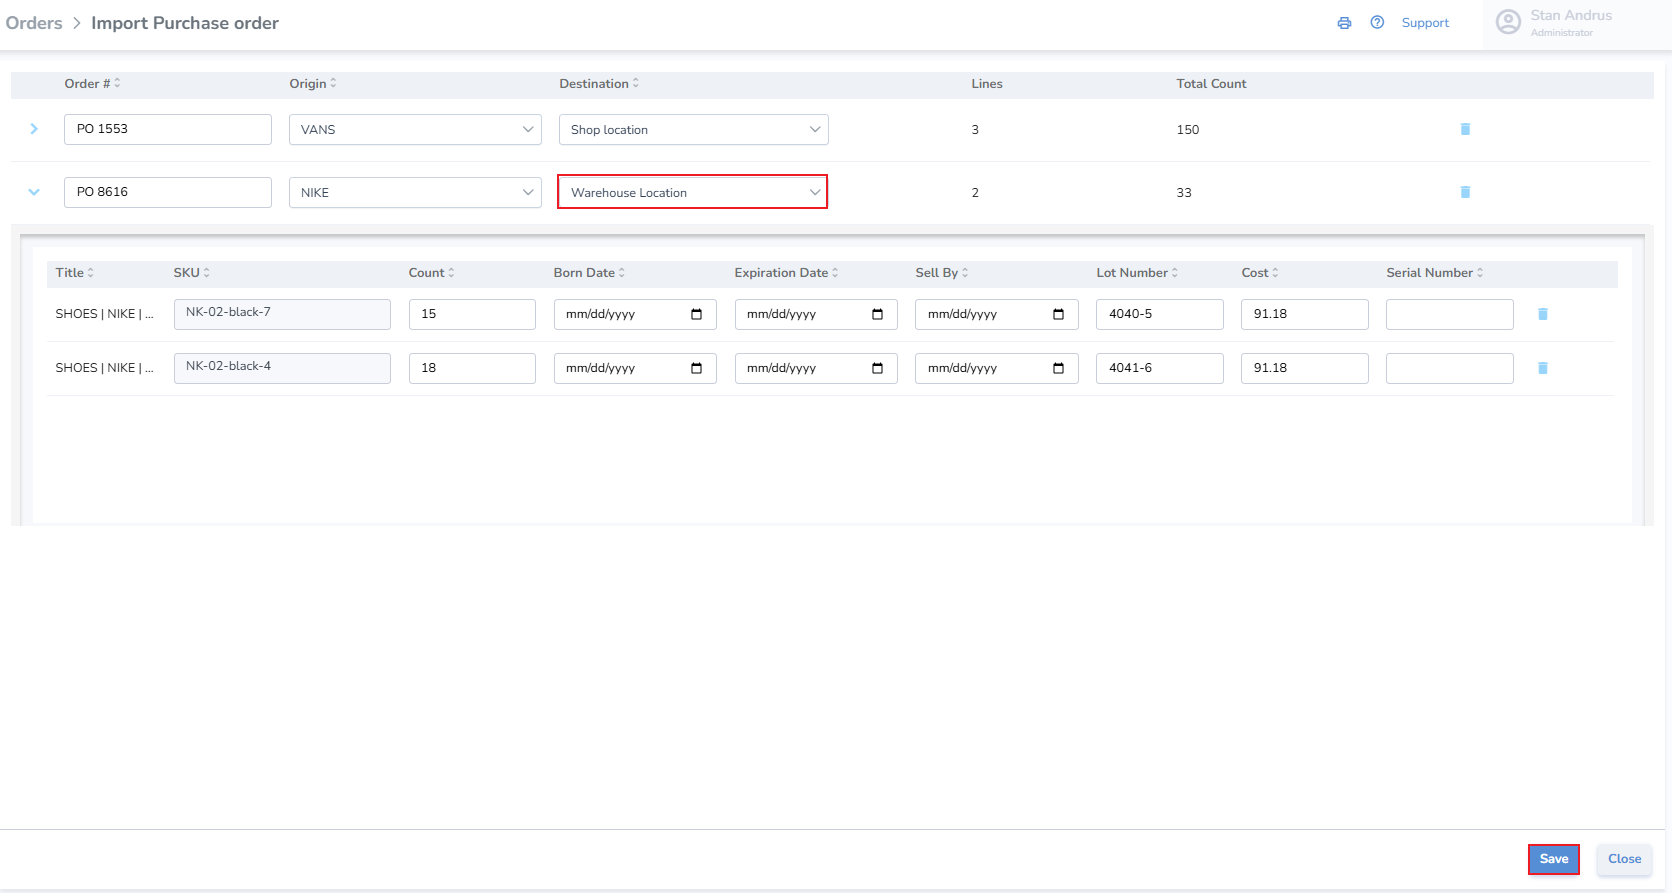
Our orders have now been created and are in Receiving status, able to be printed and received.

Generating Print Jobs from an Order
Any order type (Sales, Transfers, Purchases) can be converted into a print job to quickly print RFID labels for the items
This article outlines how to convert each order type into a print job
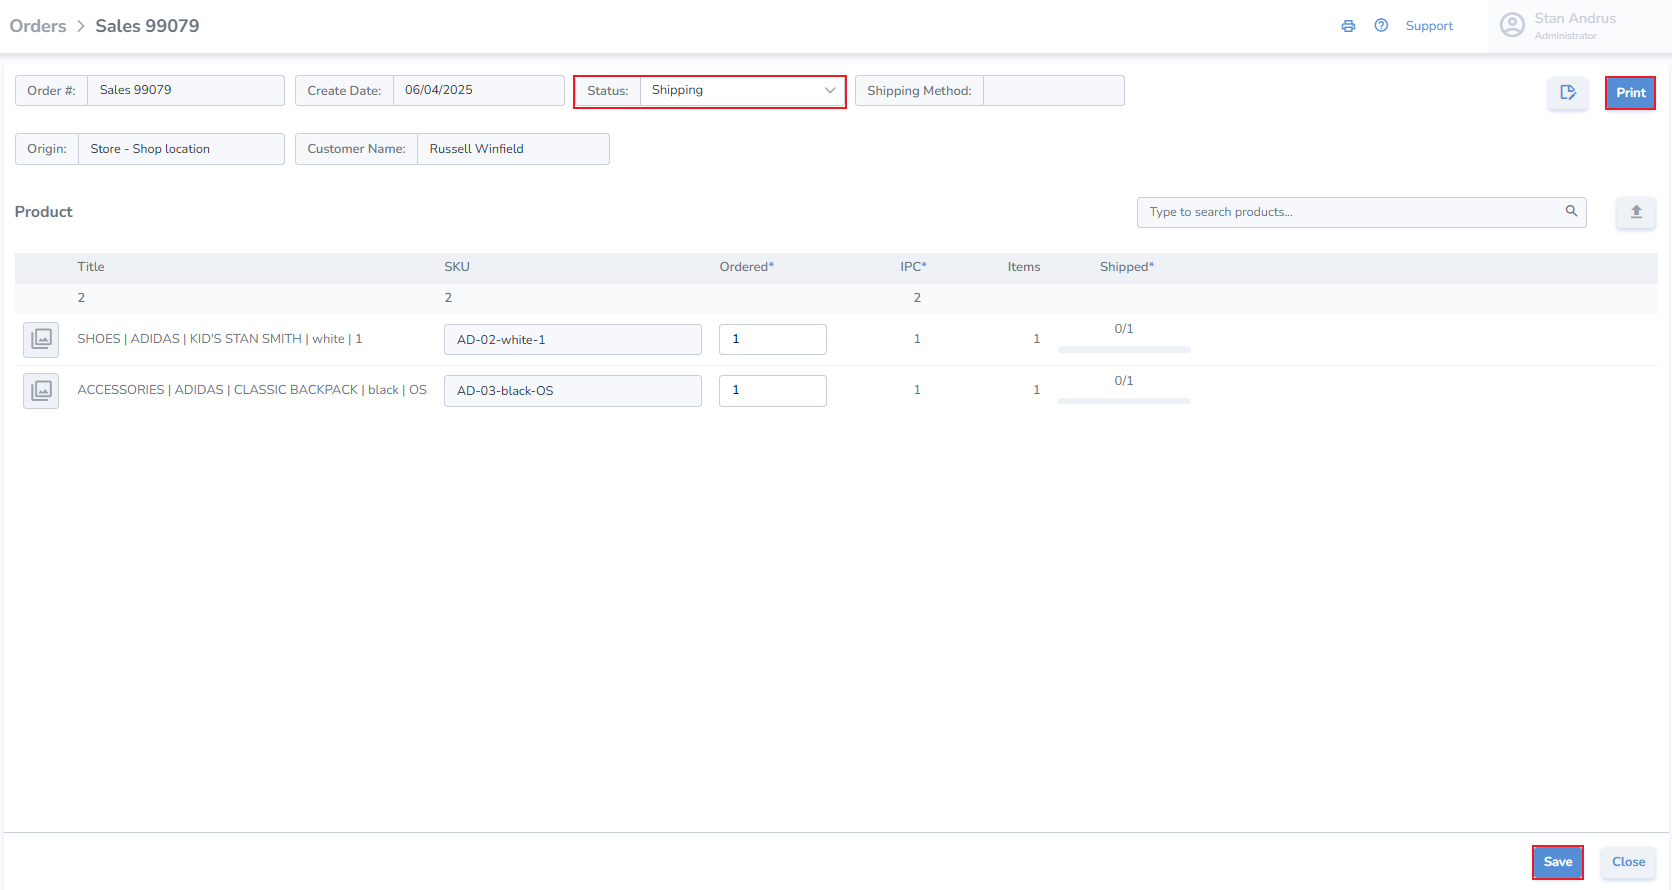
Converting a Sales Order into a Print Job
- Update the order status to "Shipping"
- Click Save
- Open the order again
A "Print" button will appear in the top right corner of the Order
- Click Print
The order details are loaded into the print interface
- Choose the Printer
- Choose the Label design
- Click Postpone to save the job

- Click Print to initiate the job immediately

Converting a Purchase Order into a Print Job
- Update to Receiving Status
- Click Print
Converting a Transfer Order into a Print Job
- Update to Shipping Status
- Click Print
Sales Order
Create Sales Orders
Orders can be created manually, one by one, or in bulk via spreadsheet upload.
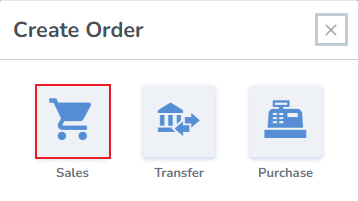
Create a Sales Order manually
- From the pop-up window, select Sales
Create Sales Order
- Order Number - the system generates an order number, or enter your own
- Origin - select the location where the order is being fulfilled
- Destination - enter the customer's name
- Add Products & Quantities - search and add products manually, or upload them via spreadsheet upload
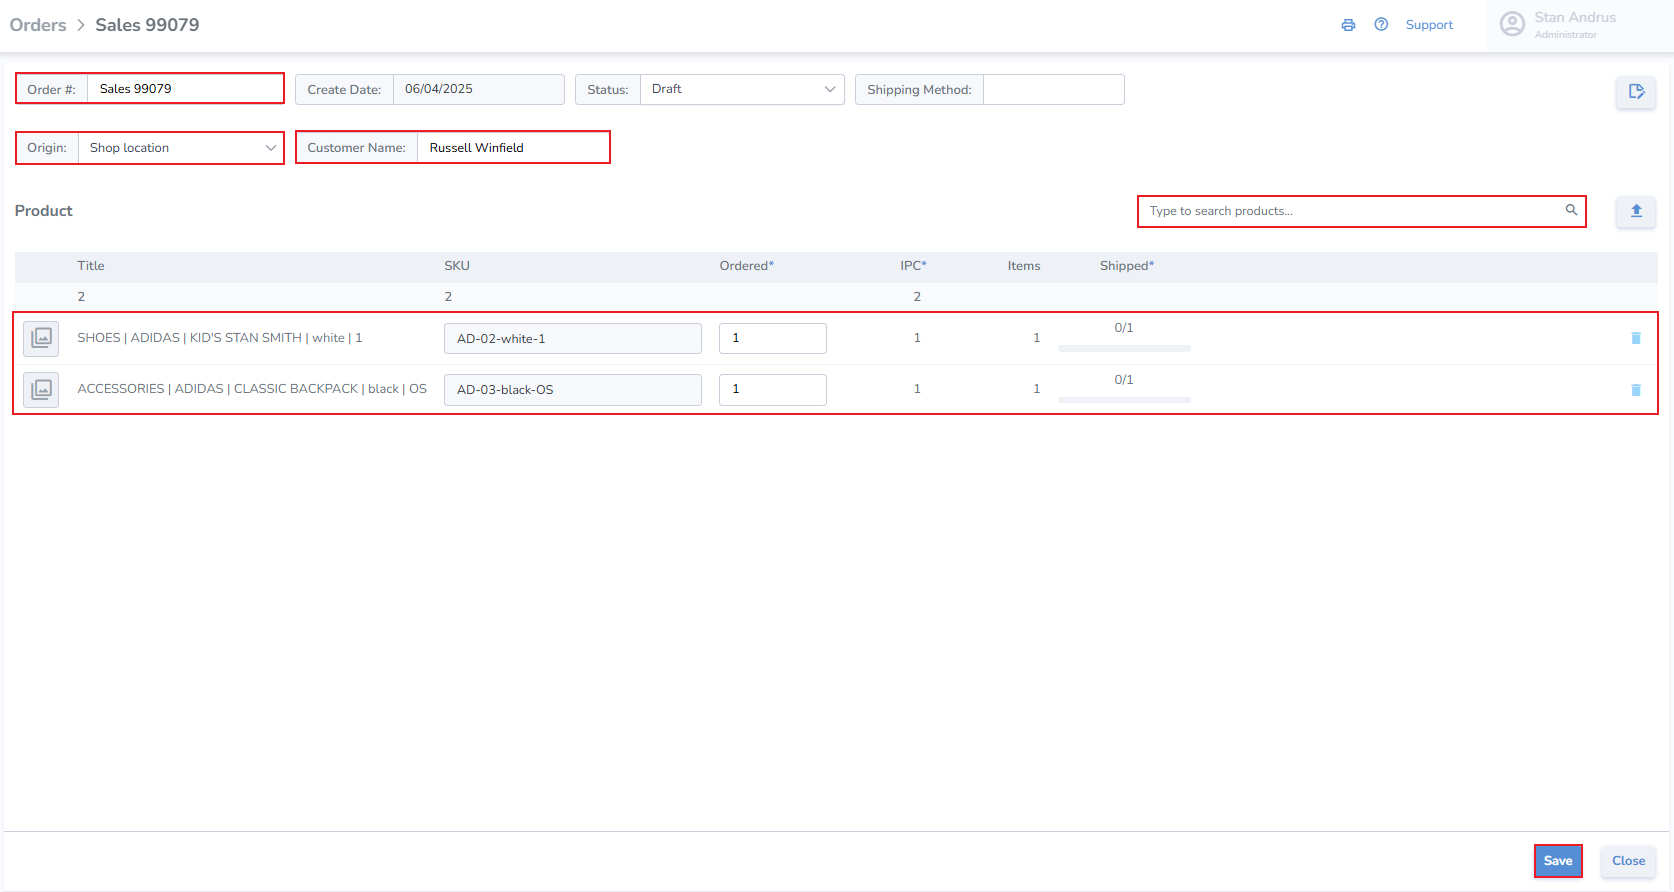
- Click Save
- Once the Sales order is updated to Shipping status, labels can be printed for the order
- The Sales Order can also be verified for accuracy.
- Once the order has been verified, a progress bar will display the completeness of the order

Transfer Order
Create Transfer Orders
Orders can be created manually, one by one, or in bulk via spreadsheet upload.
Create a Transfer Order manually
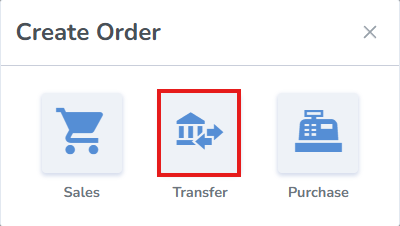
- From the pop-up window, select Transfer
Create Transfer Order
- Order Number - the system generates an order number, or enter your own
- Origin - select the location where the order is being fulfilled
- Destination - select the location where the order will be received
- Add Products & Quantities - search and add products manually, or upload them via spreadsheet upload
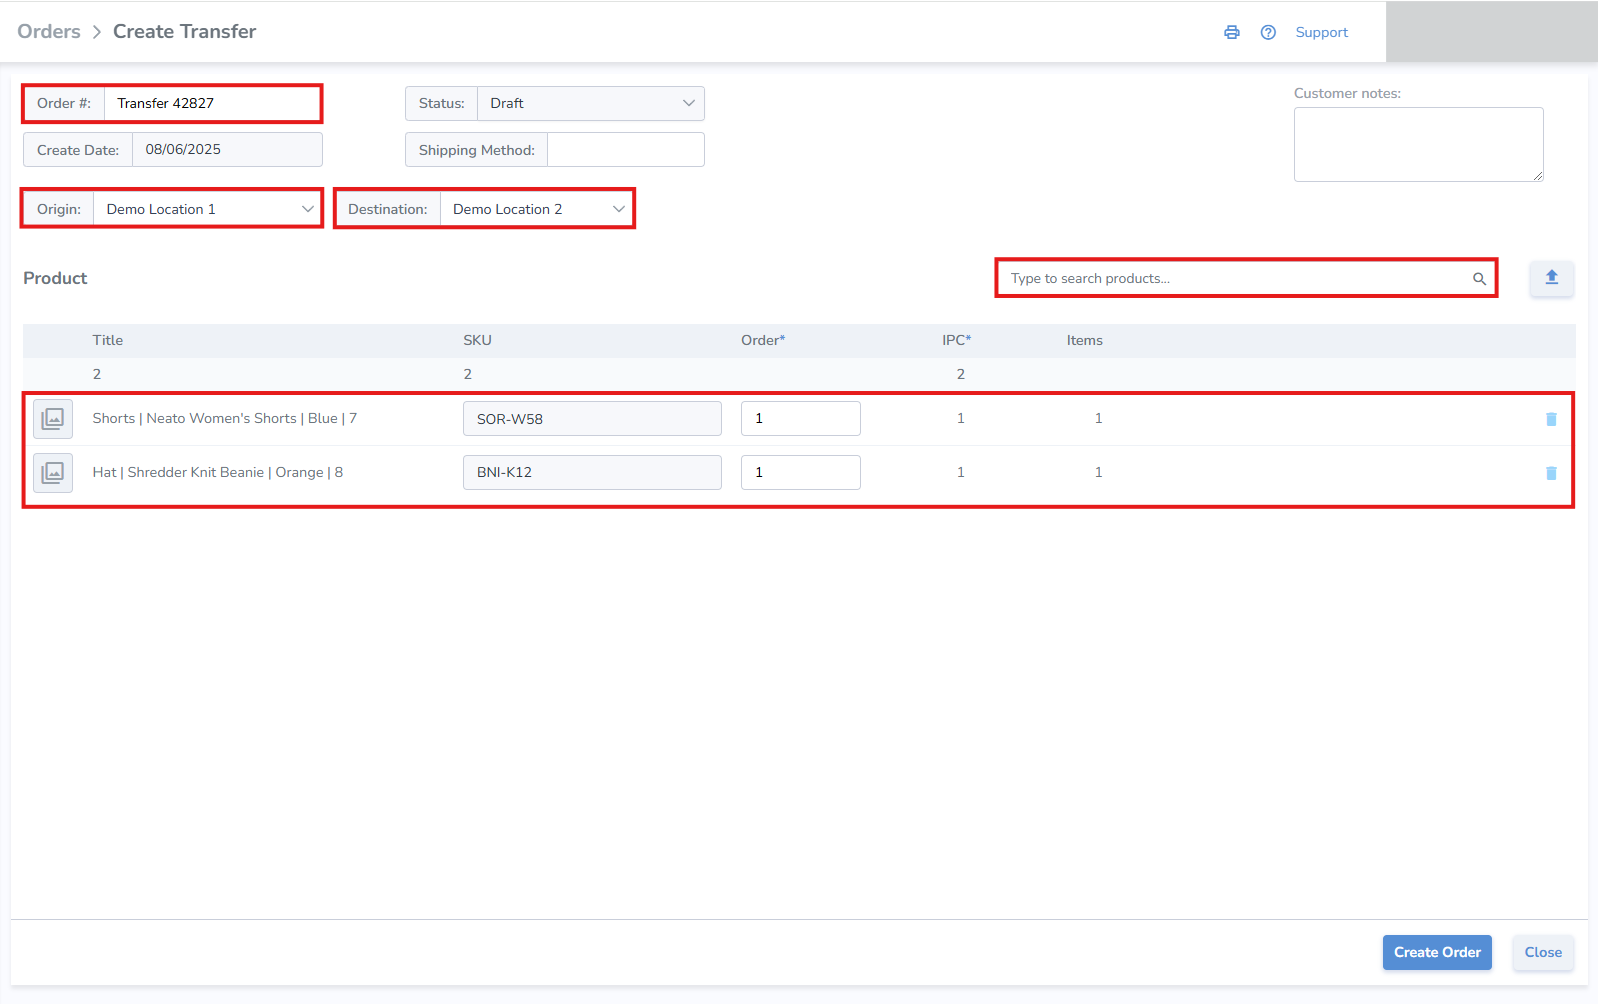
- Click Save
- Once the Transfer order is updated to Shipping status, labels can be printed for the order
- The Transfer Order can also be verified for accuracy using mobile Ship and Receive
- Once the order has been verified on Ship or Receive, a corresponding progress bar will display the completeness of the order

Purchase Order
Creating Purchase Orders enables labels to be printed for ordered items, then scanned to confirm all items are received complete.
Create Purchase Orders
Orders can be created manually, one at a time, or in bulk via spreadsheet upload.
Create a Purchase Order manually
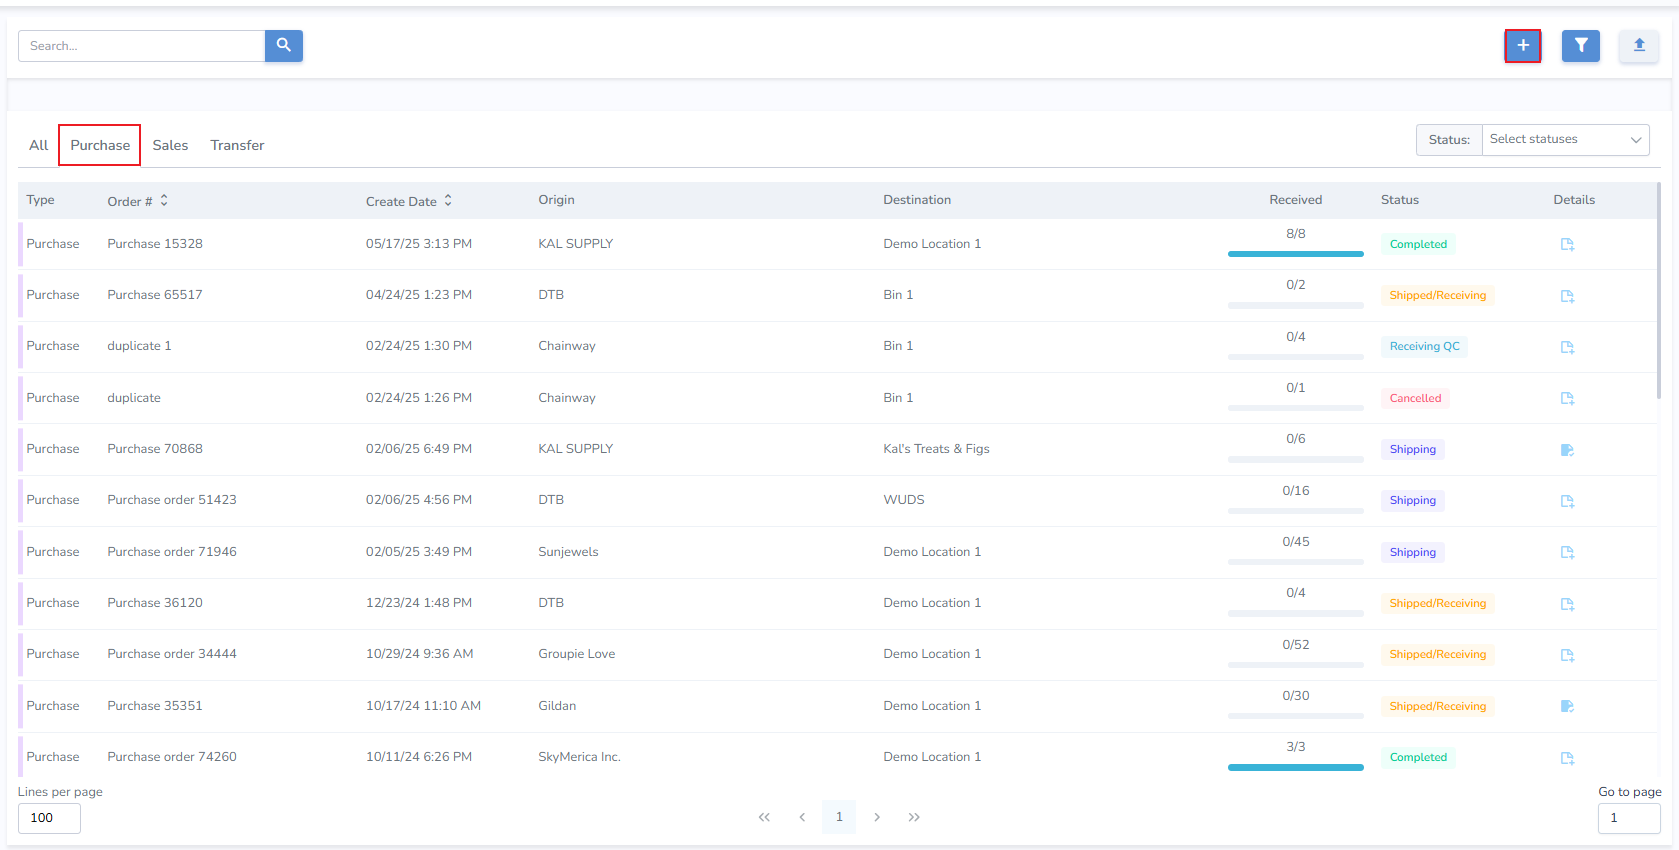
To view only Purchase Orders, click the Purchase tab.
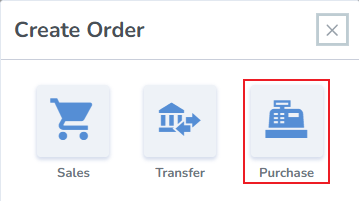
- From the Pop-up select Purchase
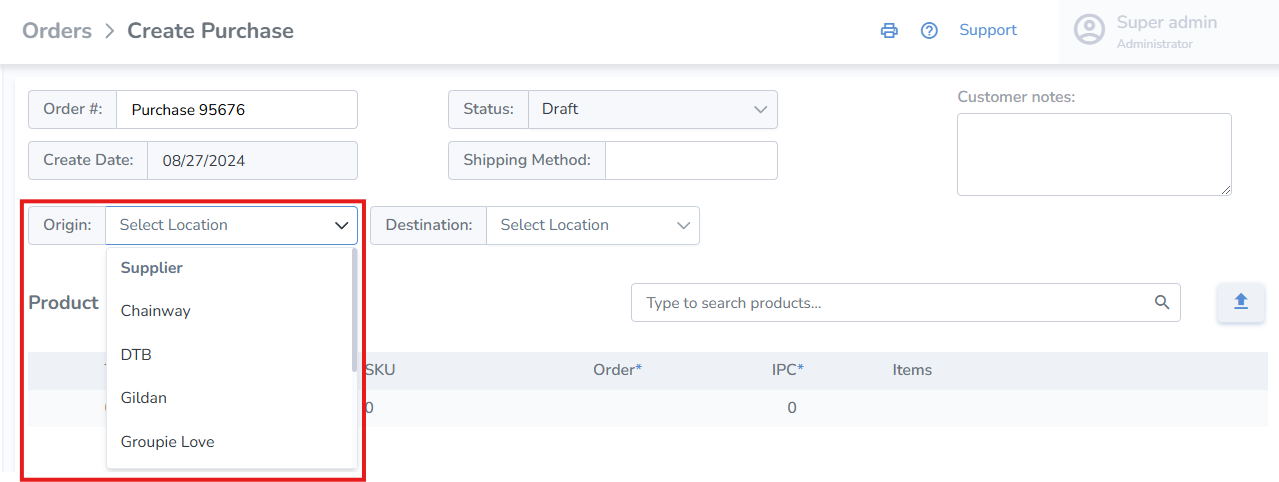
Create Purchase page
- Order Number - the system generates an order number, or enter your own
- Origin - select the location of the Supplier which fulfilled the order.
- Destination - select the location where the order will be received (your Distribution Center (DC) or Store location)
- Add Products & Quantities - search and add products manually, or upload them via spreadsheet upload
If the desired Supplier is not present, create them from the Locations tab.
- Click Save
- Once the Purchase order is updated to Shipping status, labels can be printed for the order
- The Purchase Order can also be verified for accuracy using mobile Receive
- Once the order has been verified on Ship or Receive, a corresponding progress bar will display the completeness of the order
