Navigation Menu: Inventory
Inventory views including Verified, Absent, & Archived
- Inventory Controls
- Reset Inventory from Web Portal
- Inventory: Verified
- Inventory: Absent
- Inventory: Archived
- Inventory: Tag Level Properties
Inventory Controls
These page views & controls exist for all three inventory statuses, Verified, Absent & Archived.
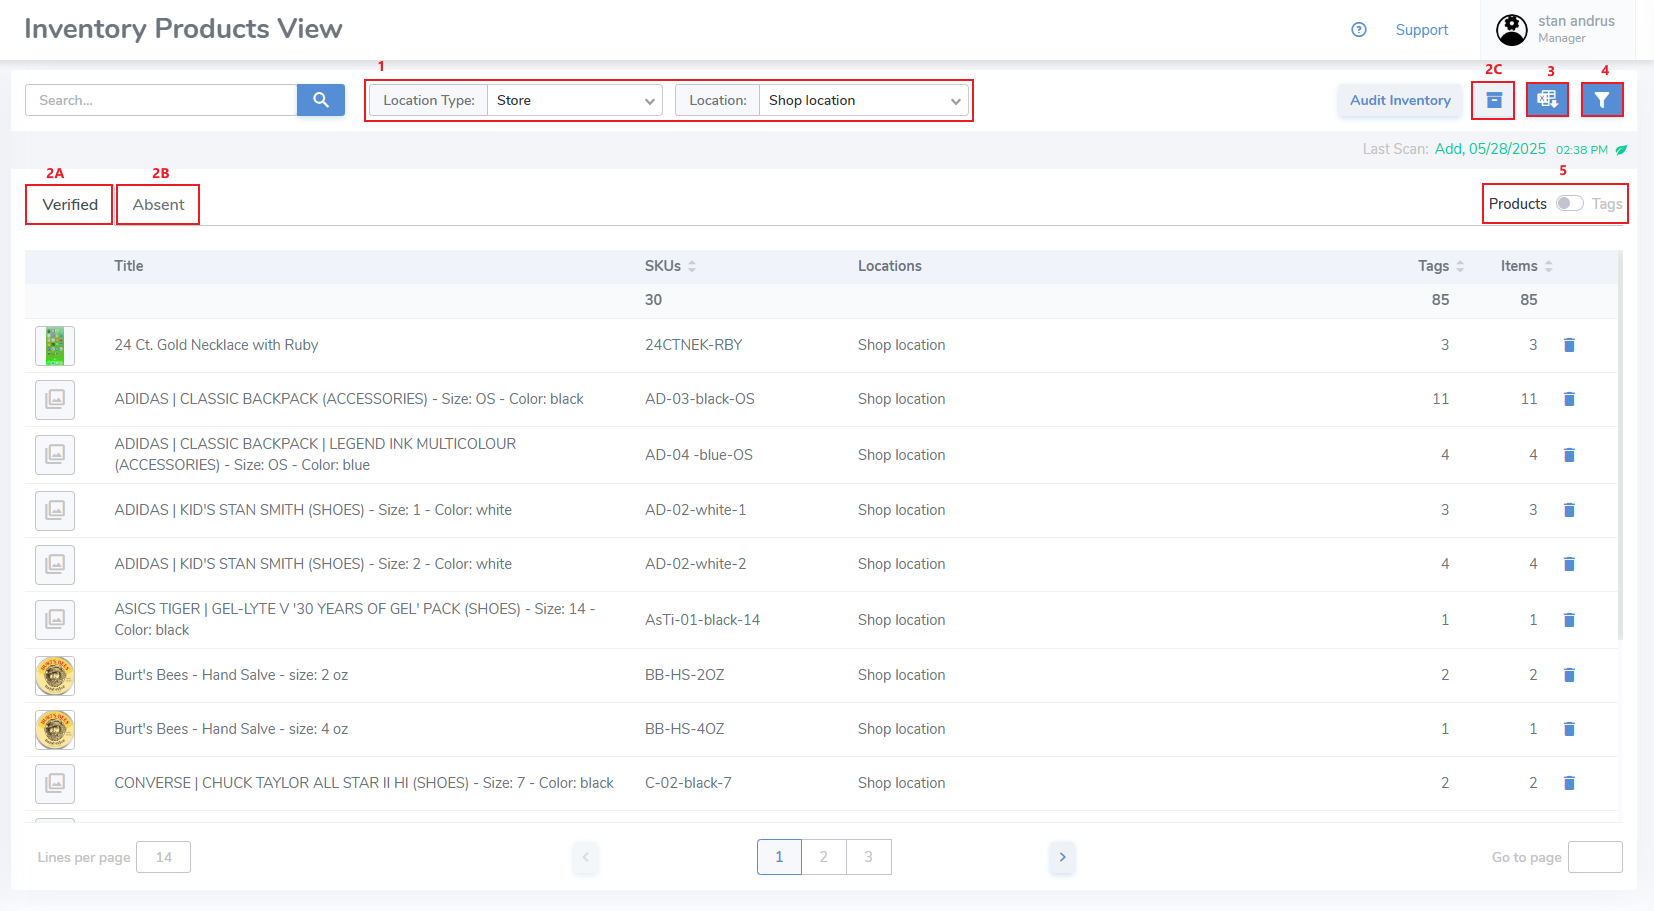
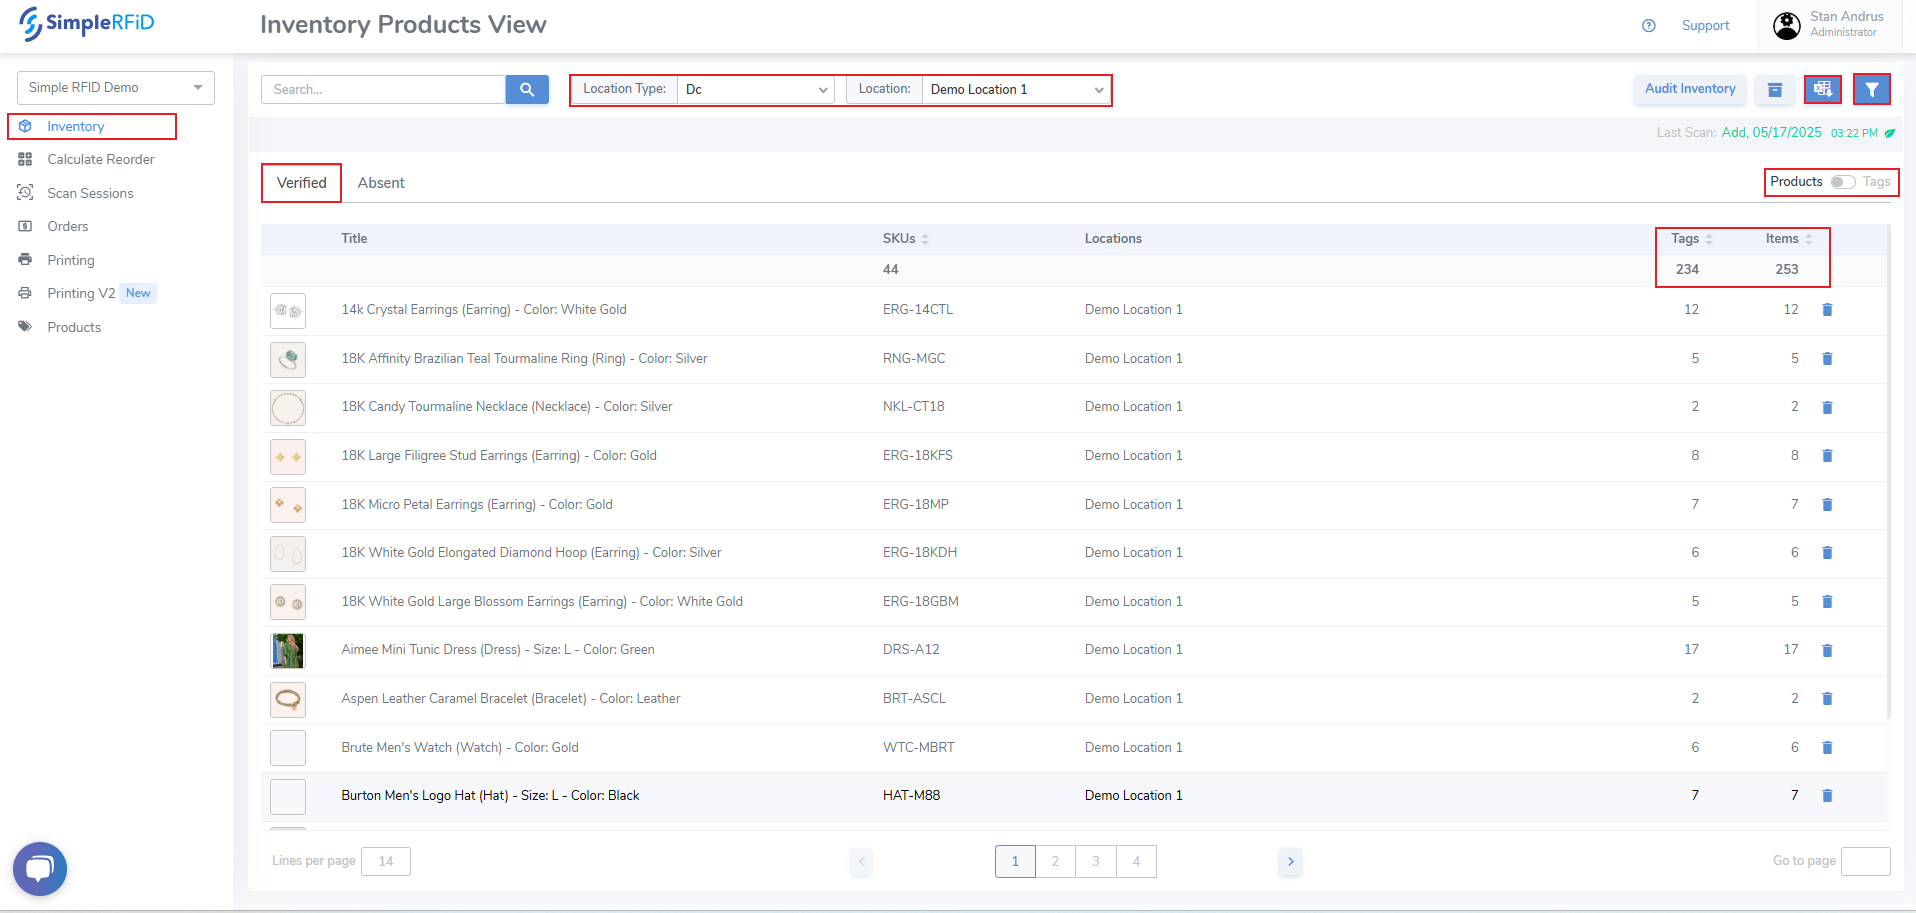
Inventory views
1. Location selector: Allows for a Specific location, or All Locations view
2. Inventory Statuses: (2A) Verified, (2B) Absent, and (2C) Archived
3. Downloader: Option to download reports for any status in Excel or CSV
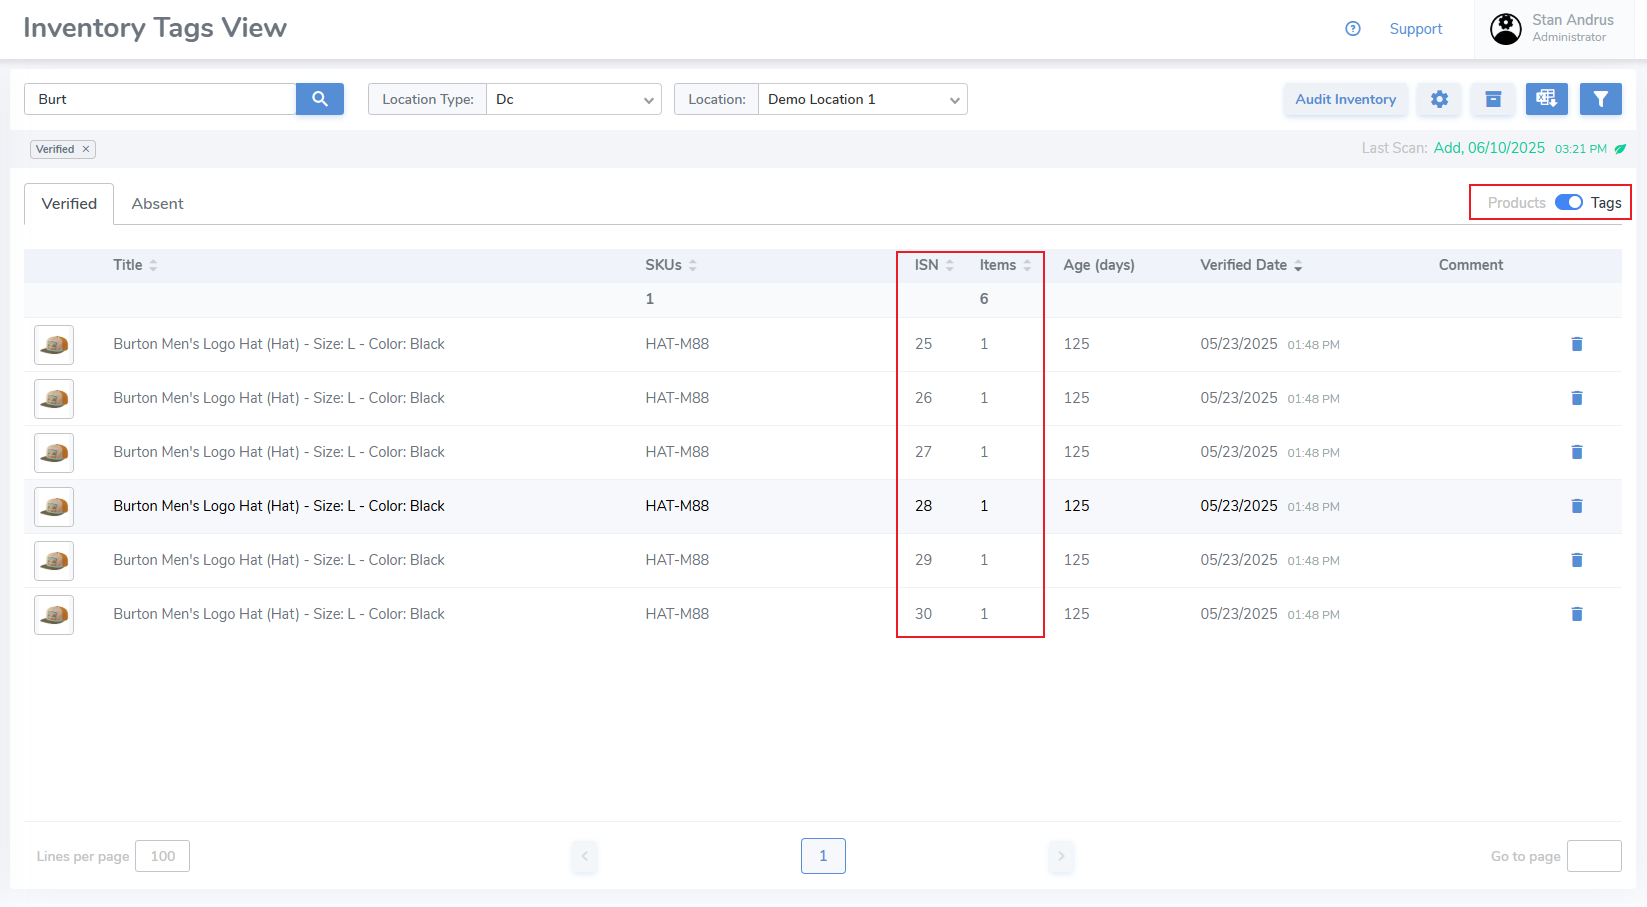
4. Filters: Ability to customize views
5. Products vs. Tags view
It provides the user with two basic views; Product, which groups the tags into the related product, & Tags which displays each tag on its own row.
Products View
Allows you to view inventory grouped by product (SKU).
Tags View
A row for every item.
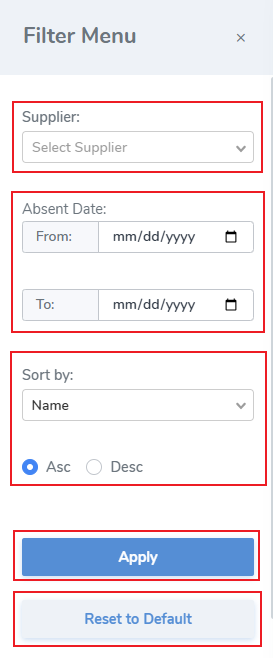
Verified Filter
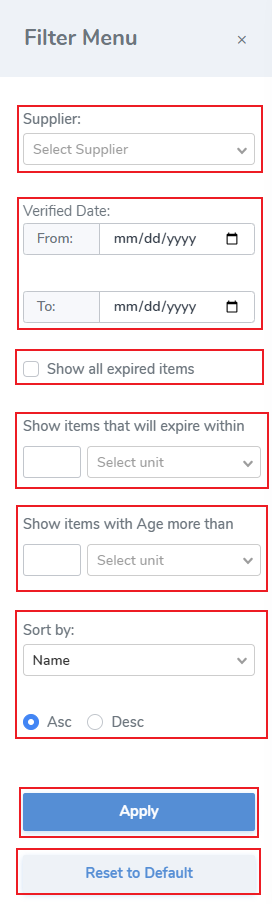
Ability to filter inventory by supplier, the verified date, ability to display expired items, filter by age and expiration, and sort by
Absent Filter
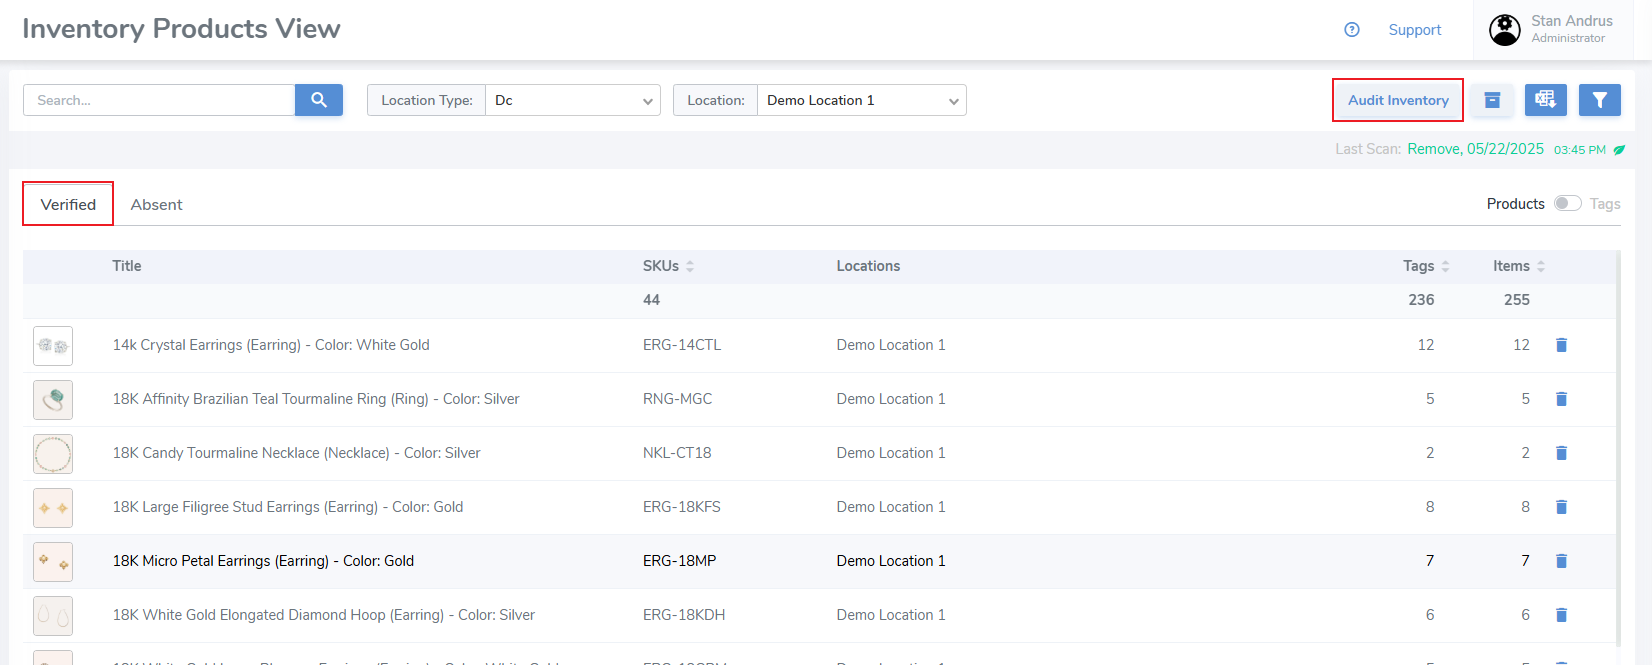
Reset Inventory from Web Portal
Clear all Verified items by marking them Absent from the web portal.
Clicking the "Audit" button on this page Reset's the inventory, moving "Verified" items to "Absent" status. Items remain Absent until scanned.
Marking Items Absent
A complete audit requires a user to rescan all items to confirm inventory
- Click the "Audit Inventory" button
- A pop-up will appear requesting that you confirm the action
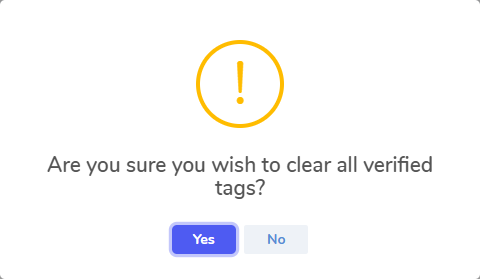
Click "Yes" to begin the audit
A second pop-up will appear notifying that "Audit Inventory started"
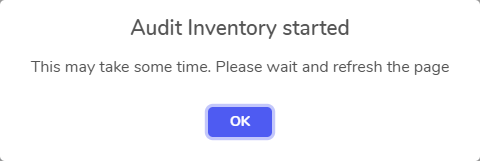
Click 'OK' to close the prompt
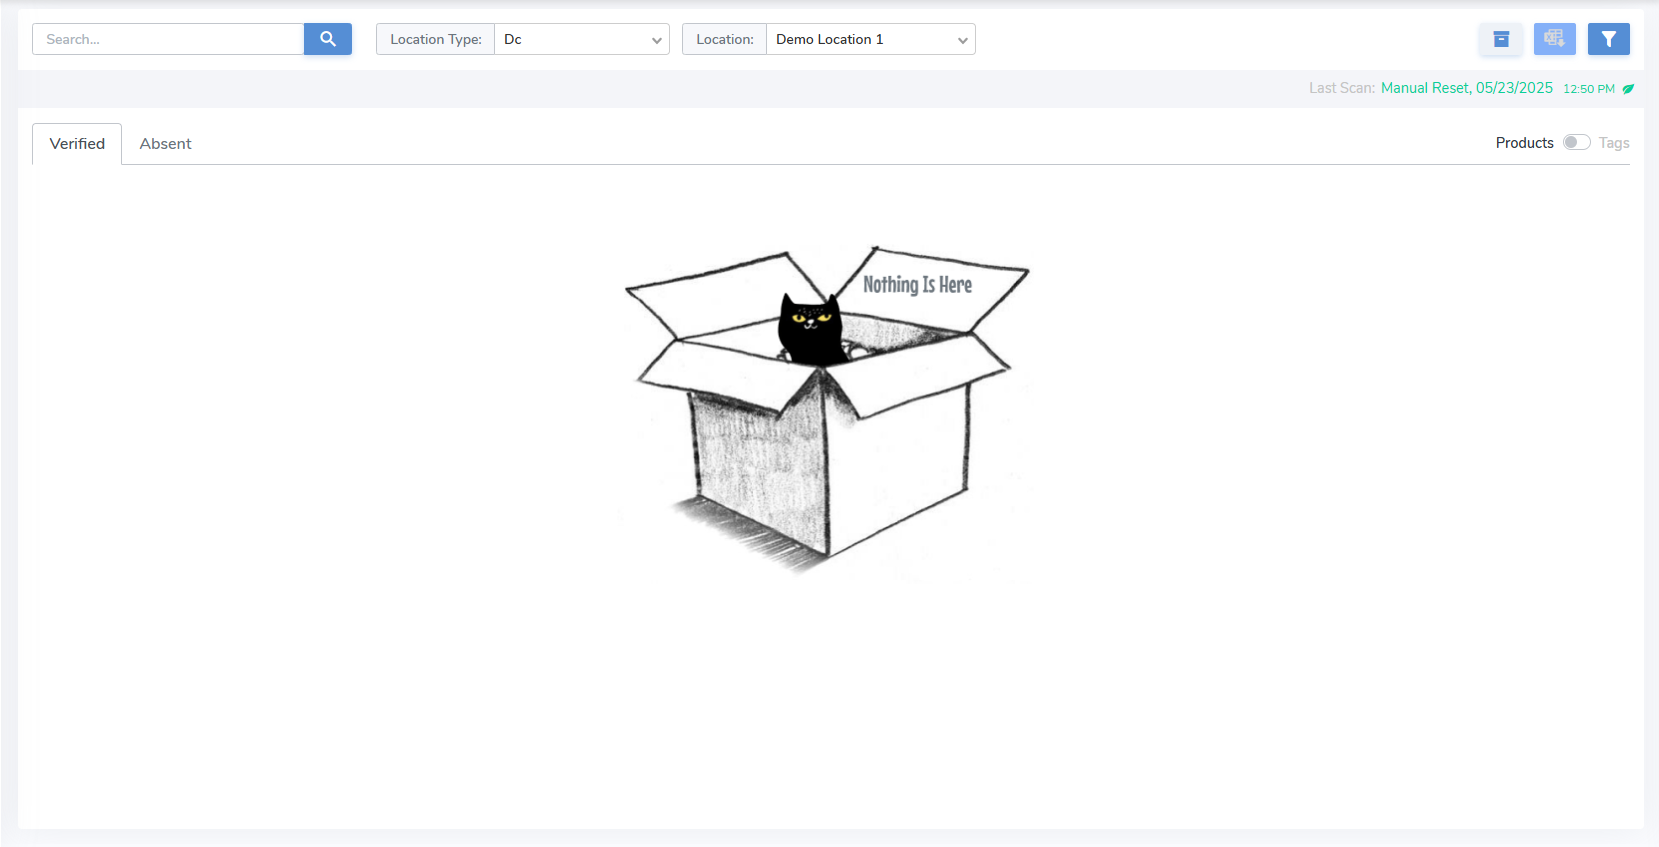
Refresh the tab and you will see that the Verified tab is empty and these items have been moved to Absent status
For this reason it's a good idea to view the absent list before starting an audit. If you fail to do so, no worries. As each item is move to absent it's date & time is recorded so you can easily identify when items were moved to this status.
From the Scan Sessions tab a record of the start of the audit will appear

This means that from the mobile app you don't need to click 'Audit', instead simply begin scanning and adding items.
Partial Audit
A partial audit allows you to audit a single item or a few items.
It is recommend that you clear your Absent list and move items to Archived before performing a Partial Audit. Not doing so make it much more difficult to view the exact items being captured.
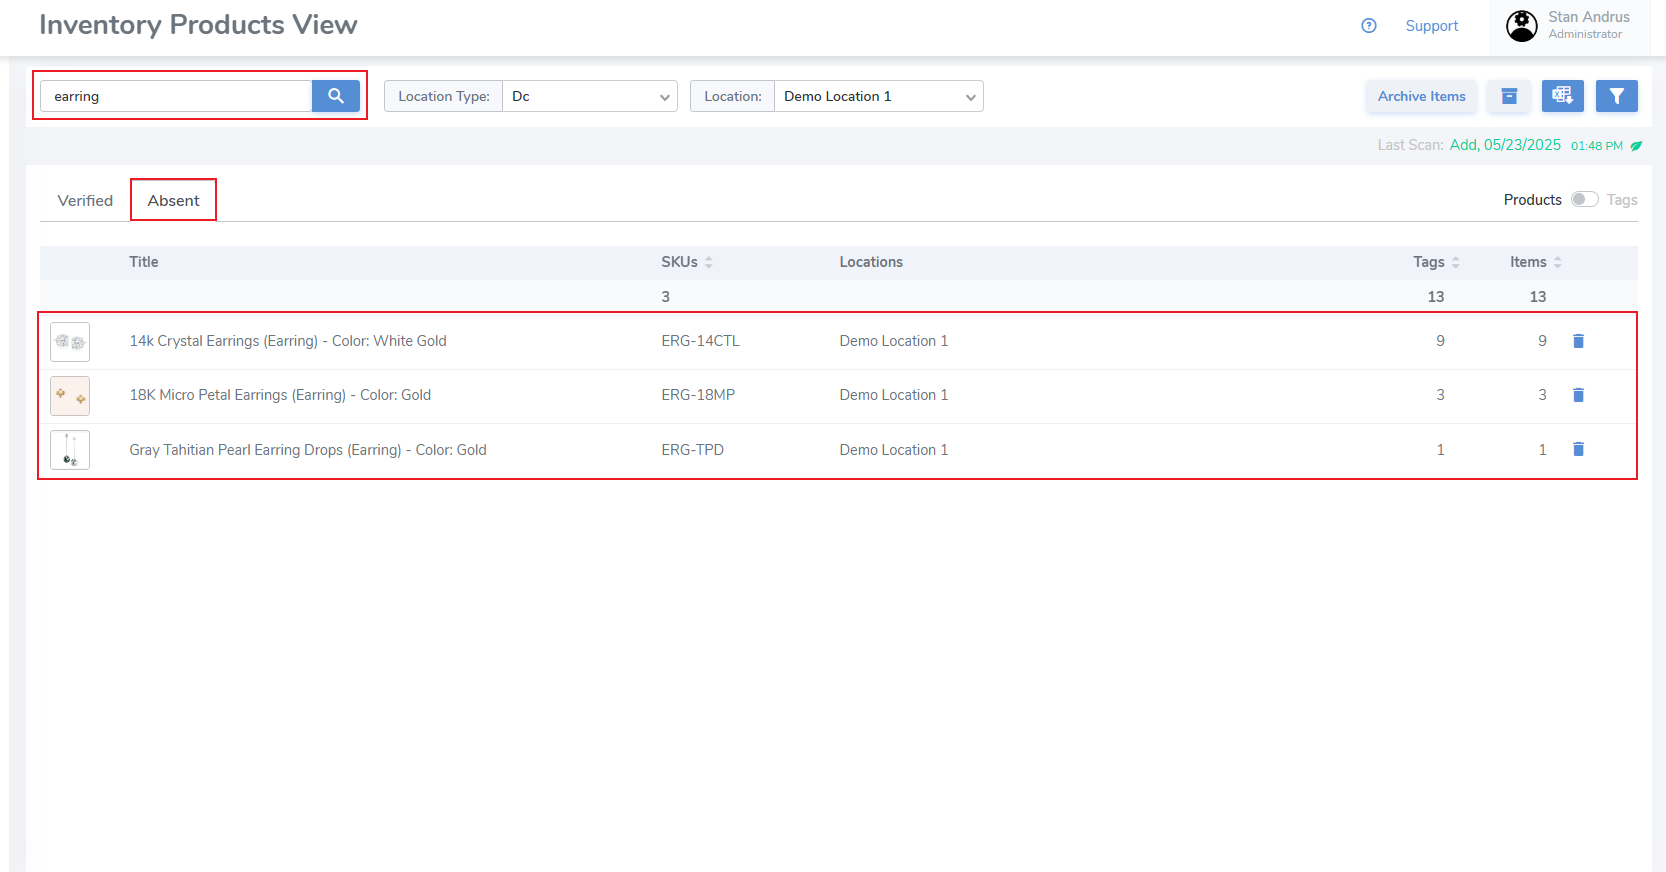
- Search for a specific product you wish to verify

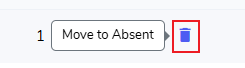
- Click the Trash Can icon on the far right for all of these items. This will move only these items to Absent.
Hover over the Trash Can to view message
- After clicking, you will see a pop-up message requiring you to confirm
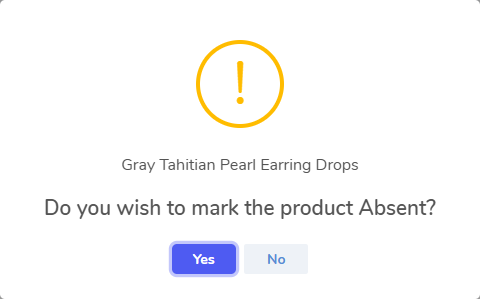
This will move the selected items to Absent status
- Rescan the items using the mobile app. They will appear as "Absent" in the scan
Inventory: Verified
Verified Status
The Verified Inventory displays the current labels in the on hand inventory
- Select Location - If you have access to more than one location, select your location or select 'All' to view inventory for all locations
- Products / Tags switcher - provides ability to view inventory by product and individual tag level detail
- Products & Tags level switcher
- View items grouped by quantities
Move Verified Items to Absent
You can move items to Absent by product or tag:
By Product - From the Products view, click the Trash-can icon on the far right of the product you wish to move all items to Absent status. Then accept the pop-up prompt.
By Tag - Change to the Tags view. Then click the Trash-can icon on the far right of the Tag you wish to move to Absent status. Then accept the pop-up prompt.
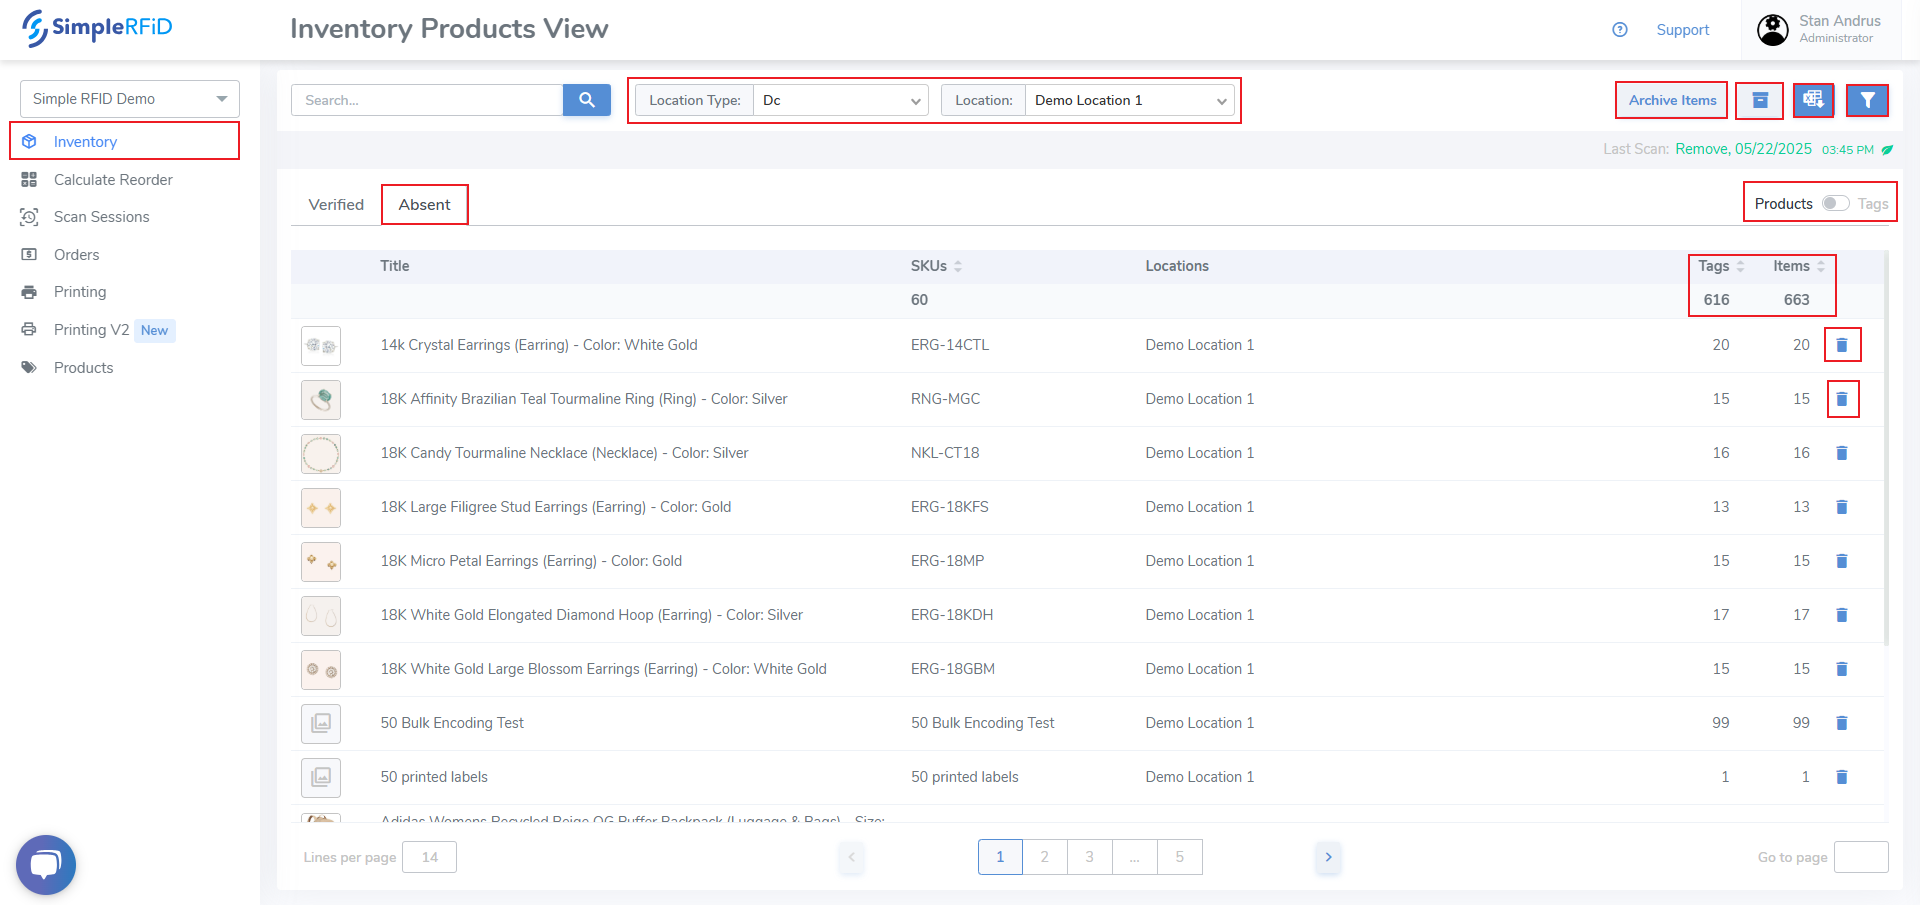
Inventory: Absent
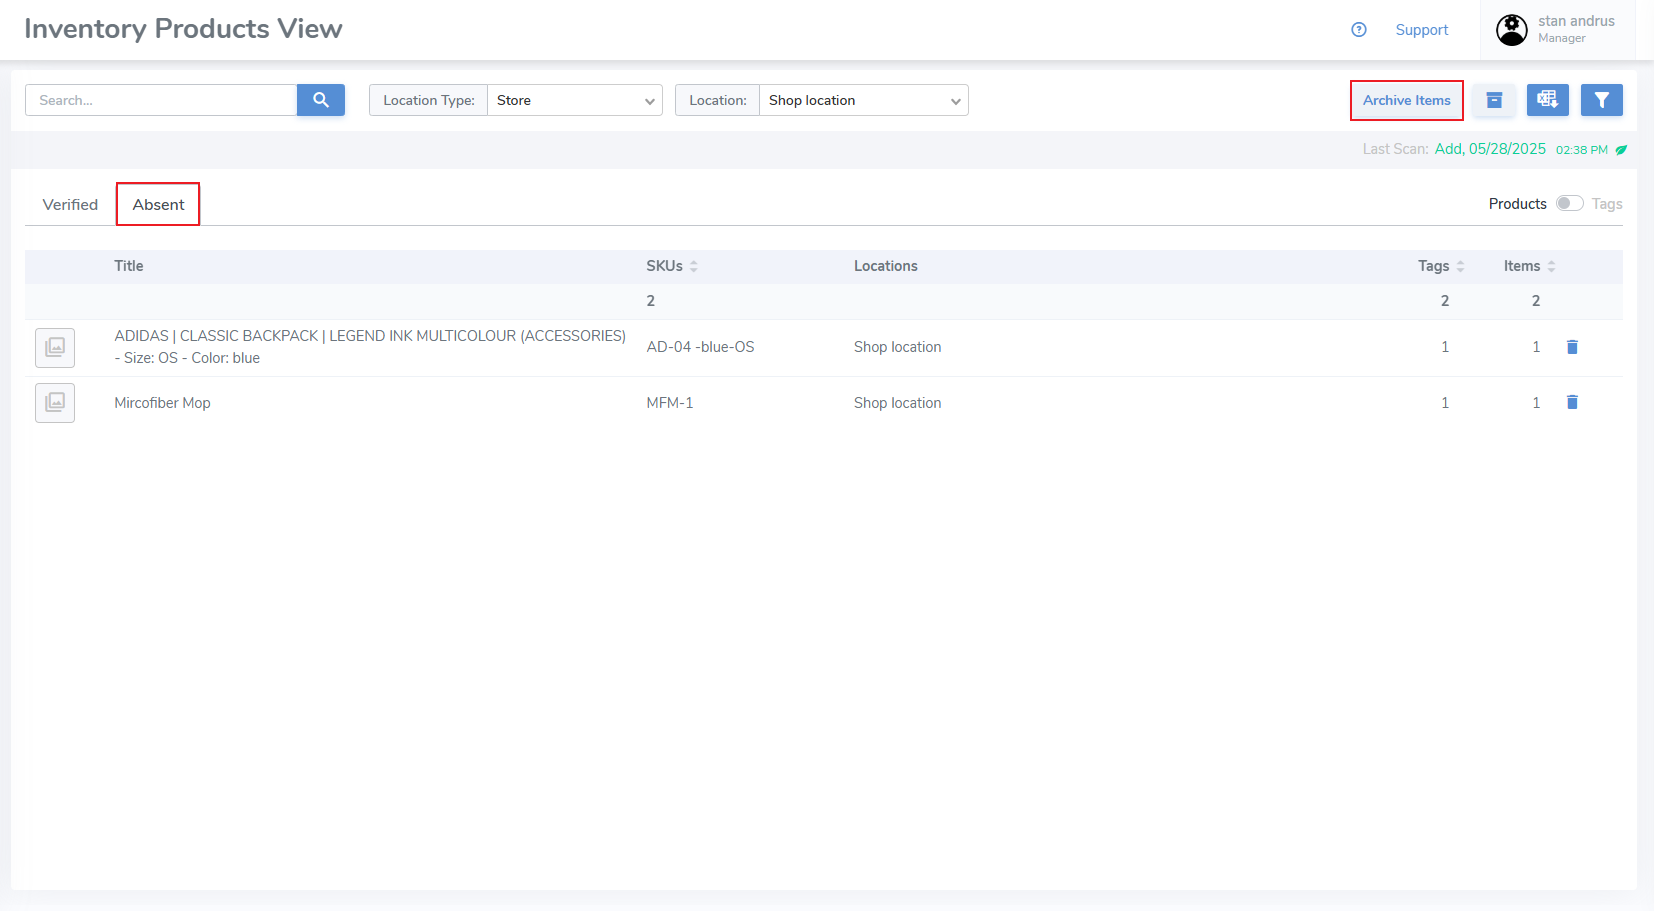
Absent Status
View and manage Absent items from the web portal. Absent items are any item that was once verified, however has not scanned since an audit. You can view this "Absent" date, which is the audit date when the tag was no longer scanned.
Archive Absent Items
- Archive by Product level - Move all items to Archived by Product by clicking the "Archive Items" button. Then accept the pop-up prompt.
- Archive by Tag level - Archive a single Tag by clicking the Trash Can icon on the far right side. Then accept the pop-up prompt.
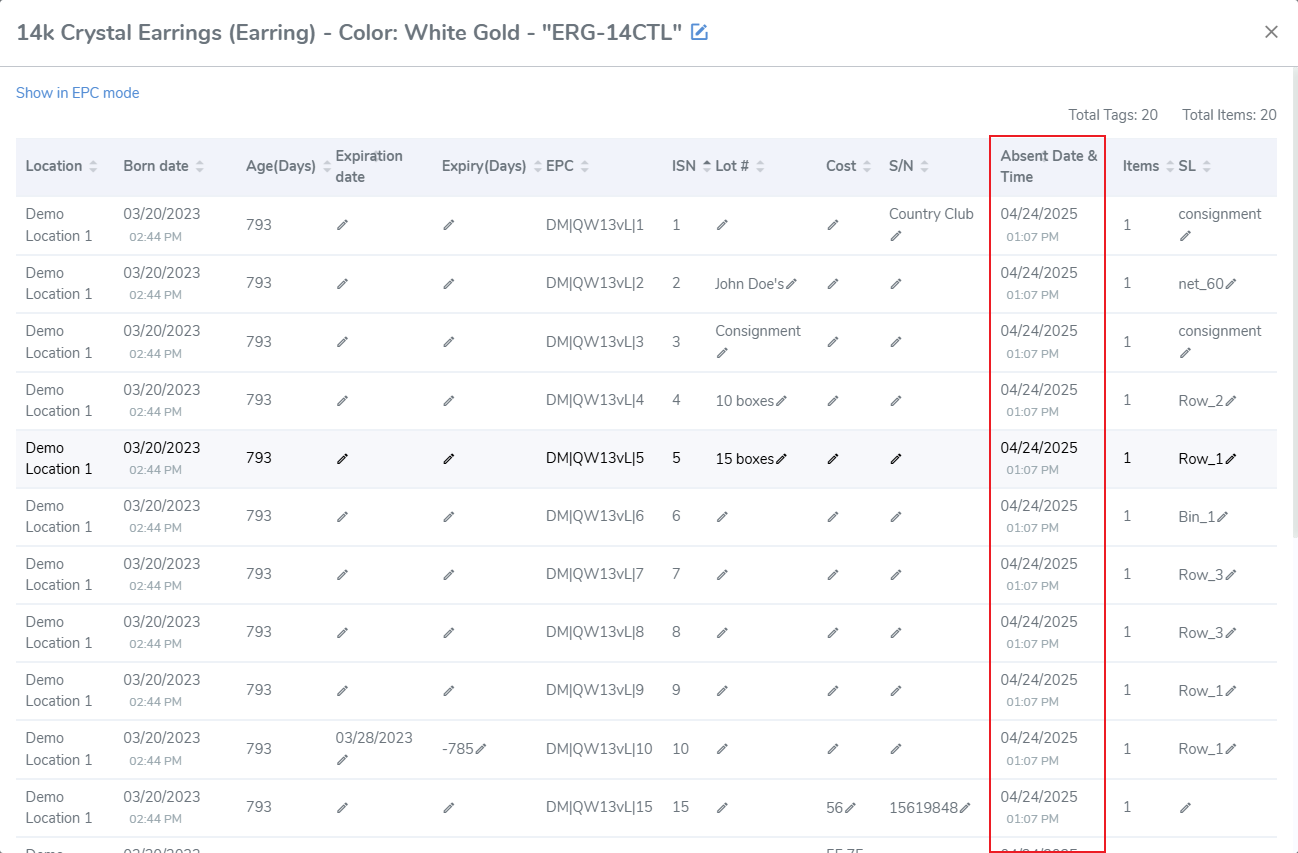
- Clicking an individual Product opens the Item View pop-up. This pop-up displays the Absent date of each tag.
- Archive individual items by sliding the Products / Tags switcher to Tags view. From this page individual items can be archived the trash can icon. From this view you can see the Verified Date which is the last time the tag was scanned, and the Absent Date which is the first audit the tag was no longer found to be in inventory.

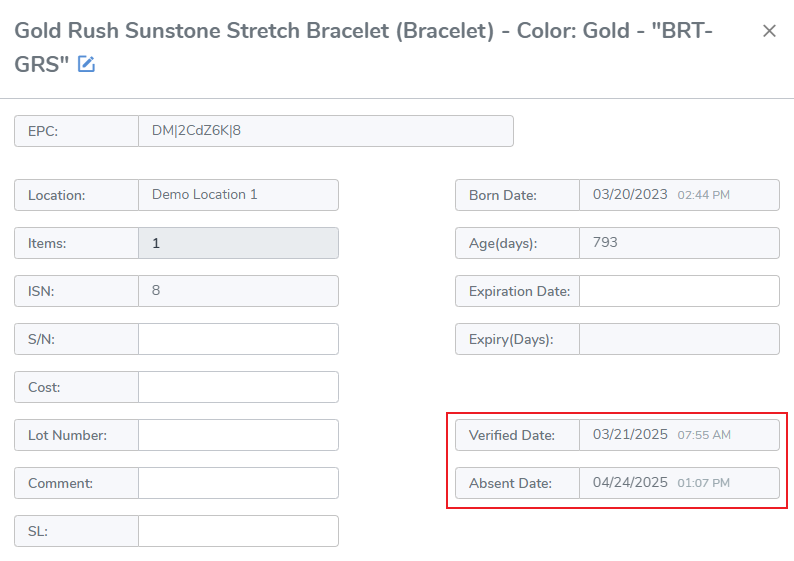
- Click an individual item and view the item's card which includes this date as well.
Inventory: Archived
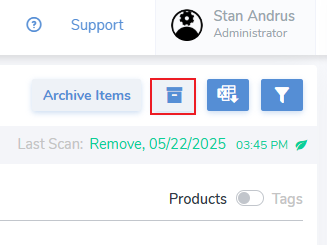
To access the Archived list click on the bankers box icon, found in the upper right corner of the Inventory Products View.
Accessing Archived
- Once clicked you will view the Archived list
- You may view Archived Inventory by single location, or by all archived items
- As with other inventory views you can view the Archived items by Product view & by Tags view.
- Tags remain in Archived State for 2 years after which they are purged.
Archived > Products view

Archived > Products View Pop-up
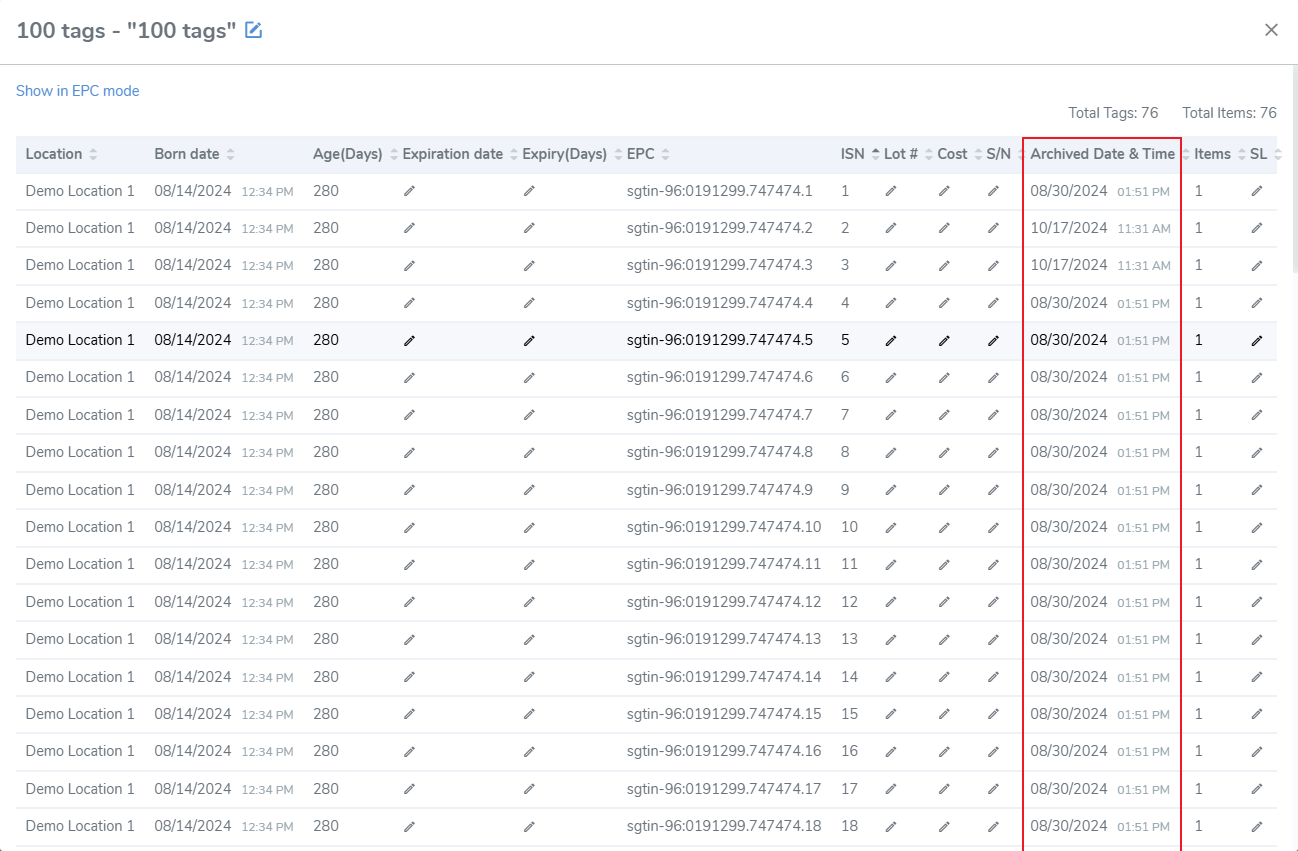
- From the Archived view you can click an individual Product to view the Archived Pop-up view. This pop-up displays item level data and includes the Archived date & time.
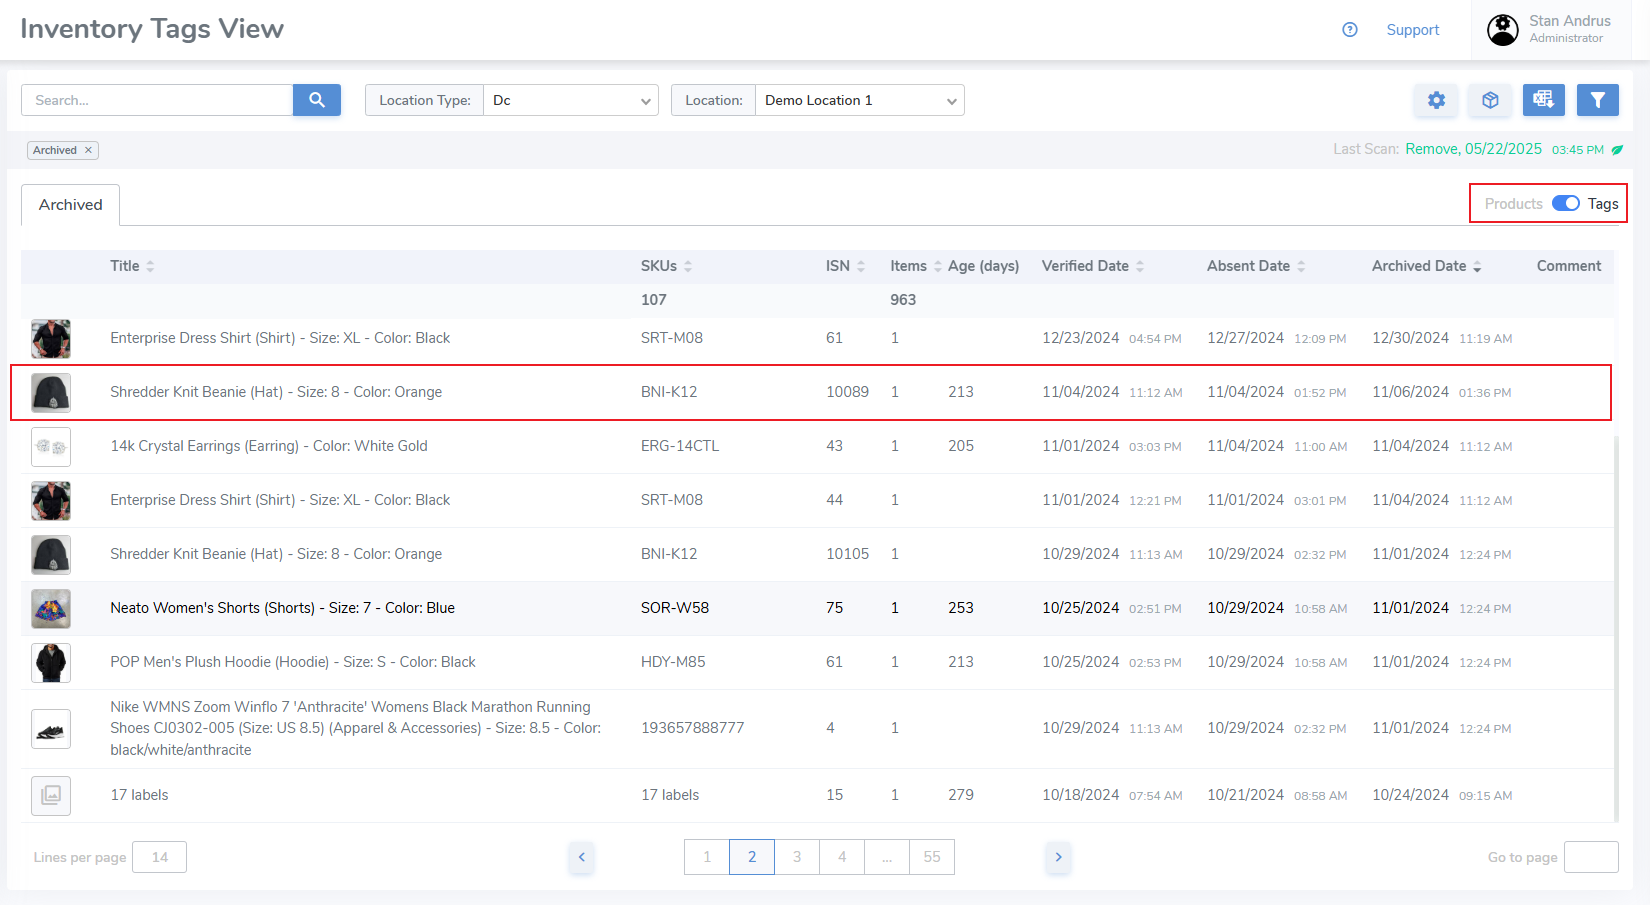
Archived > Tags View
Or view inventory by Archived Tags level to see individual items
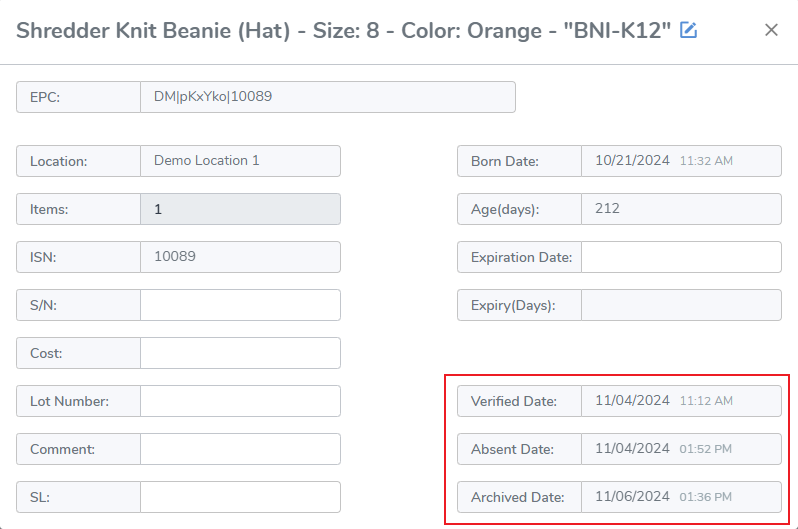
Archived > Tags View Pop-up
- Clicking an individual item opens that item's pop-up which displays Verified, Absent & Archived dates. If item item doesn't have an Absent date it is because it was archived via a scan or a sales order verification.
Inventory: Tag Level Properties
View & edit tag level properties from both the Products & Tags views
Products view

- From the Product's level view click on any Product
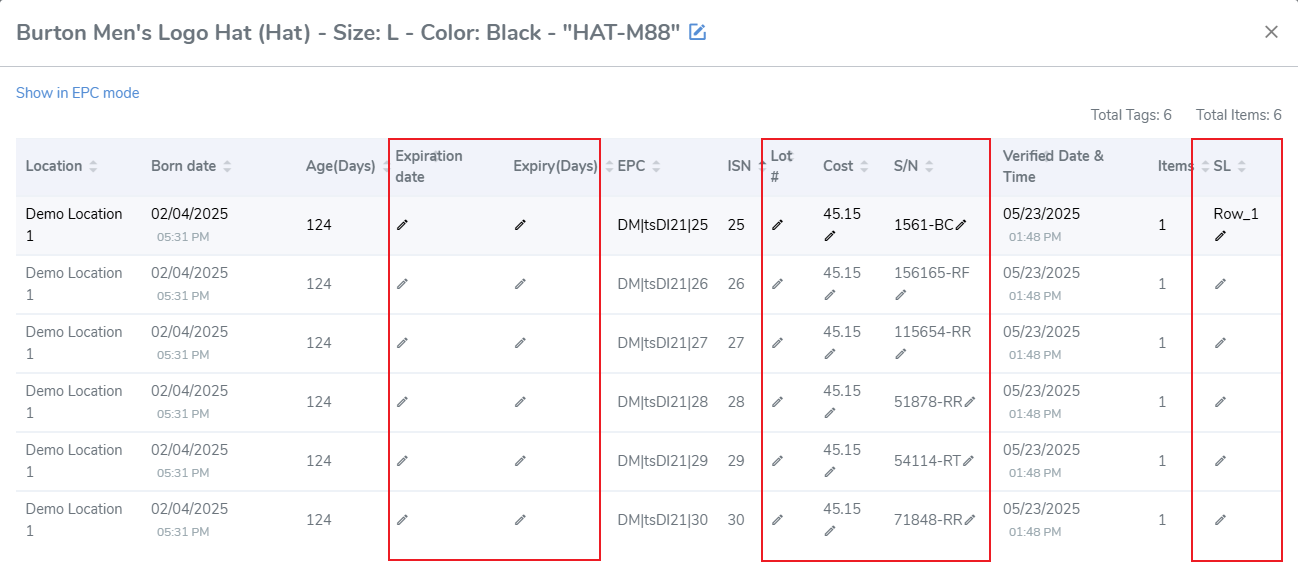
Products View: Tags Level Pop-up
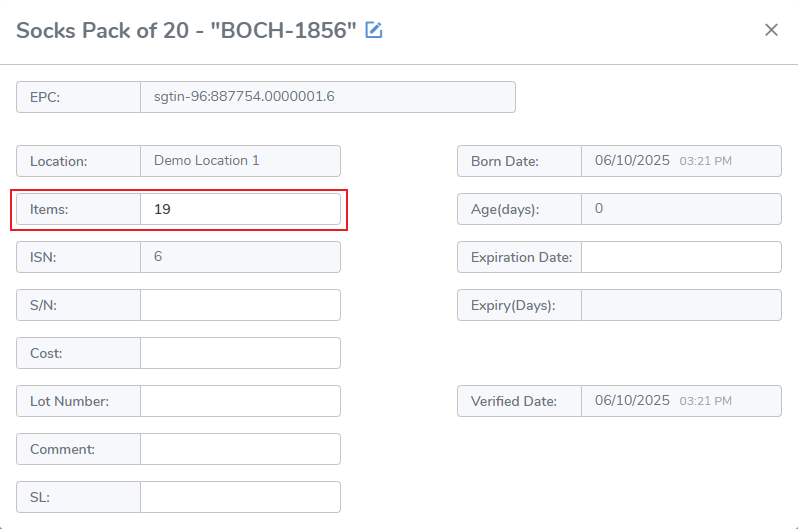
This displays tag level details for each Product. From this pop-up a user can edit information for a product including Expiration Date, Lot #, Cost, S/N, and SL (Sublocation).
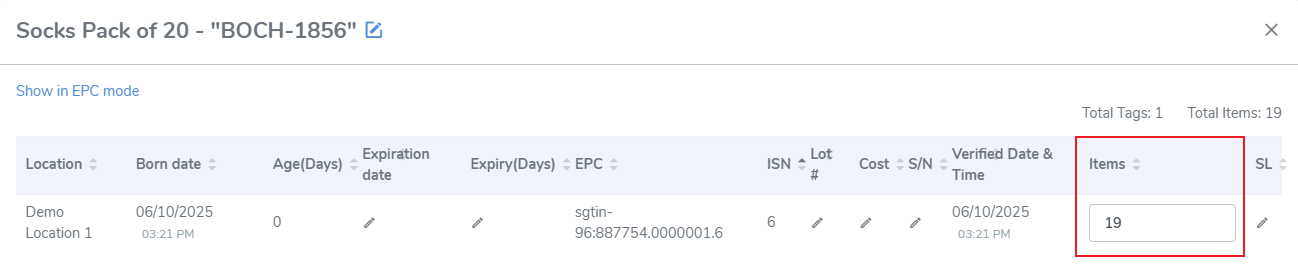
Product View Tags Pop-up: Adjusting the "Items Per Tag"
Items created for anything greater than 1 can be edited from the Products view pop-up.
To edit the case quantity:
- Click on the value

- Edit the value
- Click out of the cell and it will save
Inventory: Tags View
Tags View: Individual Item Pop-up
Click on the row to view an individual item. In the below example you can see that the ISN is number 25, and the tag represents 1 item. From this pop-up edit any of the tag level properties, including Sublocation. Additionally, you may enter a "comment" related to the item.

Tags View: Adjusting the "Items Per Tag"
For an item that is a multiple quantity you can click on the row

Tags View: Item Level Pop-up
From the individual item pop-up, edit the Items quantity