From this point, you can add optional tag-specific information such as born date, expiration date, sell by date, lot number, serial number, or cost. None of it is required, but if you do not change anything, the tag’s default born date will be the day it is printed. To add this information, click on the name of the item once and the details panel will pop up on the right
#### #### # Add Details to Print Job from Excel **Add details to a print job using a spreadsheet. Use our formatted spreadsheet template, or use your own template.** Inside the ****Printing > Create**** Print Job page, click the upload button on the right [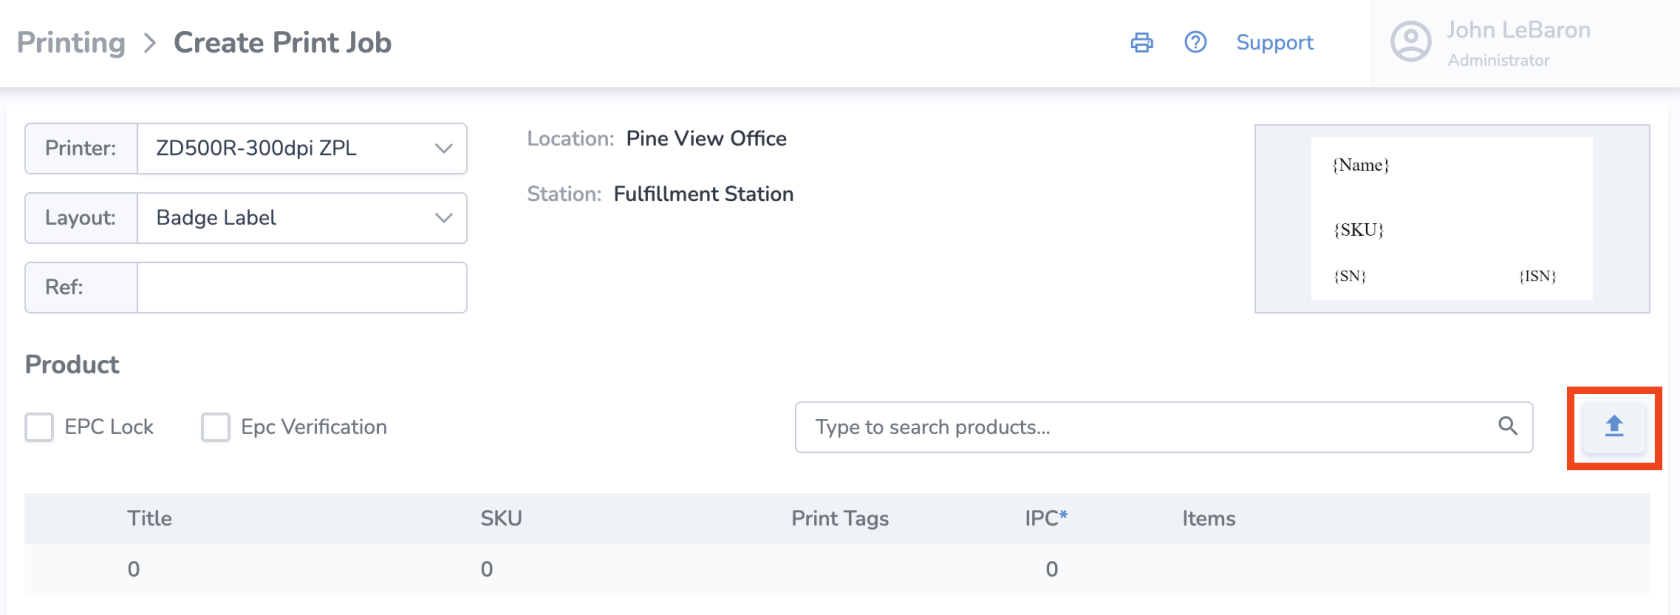](https://kb.simplerfid.com/uploads/images/gallery/2025-09/5rHimage.png) If you'd like to use our spreadsheet template and input data there, in the new pop up window, click on the “Get Template” button. Then fill out the information for your print job and save the spreadsheet.  - Back on the web, click the '+ Choose' button and select the file with the information you saved - Once the file has been selected, click 'Import' 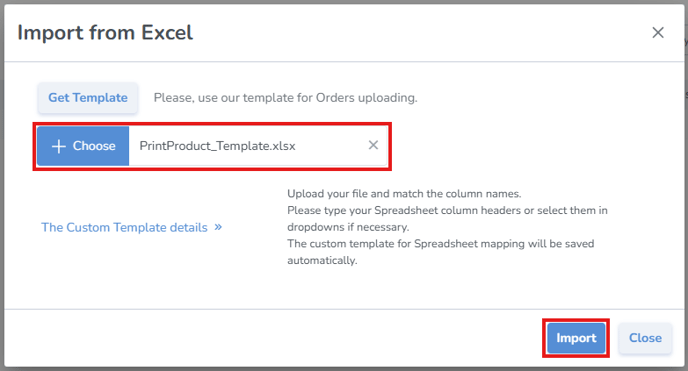 ****Next, if you're using your own existing spreadsheet instead of the template,**** click "The Custom Template details" and select which columns contain the corresponding information. It will then add all the items to the print job, which you can print immediately or postpone.Note: If any of the information from the uploaded spreadsheet is invalid, you'll see this validation error on that item in the list
A good practice is to scan the labels and upload them to verify that all tags have been printed correctly.
##### # Print Actions: Postpone & Resume, Cancel, Reprint ##### ****Postpone & Resume**** Perhaps you want to save your print job and print it later. To do this, instead of clicking "Print" from the Print Controller, click "Postpone." [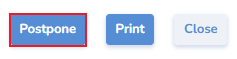](https://kb.simplerfid.com/uploads/images/gallery/2025-06/Smcimage.png) This will create a saved Print Job which will appear on the Print History [](https://kb.simplerfid.com/uploads/images/gallery/2025-06/sMTimage.png) On the main ****Printing**** page, you can see the ****Printing Status**** of each job in the listed history. ##### ****Start**** - To start a print job, click the start button under the 'Actions' column [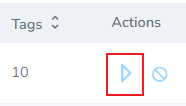](https://kb.simplerfid.com/uploads/images/gallery/2025-05/8veimage.png) ##### ****Pause**** - To pause a print job, click the [](https://kb.simplerfid.com/uploads/images/gallery/2025-05/KVDimage.png) ##### ****Cancel**** [](https://kb.simplerfid.com/uploads/images/gallery/2025-05/q4timage.png) - To cancel the job, click the strike-through circle icon ##### ****Reprint**** - To reprint a print job, click the "reprint" icon [](https://kb.simplerfid.com/uploads/images/gallery/2025-05/k69image.png)Clicking reprint will create a new job with the same details
[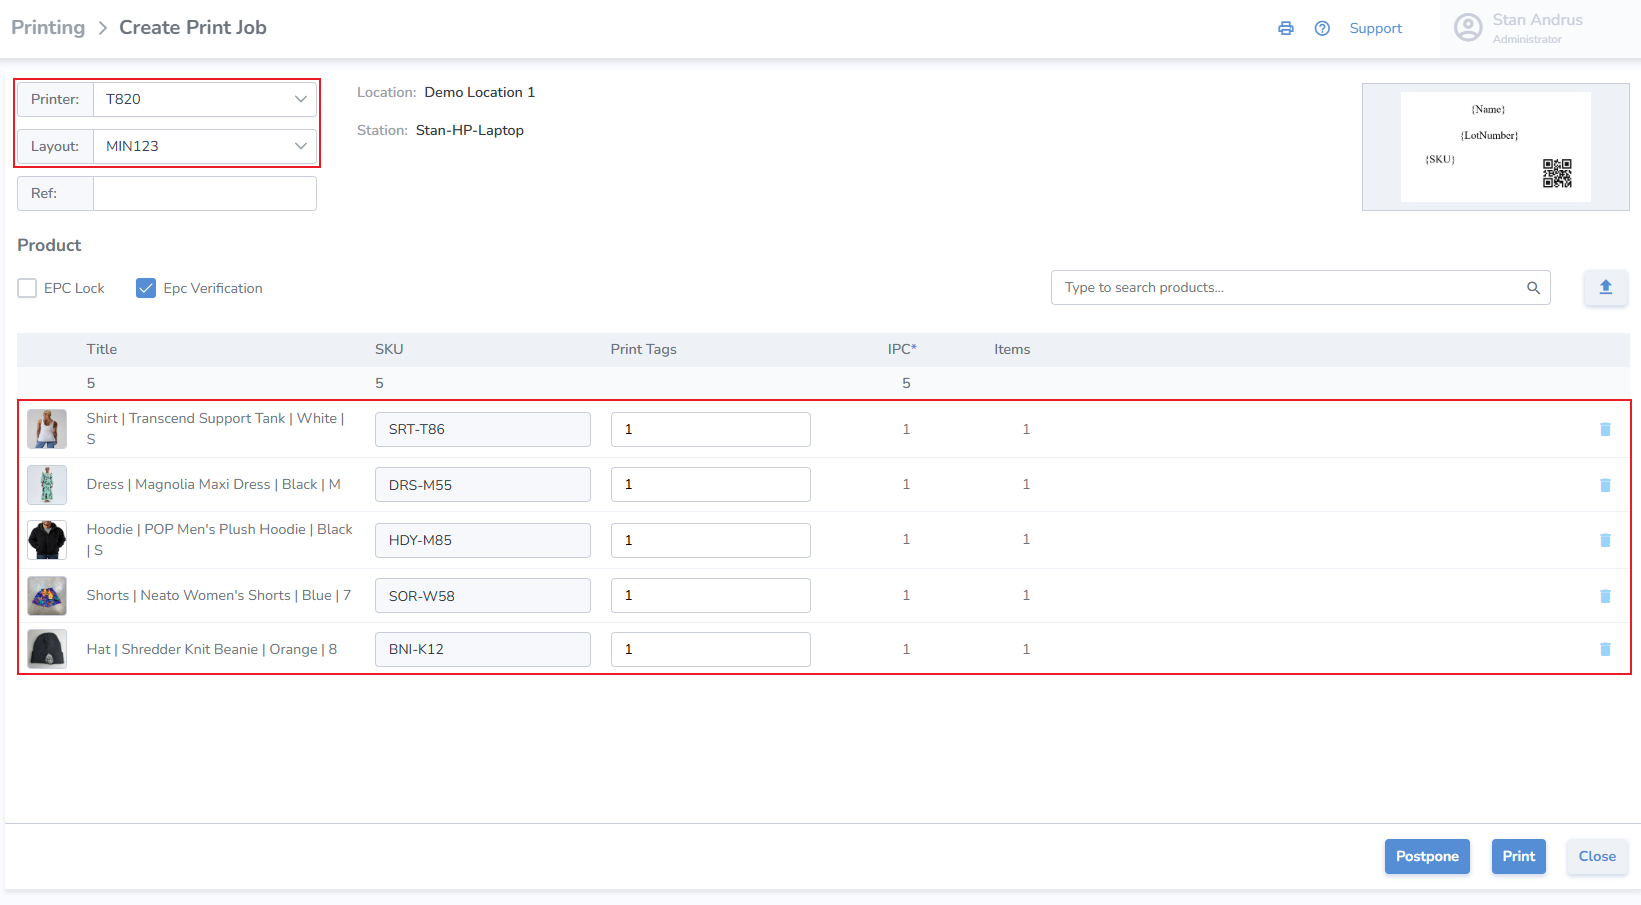](https://kb.simplerfid.com/uploads/images/gallery/2025-09/rCsimage.png) - Click Postpone to save the job in postponed status - Click Print to initiate the print job immediately - Click Close to exit without saving # Print History The print history displays a comprehensive record of all completed, postponed, and pending jobs. It includes a 'Print Actions' column that allows you to pause, cancel or reprint jobs. [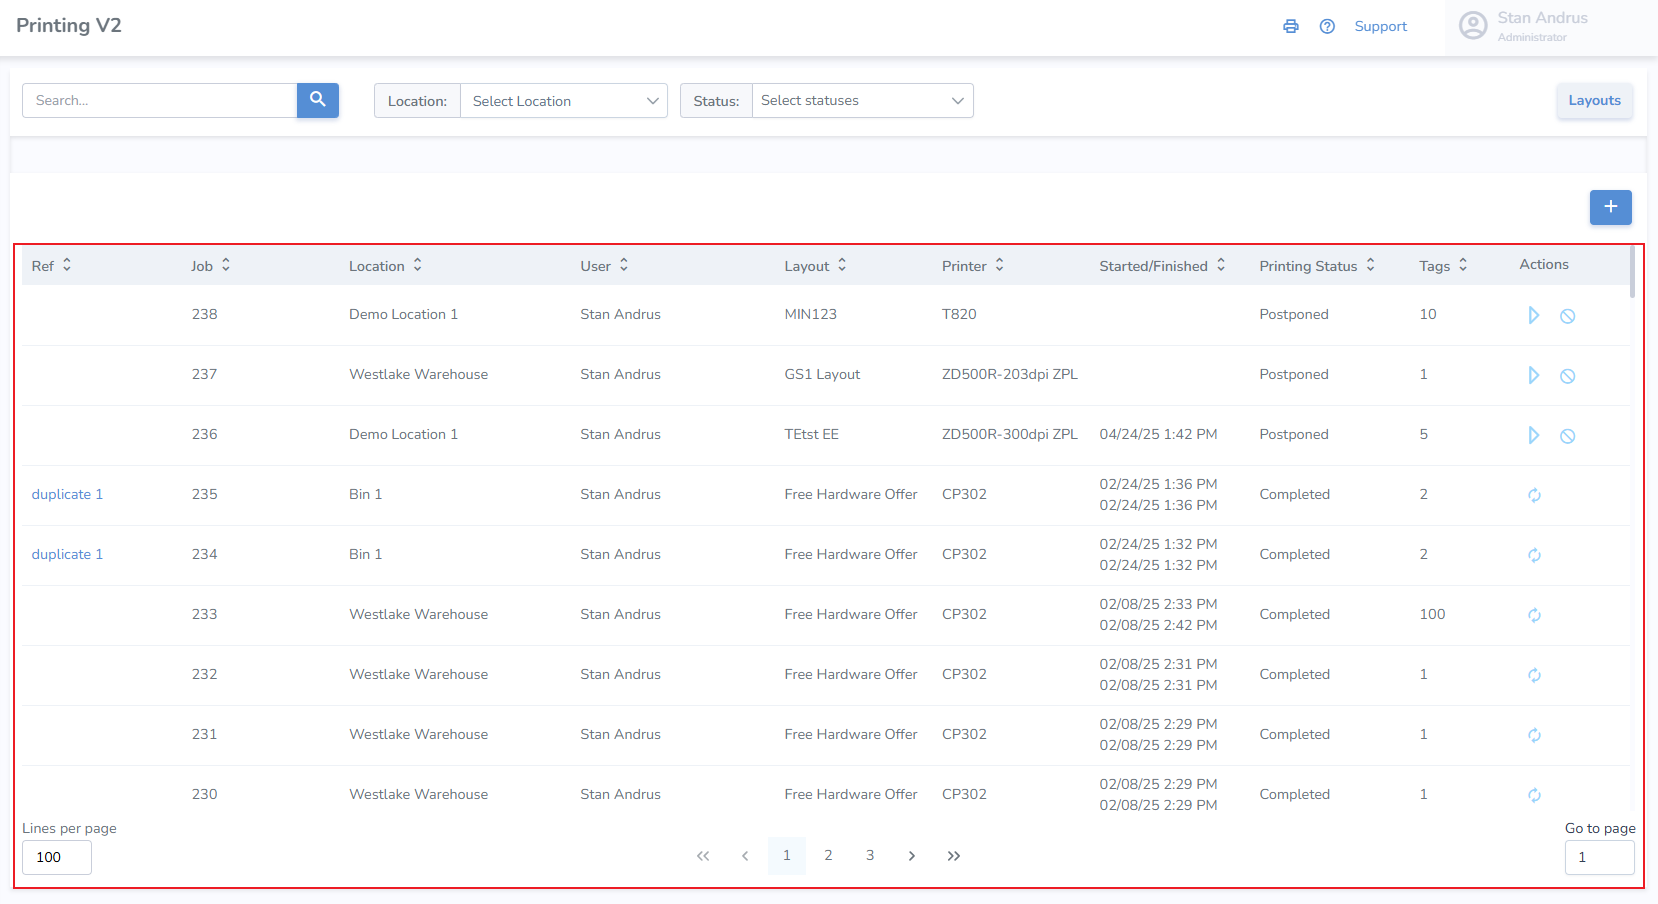](https://kb.simplerfid.com/uploads/images/gallery/2025-05/7Waimage.png) # Installing Print Client ### ****Step 1. Connect the printer to the device****The printer can be connected to the PC via ****Network**** or ****USB****. Network method is generally more reliable, and therefore preferred if possible.
****WARNING: MACOS DEVICES**** The macOS version of the Print Client is currently in beta. As such it has the following limitations: ****- The macOS Print Client requires Apple Silicon (M1 or later).**** Macs with Intel processors are not compatible. ****- The macOS Print Client does not support Printronix printers via USB.**** Zebra printers can be connected via USB, but Printronix printers can only be connected via local network. ****- The macOS Print Client will not work if certain USB storage devices are connected.**** This can include flash drives, external hard drives, or even mobile phones. If you disconnect these devices, the print client will run.
#### Network method If connecting via network, use the provided CAT6 cable, or a network cable of your own, to attach the printer to your network. [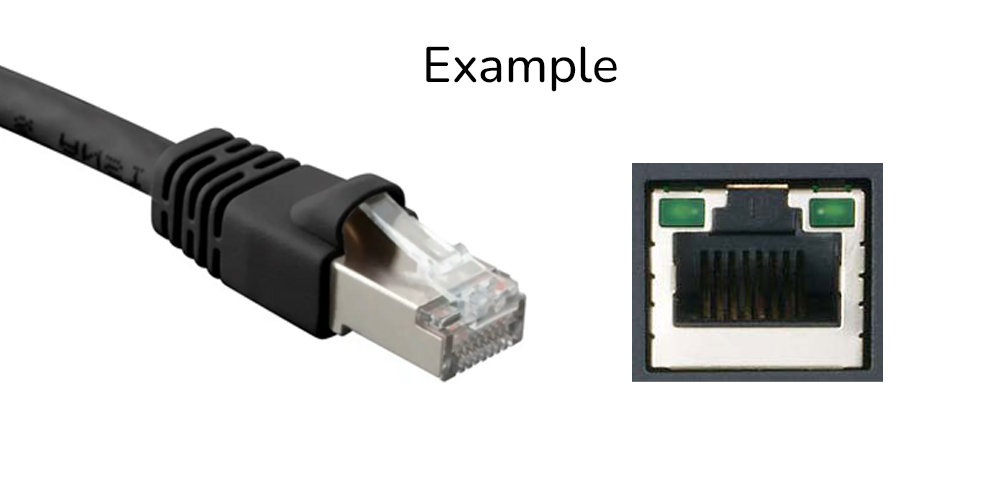](https://kb.simplerfid.com/uploads/images/gallery/2026-01/image.png)The printer must be on the same subnet as the host PC in order to be detected by the Print Client.
#### USB method If connecting via USB, plug the provided USB cable into your PC and printer. The ****USB-A**** connector should be plugged into the PC, while the ****USB-B**** connecter should be plugged into the printer: 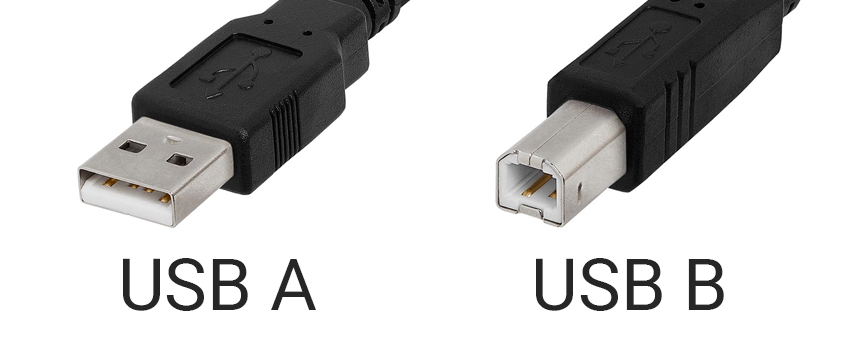Last, for the USB method, you'll need to [change the Interface setting](https://kb.simplerfid.com/books/hardware-readers-printers/page/printronix-change-interface) on the printer to USB.
Such cable type is often used by regular inkjet/laser printers as well.
--- ### ****Step 2. Install Print Client****If you are connecting a Printronix printer via USB, you must use the Windows version currently. macOS only supports Printronix printers via network connection.
#### ****Download the Print Client:**** 1. ****Login**** to the [web portal](https://portal.simplerfid.com/) 2. ****Click**** on your account name in the top-right corner 3. ****Click**** "Resources" 4. On the resources page, under Printing Utilities, ****click**** **"*****Set-up Print Client Windows*****"** ****or**** **"*****Set-up Print Client macOS*****"** to download 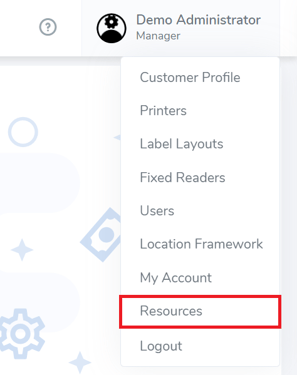 [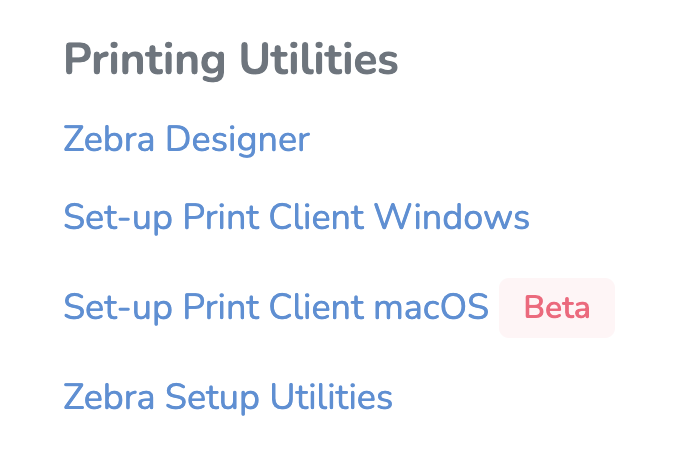](https://kb.simplerfid.com/uploads/images/gallery/2025-09/Bbjimage.png) #### ****Install Client**** 1. ****Open**** the downloaded file (****PrintClient.Updater.Installer.msi**** or ****PrintClientUpdater.Installer.pkg****). This will launch the installer. 2. ****Follow**** the steps in the installer. You will need to provide Administrator approval to complete the installation. 3. Enter your ****Registration Key**** when prompted. You can find this key on the web portal, on the ****Customer Profile**** page under ****Printing Settings****. ****If you don't have access to the key, reach out to your manager.**** ****If you are not prompted to enter the key, finish the installation, then**** [****reach out to Simple RFID support****](https://support.simplerfid.com/support/tickets/new) ****to connect your printer.**** [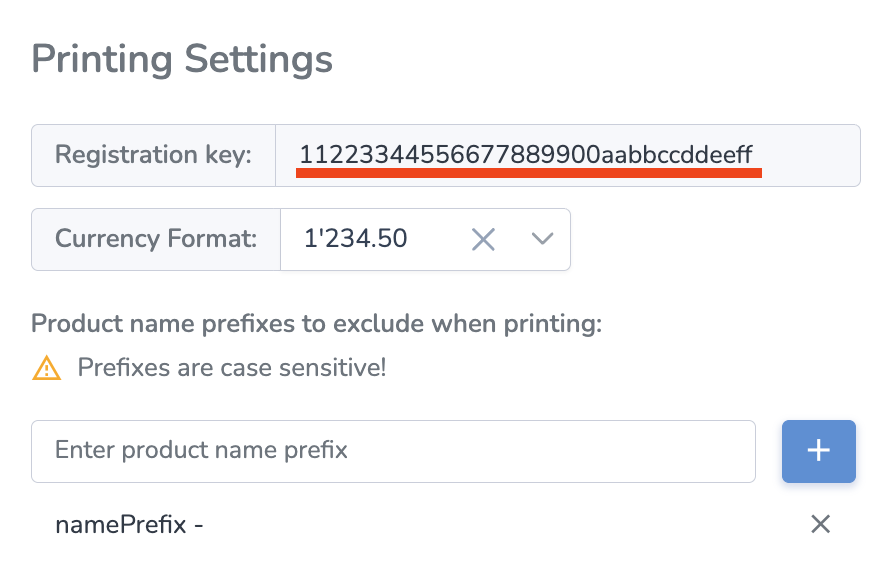](https://kb.simplerfid.com/uploads/images/gallery/2026-02/fBqscreenshot-2026-02-16-at-3-11-50-pm.png) [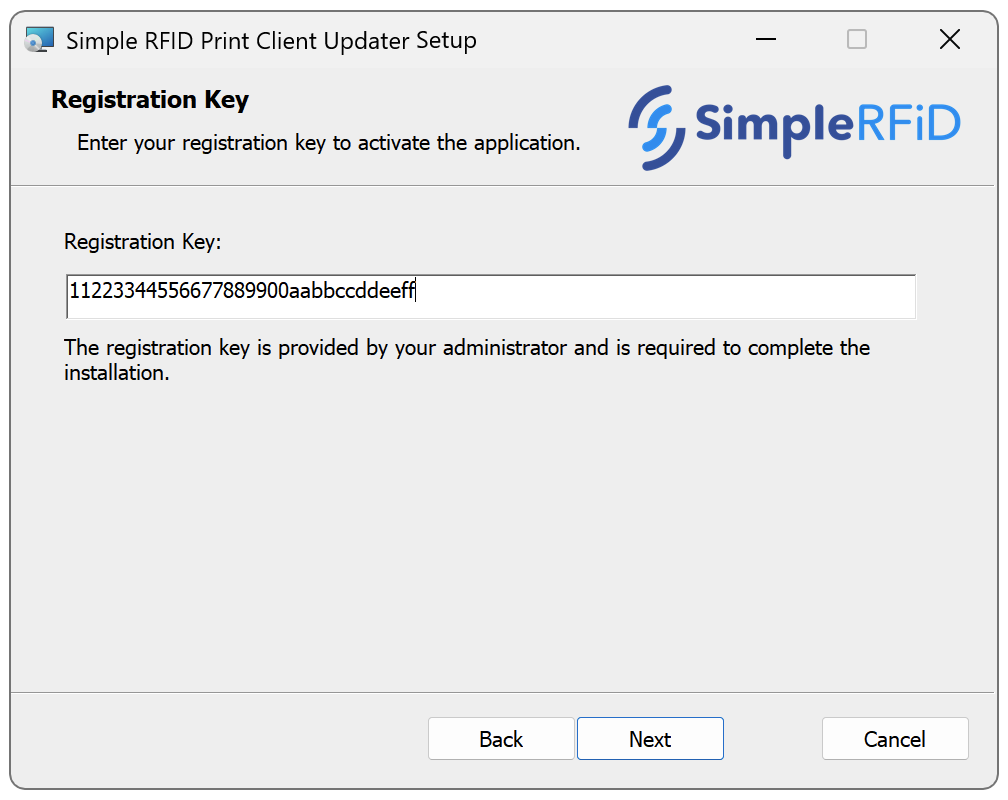](https://kb.simplerfid.com/uploads/images/gallery/2026-02/fYzimage.png) 4. When the installation is completed successfully, you can ****close**** the installer. --- ### ****Step 3. Assign Location****Please ask your manager to assign the location.
Here are the steps for manager: 1. ****Go to**** User Menu (click on the name on the top right) 2. ****Select**** Printers 3. ****Find**** the new Print Station (often on top, will have "**Not assigned**" under the location column) 4. ****Click**** the gear icon ([](https://kb.simplerfid.com/uploads/images/gallery/2026-03/BO8image.png)) on the right from the Print Station[)](https://kb.simplerfid.com/uploads/images/gallery/2026-03/zoZimage.png) 5. In the Location dropdown, ****set**** the desired location 6. ****Click**** ApplyOnce the printer is connected, it will appear on the Printers page, and in the Available Printers menu.
# Calibrate from the web portalMake sure the printer is unpaused before calibrating: [Unpause your printer](https://kb.simplerfid.com/books/hardware-readers-printers/page/printronix-unpause-your-printer)
Calibrate your printer each time after media/ribbon changed and, as a best practice, in the beginning of the day.
You can calibrate your printer from the web portal. This can be done from three places: ### Option 1: From the Menu Bar {{@125}} --- ### Option 2: From the printer's Printer Profile page {{@128}} --- ### Option 3: From the Printer Station Settings {{@104}} # Calibrate your printer ## Calibrate from the web portal {{@126}} ## Calibrate from the printer {{@127}} # Ability to trim product prefixes from labels when printing If you have information in one of your Product fields that you wish to have trimmed when printing, follow these steps to trim these properties.This feature requires Manager level permissions
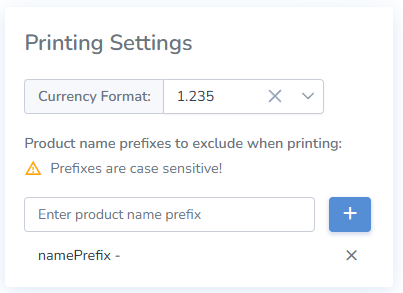- Using a manager’s account, access the ****Customer Profile**** from the ****Admin menu**** in the top right of the web portal - Then ****enter any prefixes that you wish to be trimmed**** from products named when printing - Finally, click ****save****. # Locking the Tag's MemoryLocking your tags prevents the tags from being edited. This is a requirement for all GS1 tags being submitted to ALEC for approval.
****Locking the Tag's Memory**** - Navigate to the Print Jobs menu in the left menu - Before starting the print job, click the "EPC Lock" check-box [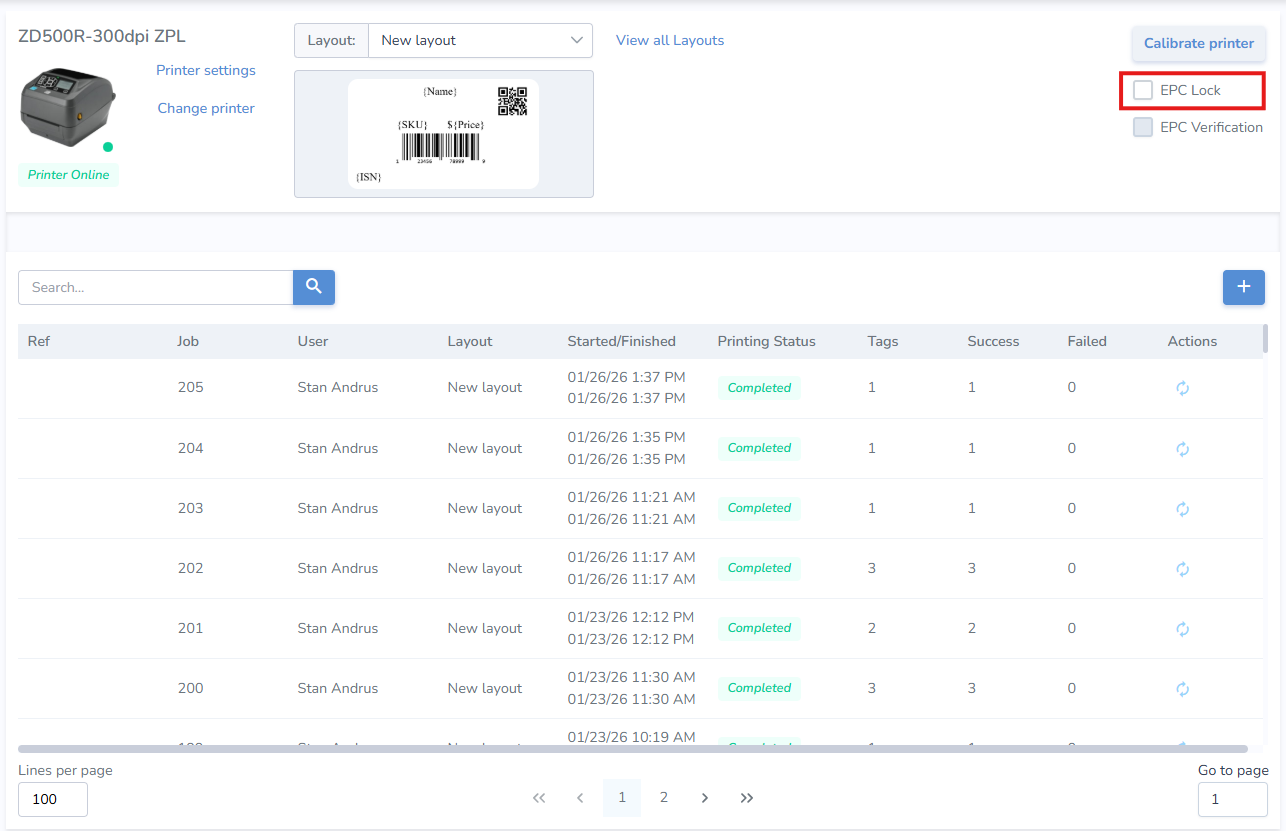](https://kb.simplerfid.com/uploads/images/gallery/2026-01/e1Limage.png) - This will permanently lock the tag and prevent it from being re-encoded