**When you update the firmware on your Printronix printer, or if you have to reset its settings during troubleshooting, you'll need to configure a few settings for the printer to work with Simple RFID.**
1. First, **navigate** to the Home screen of the printer by pressing the Pause button. You should see this screen: 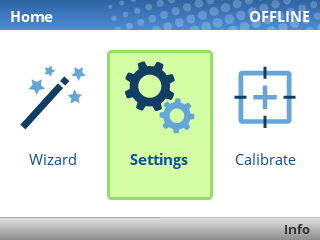 2. **Click** the *Settings* button 3. Within the *Settings* menu, **set** the following values:If you see an **ENTER SWITCH LOCKED** error, press the Up and Down keys at the same time, once. You should then see **ENTER SWITCH UNLOCKED,** and then you can perform the calibration.
- **Media > Image** - Print Intensity - For wax ribbon: **0-5** - For resin ribbon: **10-15** [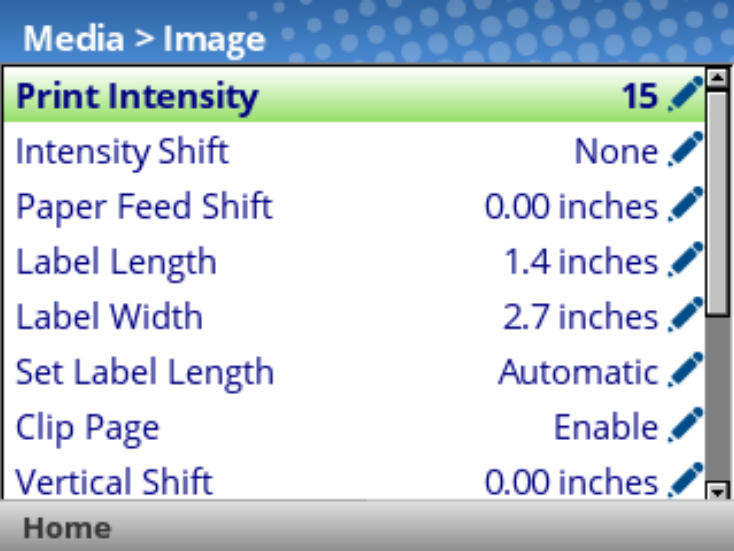](https://kb.simplerfid.com/uploads/images/gallery/2026-06/7Jgimage.png) - **Sensors > Control - Gap/Mark Sensor: **Gap** [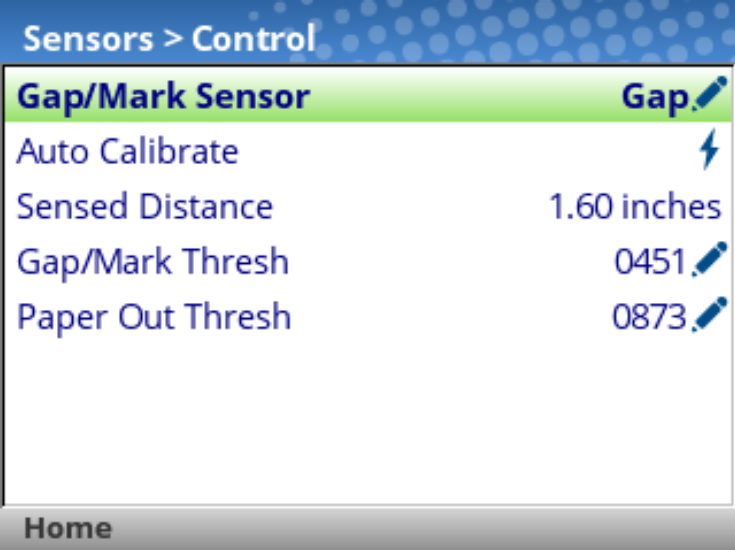](https://kb.simplerfid.com/uploads/images/gallery/2026-06/FhMimage.png) - **Sensors > Calibrate - Power-Up Action: **Disable** - Head Close Action: **Seek TOF** - Threshold Range: **50%** - Label Window: **Enable** [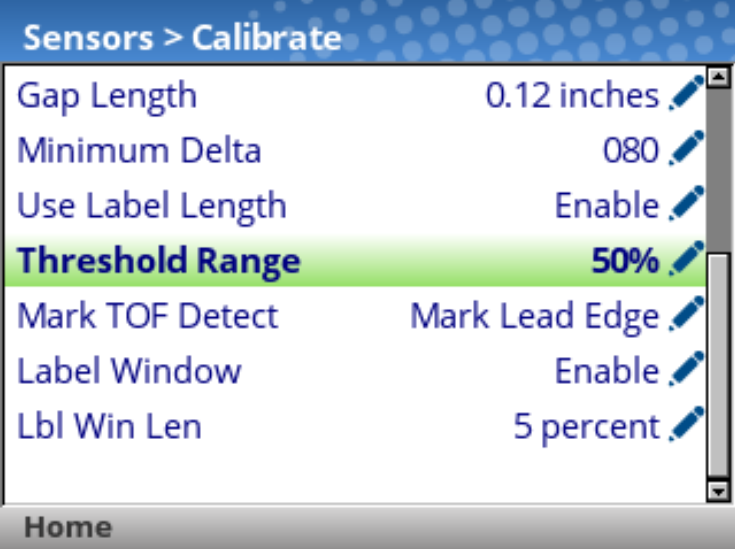](https://kb.simplerfid.com/uploads/images/gallery/2026-06/nI3image.png) - **Host I/O > Control** - Interface: **USB** or **Ethernet** depending on how the printer is connected [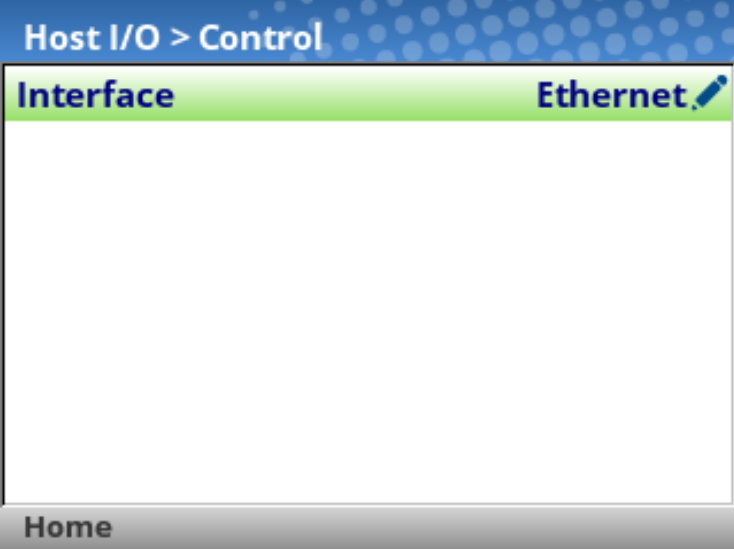](https://kb.simplerfid.com/uploads/images/gallery/2026-06/Kltimage.png) - **Application** - **Control** - Active IGP Emul: **ZGL** [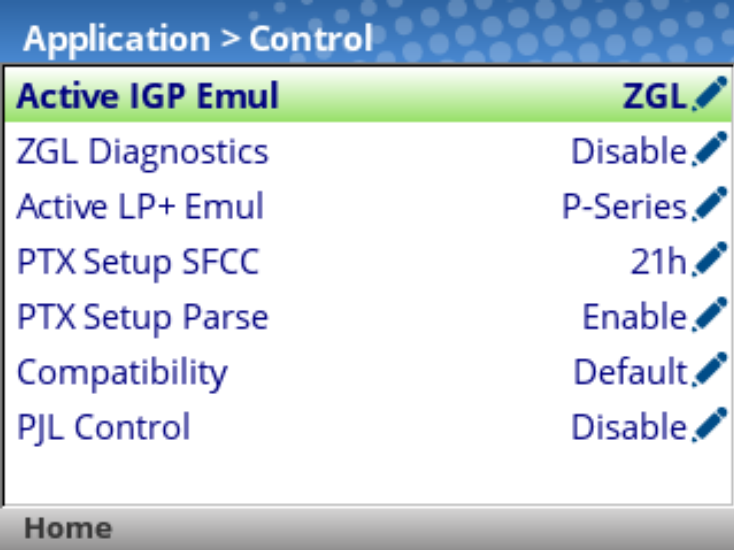](https://kb.simplerfid.com/uploads/images/gallery/2026-06/P6timage.png) - - **ZGL Setup** - Preparser: **Enable** [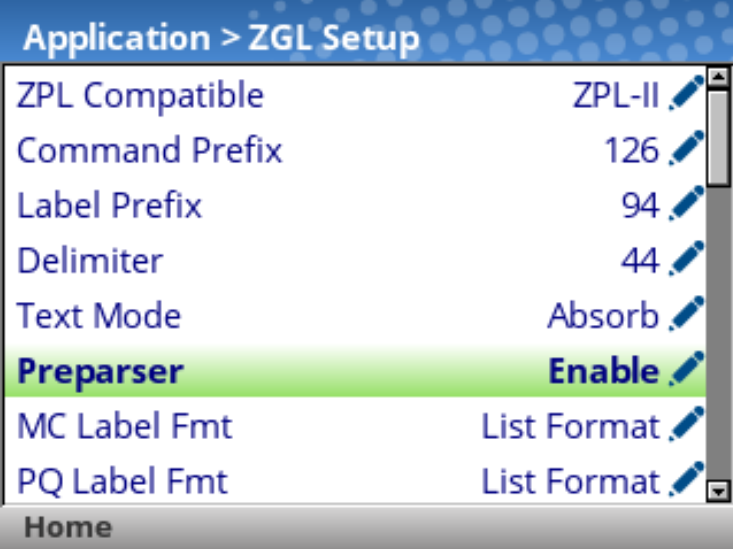](https://kb.simplerfid.com/uploads/images/gallery/2026-06/zqfimage.png) After changing these settings, press the green **Pause** button to unpause the printer, then select **"Save permanently in Active Config"**. [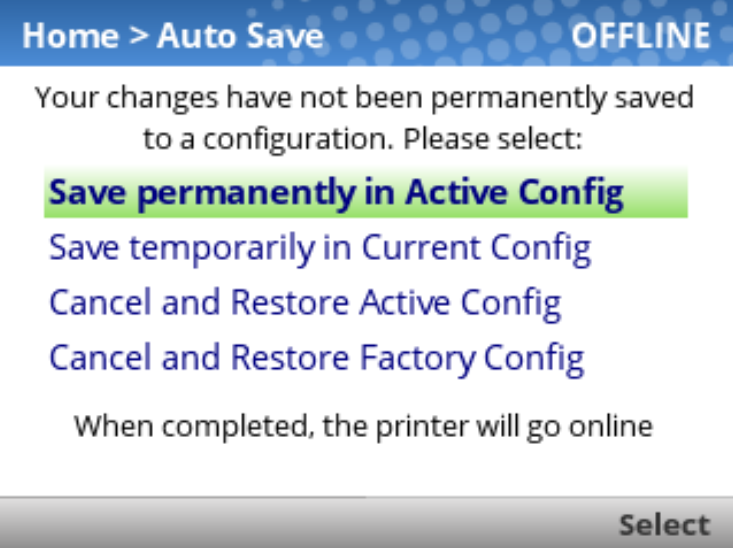](https://kb.simplerfid.com/uploads/images/gallery/2026-06/YjRimage.png) When all the steps have been completed, the printer should show "**ONLINE**" in the top-right corner of the screen: 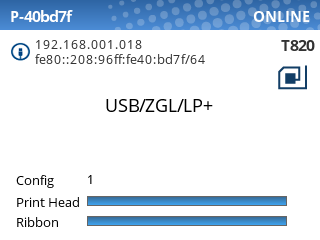You should now be ready to calibrate the printer with either [**Auto**](https://kb.simplerfid.com/books/software-web-portal/page/calibrate-from-the-web-portal) or [**Manual**](https://kb.simplerfid.com/books/hardware-readers-printers/page/printronix-calibration) calibration.